Version 10/21
Page 32 of 49
PAWS UM EN
Fitting to the Wheelchair
Introduction
Attention!
Do not move the Device while it is standing only on its support legs
–
this may cause the legs to
rotate if not properly engaged in the rotation lock, causing the Device to fall.
Connecting the Wheelchair to the Device is important
–
only clamp the Device to the front tubes of the chair and not
to any removable or swing-away parts. It is important to clamp the Device evenly to the chair. Please take time to
ensure the best fit.
Fitting involves two stages, with six possible adjustments for each side. The first stage is to adjust all settings to an
approximate fit. The second stage is after the Clamp Jaws are closed, when final micro-adjustment of angles, widths,
height, and depth should be made before tightening all bolts and nuts.
Procedure
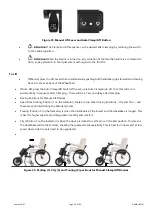
Setting the height of the Device in relation to the chair.
•
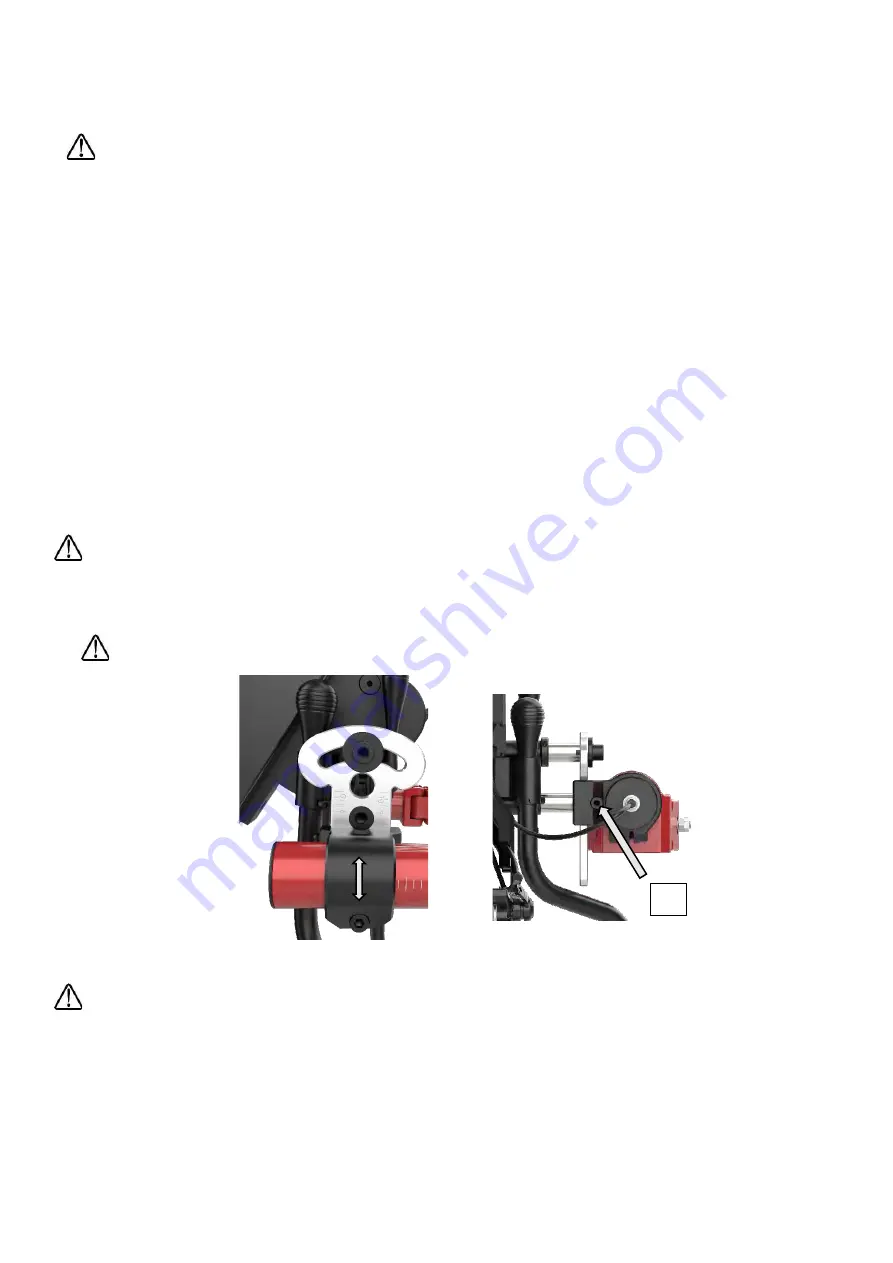
The fitting height can be adjusted by loosening the Height Adjustment Bolt on the side of the Clamp
Mechanism Receiver. Measure both sides to ensure equal height settings. Height adjustment can also
be managed by swapping sides and inverting the Auto Clamp Mechanism.
Attention!
Be careful to change sides so the Clamp Adjusting Nuts are facing outwards.
•
When docked, the Clamp Jaws should be in the middle section of the front Wheelchair tubes or where
there is a section of straight tube slightly greater than the clamping area of the Clamp Jaws.
Attention!
Avoid clamping to uneven tube sections.
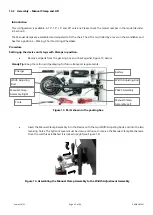
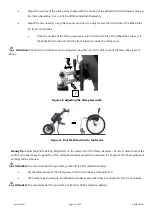
Figure 29. Different positions for Height Adjustment
Attention.
The recommended Torque setting of Bolt C is 35 Nm (Newton Meters).
Setting the Clamp Jaws
The Clamp Jaws need to be set for width, angle, and depth so that the clamping forces are equal on both sides.
•
All adjusting bolts and QR Levers need to be loosened or released before starting this process.
•
Position the Wheelchair so that the front tubes are close to, but not touching, the Clamp Jaws.
C

