Version 10/21
Page 36 of 49
PAWS UM EN
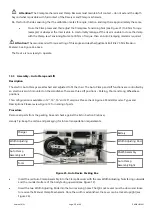
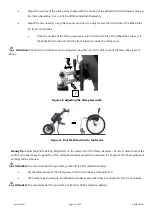
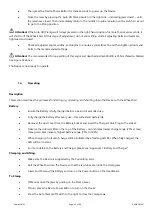
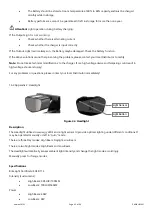
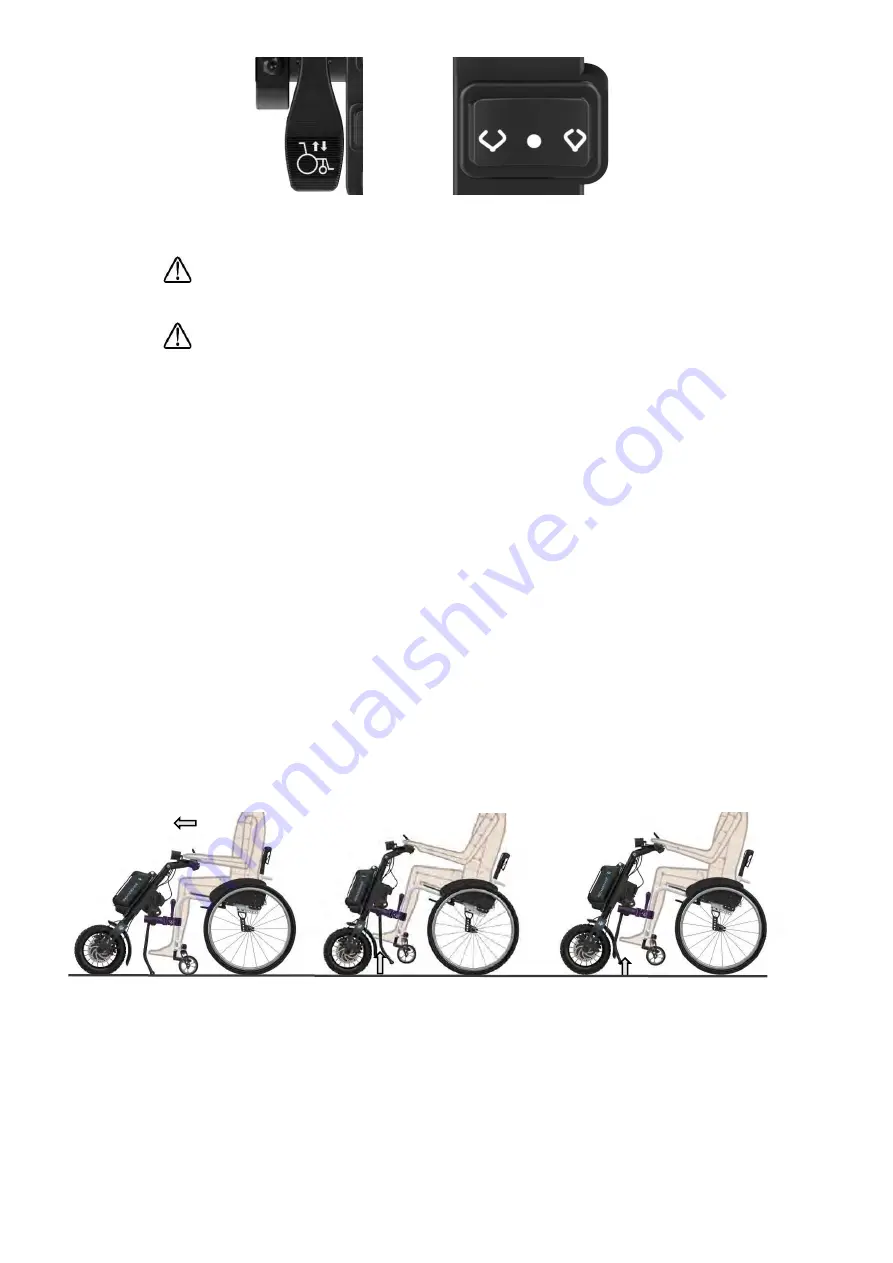
Figure 35. Manual Lift Lever and Auto Clamp/Lift Button
•
Attention!
The Clamp and Lift sequence can be paused after clamping by returning the switch
to the neutral position.
•
Attention!
When the Device is turned on, any actuation of the throttle handle is a command to
drive, so pay attention to hand placement with regard to the throttle.
To Lift
•
If Manual, press the Lift Lever while simultaneously pushing both handlebar grips forward and leaning
back into the seat-back of the Wheelchair.
•
If Auto Lift, press the Auto Clamp/Lift Switch. If the set-up is Auto Clamp/Auto Lift, then this will occur
automatically in sequence after Clamping
–
there will be a 7 second delay after clamping.
•
Driving Positions for Manual Lift Devices
•
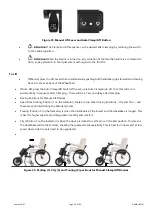
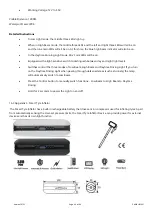
Apart from Parking (Position 1 on the Indicator), there are two other driving positions
–
City and Tour
–
and
these are controlled during the Manual process.
•
Touring (Position 2 on the Indicator) is when the handlebars sit the lowest and the wheelbase is longest. This
is best for higher speeds, providing greater stability and comfort.
•
City (Position 3 on the Indicator) is when the device is closest to vertical or at its tallest position. This means
the wheelbase will be the shortest, enabling the greatest maneuverability. This is best for indoors and at low
speed where tight corners need to be negotiated.
•
Figure 36. Parking (1), City (3) and Touring (2) positions for Manual Clamp/Lift Devices


