4
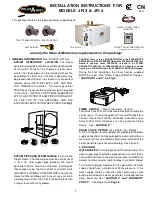
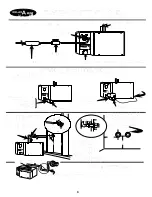
applied to a clean, flat, dry, finished surface.
Peel off the protective film from the back of the
Timer. Push the excess cord into the wall cavity.
Firmly press the Quick Touch Timer onto the
wall. If the wall surface is uneven, apply a
silicone sealant to seal around the timer switch.
iii -Turn off the water and power supply. Proceed with
installation.
STEAM PIPING
THE STEAM GENERATOR MUST
BE POSITIONED WITH THE STEAM PIPES
COMING OUT OF THE TOP OF THE UNIT.
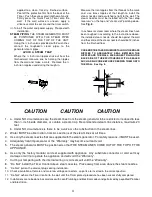
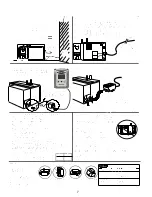
Using the ½ inch unions provided, with 2 wrenches
connect the roughed-in steam pipes to the
generator steam pipes.
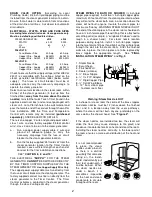
AVOID A STEAM TRAP
Where the ½ inch iron nipples stick out from the
finished wall, measure one inch along the nipples
from the wall and make a mark. Remove the ½
inch iron nipples used during the rough-in.
Measure the iron nipples from the threads to the mark
and use brass nipples of that length to install the
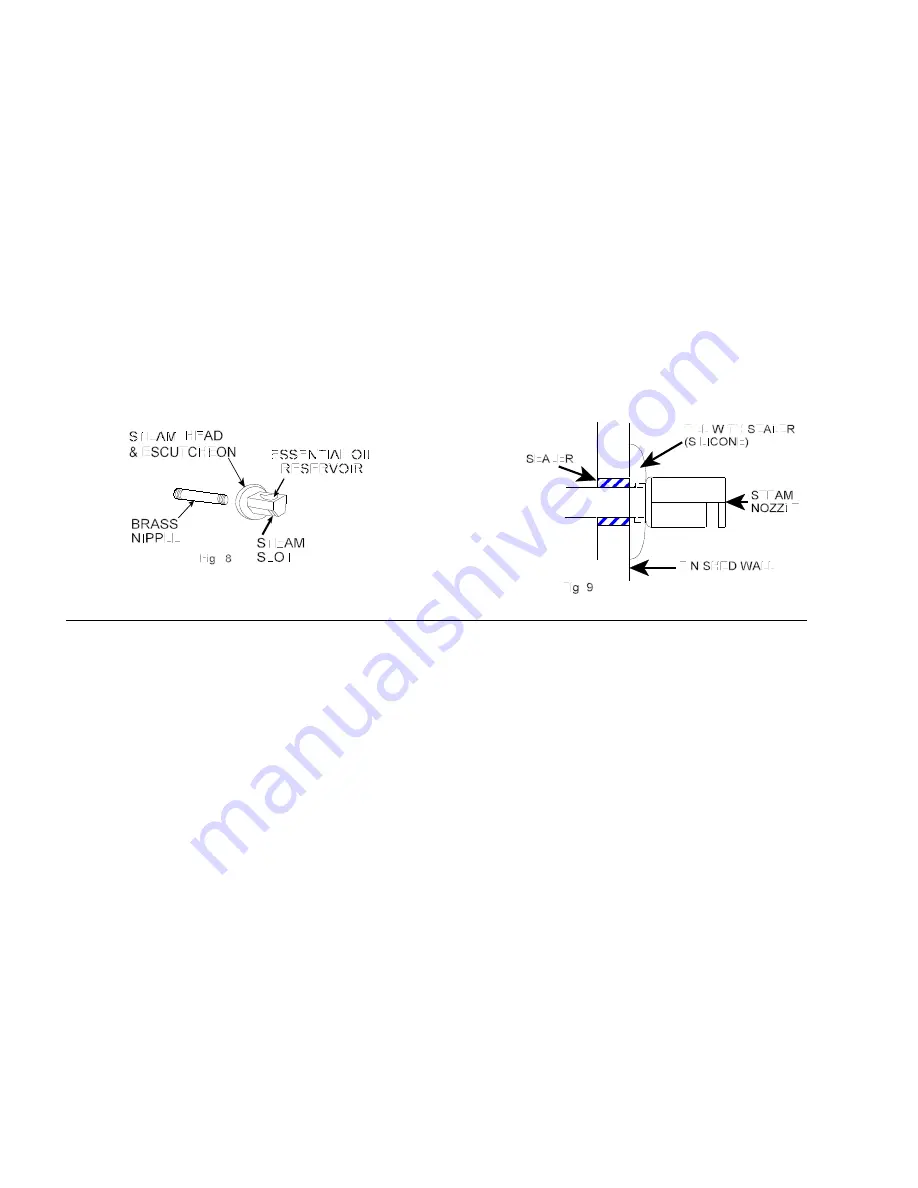
steam nozzles and escutcheons tight to the wall. The
steam nozzles must be installed with the “tear drop
reservoir” on the top and “steam slot” pointing down.
See
Fig. 8
.
In a shower or steam room where the steam lines have
been roughed in according to the instructions above,
the installed steam nozzle should be against the wall
and the centre of the steam nozzle should be 12 inches
from the finished floor.
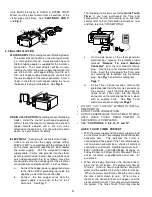
CARE MUST BE TAKEN WHEN INSTALLING THE BRASS
NIPPLES TO ADEQUATELY SEAL BETWEEN THE
NIPPLES AND THE WALL. WE SUGGEST FILLING THE
BACK SIDE OF THE ESCUTCHEONS WITH A SEALER
SUCH AS SILICONE BEFORE PRESSING THEM ONTO
THE WALL. See Fig. 9
.
CAUTION CAUTION CAUTION
1.
a. Under NO circumstances are the steam lines from the steam generator to be restricted or reduced to less
than ½ inch inside diameter, or contain a steam trap. Recommended steam line distance, maximum 20
feet.
b. Under NO circumstance is there to be a valve or other obstruction in the steam lines.
2.
Water MUST be able to drain from ALL sections of the steam lines at all times.
3.
Use only the steam nozzles that are supplied with the steam generator. For safety reasons, it MUST be used.
4.
Adequately treat impure water or the “Warranty” may become null and void.
5.
The steam generator MUST be positioned so that THE STEAM LINES COME OUT OF THE TOP OF THE
APPLIANCE.
6.
Use only the factory modular cord set supplied with appliance. Any substitute connector or cord set may
damage or will not operate the appliance and will void the “Warranty”.
7.
Cutting or tampering with the internal wiring or cord sets will void the “Warranty”.
8.
“Do Not” install the Timer Control above steam nozzles. Place away from area above the steam nozzles.
9.
“Do Not” pull on the cord set plugs during installation.
10. Check orientation of female and male low voltage connectors, so parts are inserted in the correct position.
11. “Do Not” adhere the Timer Control to the wall until the Timer pretest procedure has been successfully completed.
12. Installations are to be done in accordance with Local Plumbing and Electrical codes and performed by a qualified Plumber
and Electrician.

