WARNING:
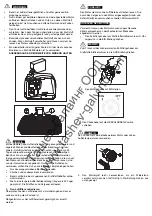
When transporting the generator:
•
Do not overfill the tank (there should be no fuel in the filler
neck).
•
Do not operate the generator while it is on a vehicle. Take
the generator off the vehicle and use it in a well ventilated
place.
•
Avoid a place exposed to direct sunlight when putting the
generator on a vehicle. If the generator is left in an
enclosed vehicle for many hours, high temperature inside
the vehicle could cause fuel to vaporize resulting in a
possible explosion.
•
Do not drive on a rough road for an extended period with
the generator on board. If you must transport the generator
on a rough road, drain the fuel from the generator
beforehand.
NOTE:
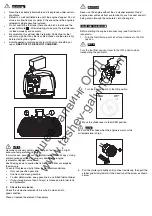
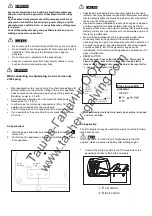
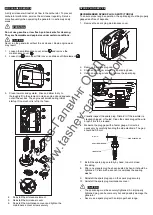
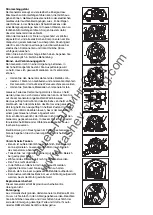
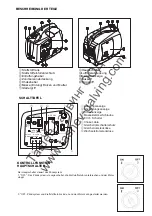
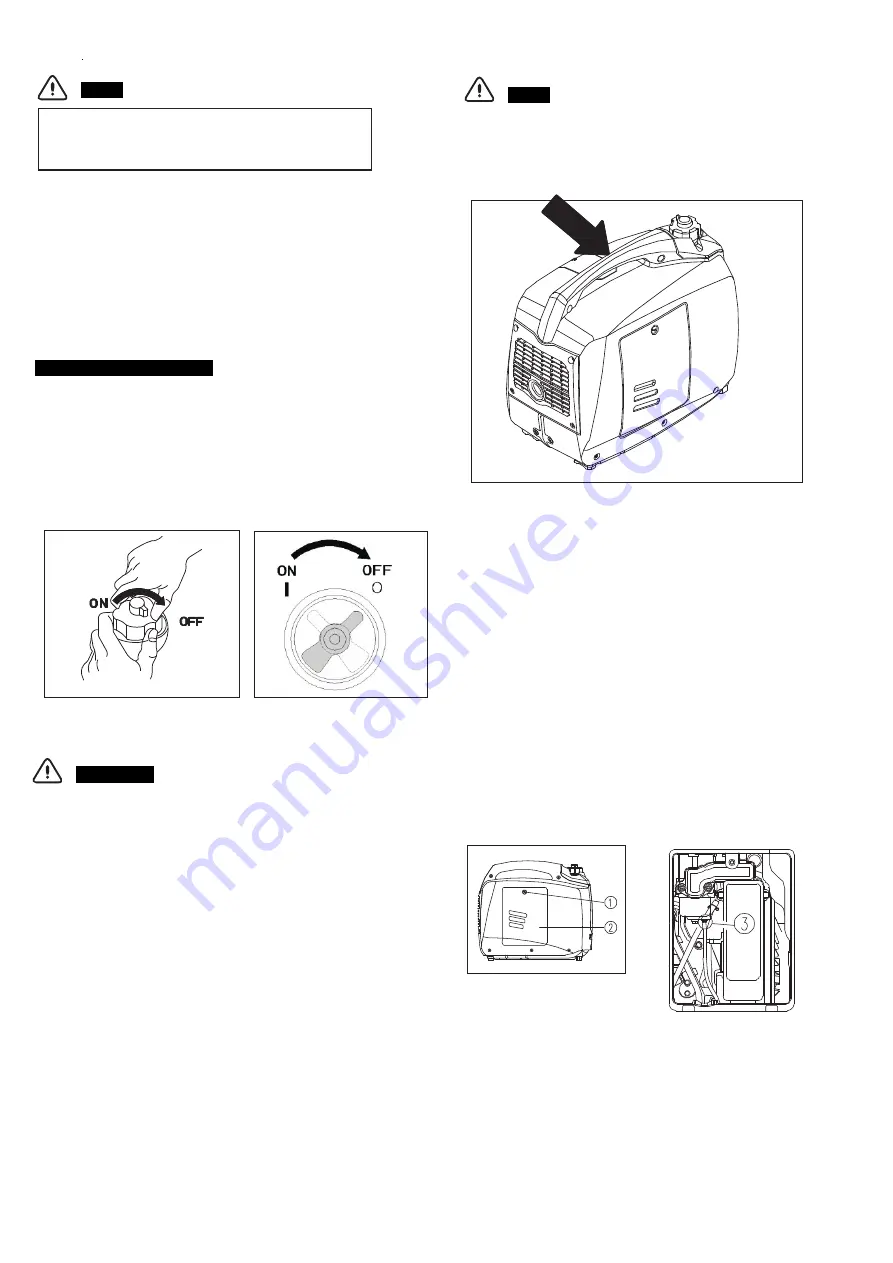
To transport the generator, hold the holding part (marked areas
in the figure below).
Before storing the unit for an extended period:
1.Be sure the storage area is free of excessive humidity and dust.
2.Drain the fuel.
Gasoline is extremely flammable and is explosive under certain
conditions. Perform this task in a well ventilated area with the
engine stopped. Do not smoke or allow flames or sparks in the
area during this procedure.
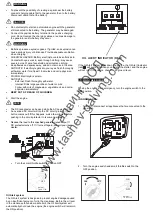
a. Unscrew the fuel filler cap , remove the fuel filter,
and empty
the fuel tank into an approved gasoline container.
We
recommend using a commercially available gasoline hand
pump to empty the tank. Do not use an electric pump. Reinstall
the fuel filter and the fuel filler cap.
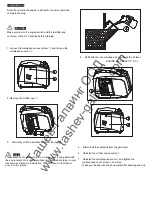
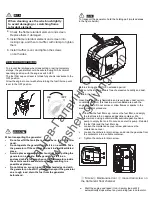
b. Loosen the maintenance cover screw and remove the
maintenance cover
.
c. Loosen the carburetor drain screw, and drain the gasoline from
the carburetor into a suitable container.
d
. Tighten the carburetor drain screw.
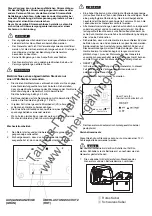
①
Screw
②
Maintanace door
③
loose drain screw on
the Carburetor float chamber
e
.
Start the engine and leave it run in empty load until it
automatically stops without any remaining fuel in carburetor.
TRANSPORTING/STORAGE
To prevent fuel spillage when transporting or during temporary
storage, the generator should be secured upright in its normal
operating position, with the engine switch OFF.
The fuel filler cap vent lever is turned fully counterclockwise to the
OFF position.
Allow the engine to cool well before turning the fuel filler cap vent
lever to the OFF position.
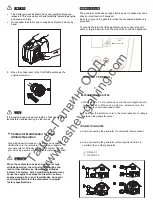
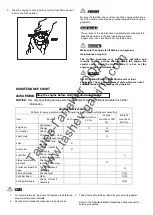
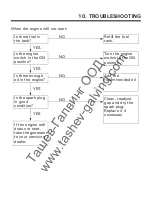
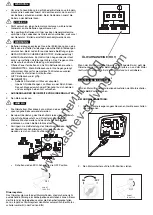
When cleaning, use the wire brush lightly
to avoid damaging or scratching flame
retardant element.
4. Check the flame retardant element and screen.
Replace them if damaged.
5. Install flame retardant element and screen into
locking cap, and then to muffler, with clamp to tighten
them.
6. Install muffler cover, and tighten the screws
on both sides.
NOTE:
Та
ше
в
-
Га
лв
ин
г
ОО
Д
www.tashev-galving.com

