English
EN
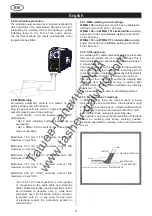
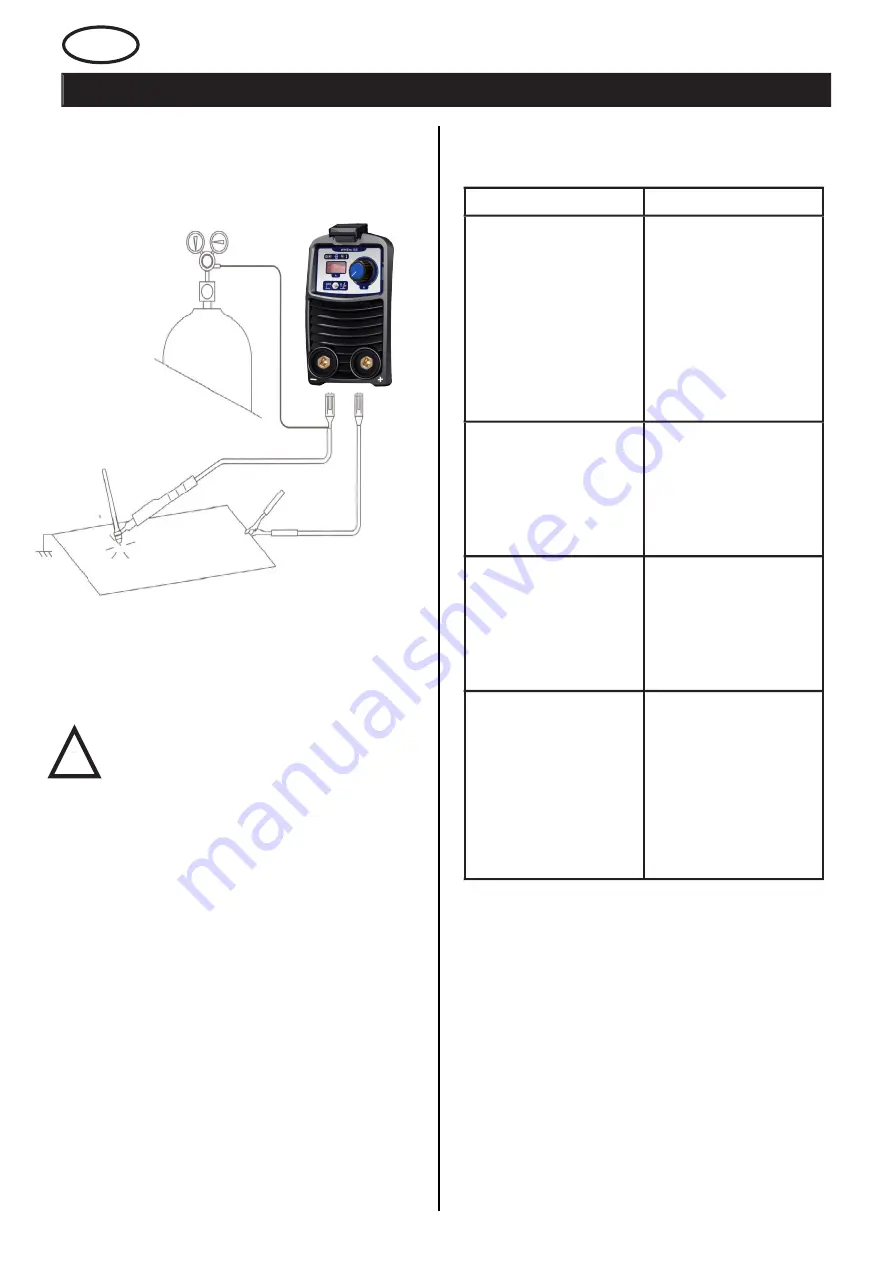
In TIG mode, welding it is possible in all positions: flat,
angle, on the edge, vertical and overhead. Furthermore,
with respect to other types of welding, the welded joint
has greater mechanical resistance, greater corrosion
resistance and limited heating in the welded area which
limits distortion.
6. MAINTENANCE
Regular maintenance is important for safe, reli-able
operation.
Only those persons who have appropriate electrical
knowledge (authorized personnel) may remove the
safety plates.
Caution!
All guarantee undertakings from the supplier cease
to apply if the customer attempts any work to rectify
any faults in the product during guarantee period.
6.1. Power source
Check regularly that the welding power source is not
clogged with dirt.
How often and which cleaning methods apply depend
on:
• welding process
• arc time
• placement
• surrounding environment
It is normally sufficient to blow the power source with
dry compressed air (reduced
pressure) once a year.
Clogged or blocked air inlets and outlets otherwise
result in overheating.
6.2. Welding torch
Wear parts should be cleaned and replaced at regular
intervals in order to achieve trouble-free welding.
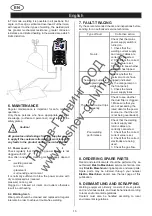
7. FAULT-TRACING
Try these recommended checks and inspections before
sending for an authorized service technician.
8. ORDERING SPARE PARTS
Repair and electrical work should be performed by an
authorised
Elektro Maschinen
service technician. Use
only
Elektro Maschinen
original spare and wear parts.
Spare parts may be ordered through your nearest
Elektro Maschinen
dealer, see the last page of this
publication.
9. DISMANTLING AND SCRAPPING
Welding equipment primarily consists of steel, plastic
and non-ferrous metals, and must be handled according
to local environmental regulations.
Coolant must also be handled according to local
environmental regulations.
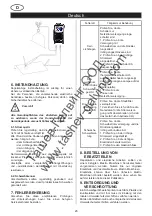
Type of fault
Corrective action
No arc.
Check that the mains
power supply switch is
turned on.
1. Check that the
welding current supply
and return cables are
correctly connected.
2. Check that the correct
current value is set.
3. Check to see whether
the MCB has tripped.
The welding current is
interrupted during
welding.
Check whether the
thermal cut-outs have
tripped (indicated
by the orange lamp on
the front panel).
1. Check the mains
power supply fuses.
The thermal cut-out trips
frequently.
Check to see whether
the dust filter is clogged.
1.Make sure that you
are not exceeding the
rated data for the power
source (i.e. that the unit
is not being overloaded).
Poor welding
performance.
Check that the welding
current supply and
return cables are
correctly connected.
1. Check that the correct
current value is set.
2. Check that the correct
electrodes are being
used.
3. Check the gas flow.
!
13
Та
ше
в
-
Га
лв
ин
г
ОО
Д
www.tashev-galving.com
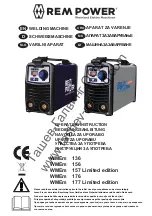
Summary of Contents for WMEm 136
Page 3: ...w w w t a s h e v g a l v i n g c o m...
Page 14: ...14 w w w t a s h e v g a l v i n g c o m...
Page 24: ...24 w w w t a s h e v g a l v i n g c o m...
Page 34: ...34 w w w t a s h e v g a l v i n g c o m...
Page 44: ...44 w w w t a s h e v g a l v i n g c o m...
Page 46: ...1 1 2 3 4 1 1 2002 96 EC 1 2 46 w w w t a s h e v g a l v i n g c o m...
Page 47: ...1 3 47 w w w t a s h e v g a l v i n g c o m...
Page 54: ...1 1 2 3 4 1 1 BG 2002 96 EC 1 2 54 w w w t a s h e v g a l v i n g c o m...
Page 55: ...1 2 BG 55 w w w t a s h e v g a l v i n g c o m...
Page 61: ...6 2 7 MCB 8 Elektro Maschinen Elektro Maschinen 9 BG 61 w w w t a s h e v g a l v i n g c o m...
Page 64: ...w w w t a s h e v g a l v i n g c o m...
Page 69: ...w w w t a s h e v g a l v i n g c o m...

