10
6. Do not clean with a water jet.
7. Clean evaporator lamellas with a lukewarm soap
solution.
8. Rinse with clean water to remove any remaining
soap residues.
9. Clean carefully the inner or internal surfaces of the
unit as well as the fan wing.
10. After that, dry with a clean cloth.
11. Mount all the parts in the reverse order.
12. Test the functions of the unit and perform an electri-
cal safety check!
In Case of Troubles
This unit has been designed based on state of the art
manufacturing methods and it has been tested repeat-
edly as to its perfect function.
However, if there are any operating troubles check the
unit according to the following listing:
The unit does not start:
◊
Control or check operating switch.
Green control lamp “operation” must lit.
◊
Check mains plugs.
◊
Check connection to the mains.
230V/1~ 50 Hz.
◊
Check mains fuse at user.
10 A resp. 16 A.
◊
Check filling level of the condensate tank and pour
out the condensate if necessary.
◊
Check the position of the condensate tank and the
cover lock have to be closed correctly.
◊
Check micro switch function.
◊
Control hygrostat setting (accessory). The set value
must be lower than the relative air humidity in the
room where the unit has been installed.
◊
Check intermediate plug of hygrostat to see whether
it has been damaged and whether it has been cor-
rectly plugged in.
Unit runs, but no condensate formation:
◊
Control ambient temperature. Unit operates within a
temperature range from 3° C to 32° C.
◊
Control air humidity.
Min. 40% relative humidity.
◊
Check hygrostat setting and set a lower value, if nec-
essary.
◊
Check whether dust filter is dirty, if so, clean it.
◊
Check whether the evaporator and condenser lamel-
las are dirty and clean them, if necessary.
◊
The evaporator is covered with ice. Check whether
automatic defrosting device operates correctly, or
check ambient temperature.
◊
Evaporator temperature is not lower than the room
temperature. Control automatic defrosting device
and compressor, respectively.
Out of the unit runs water / condensate:
◊
Check if the unit stands straightly.
◊
Check if the black filler cap is in the hose nipple of
the tank after the unit was work with hose connection
and/or after you have cleaned the unit.
A
C
B
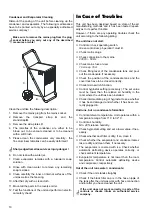
Condenser and Evaporator Cleaning
Dismount the casing of the unit before cleaning up the
condenser and evaporator. The following maintenance
have to be carried out only by an especially authorised
service company!
G
Sharp-edged lamellas survives injury-danger !
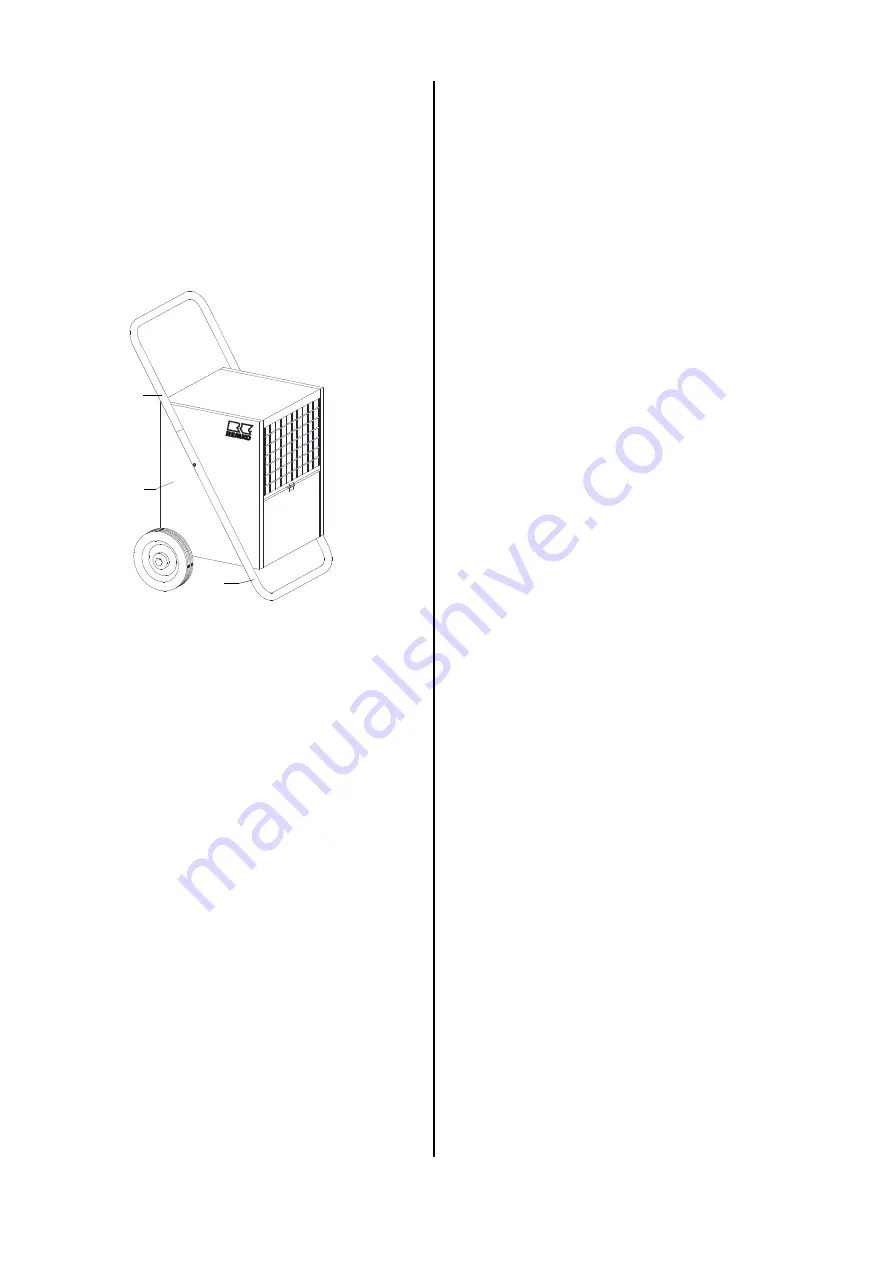
Clean the unit like the following description:
1. Remove the mains plug from the mains socket.
2. Remove the transport strap
A
and the
stand strap
B
.
3. Remove the side-plates
C
.
4. The lamellas of the condenser are either to be
blown out, to be vacuum-cleaned or to be cleaned
with a soft brush.
5. Please clean the condensator very carefully - the
fine aluminium lamellas can be easily deformed!
G
Make sure to remove the mains plug from the plug
socket before you carry out any of the described
measures or work!
G
If the unit does not work correctly in spite of the
controls or checks inform an authorised service
company.
Summary of Contents for ETF 300
Page 2: ......


