13
Cleaning the combustion chamber
1. Set the operating switch to the
„0“ position (off) and unplug
the power supply.
2. Open the locking door at the
front of the device.
3. Unscrew the fuel filter including
the fuel lines and pull the roset-
te from the burner.
4. Release the lower 2 fastening
screws on the burner flange 6.
5. Release the clamping screw 7
on the burner flange 6 and pull
the burner out forwards.
70
6
7
Following all work on the
device, an electrical safety test
in accordance with VDE 0701
must be carried out.
CAUTION
Additional maintenance hints
■
All tasks should only be per-
formed by authorised, expert
personnel with the appropriate
tools and parts.
A log must be produced and
kept by the operator.
■
It is vital that the forced air he-
ater is serviced and adjusted by
authorised, expert personnel.
Assembling the burner flange and
the burner
1. Check the flange seal and re-
place it if necessary.
2. Attach the burner flange with
the four fastening screws to the
unit housing.
Pay attention to the
„OBEN“
(UP, HAUT)
label
!
3. Tighten the 2 upper fastening
screws.
4. Tighten the 2 lower fastening
screws only lightly so that the
burner flange can be pulled
together.
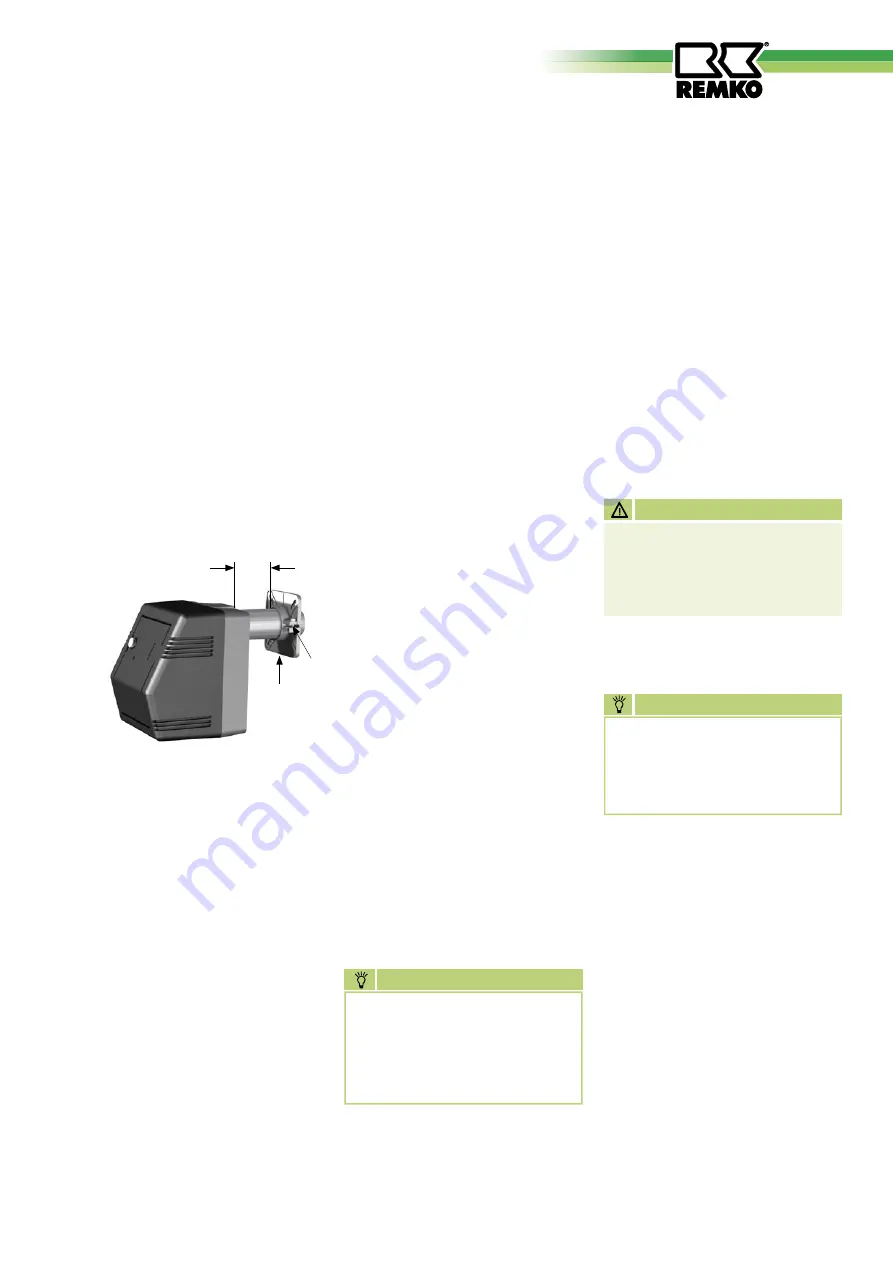
5. Slide the flame tube of the bur-
ner into the burner flange.
Observe the measurement X in
the figure!
6. Attach the flame tube firmly to
the flange with clamping screw
7 while lifting the burner
slightly (3° incline).
7. Finally, tighten the lower 2
fastening screws.
8. Reassemble the fuel filter and
lines and check for tightness.
NOTE
Flue gas loss must be restricted
in accordance with section 11
of the small heating device
ordinance (1.BImSchV).
6. Place the burner and the fuel
filter carefully beside the device.
7. Disassemble the burner flange 6.
8. Take care not to damage the
flange seal.
Damaged flange seals can re-
sult in incorrect air induction.
9. Clean the combustion cham-
ber with a vacuum cleaner
through the burner opening.
A special chamber cleaning set
is available as an accessory to
the REMKO industrial vacuum
cleaner.
NOTE
After all adjustment tasks the
doors must be closed.
In order to prevent unautho-
rized operation, the doors
should also be locked.


