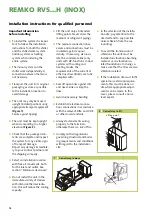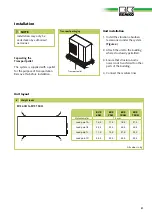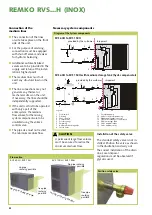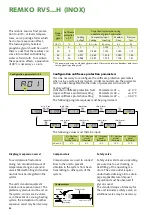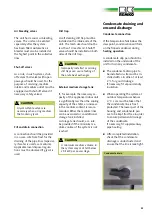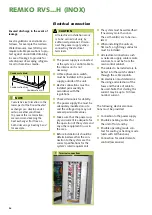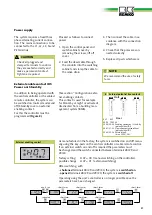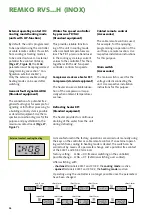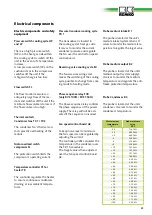
Wall openings
■
We recommend that the inside
of the opening be padded or
lined for example with a PVC
pipe to prevent damage to the
pipe lines.
■
After installation, the wall
opening should be sealed off
with a suitable sealant. Do not
use materials containing cement
or lime!
Installation material
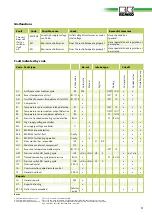
The system is secured on vibration
absorbers (accessories) to the floor
by means of bolts. The carrying ca-
pacity of the console and the wall
must be taken into account when
fastening to the wall.
Selection of the installation
location
The unit is designed for horizontal
installation on a base in outdoor
areas. The installation site must be
level and firm. The unit should be
secured to prevent toppling.
The unit can be installed outside as
well as inside a building.
In the case of outdoor installation,
please follow the instructions given
below to protect the unit against
the weather.
Rain
The unit should be at least 10 cm
off the ground when mounted on
the roof or ground.
For cooling and heating systems
(only HP-function) elevated instal-
lation increases the heating
capacity.
Sun
The finned condenser gives off
heat in the cooling mode.
Exposure to sunlight further in-
creases the temperature of the fins
and reduces the heat released by
the finned heat exchanger.
The unit should, whenever pos-
sible, be installed on the north side
of the building.
If necessary, take measures to pro-
vide sufficient shade (responsibility
of customer).
This can be done by building a
small roof covering.
However, the discharging warm air
flow must not be affected by this.
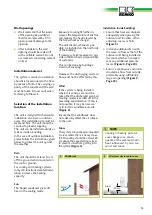
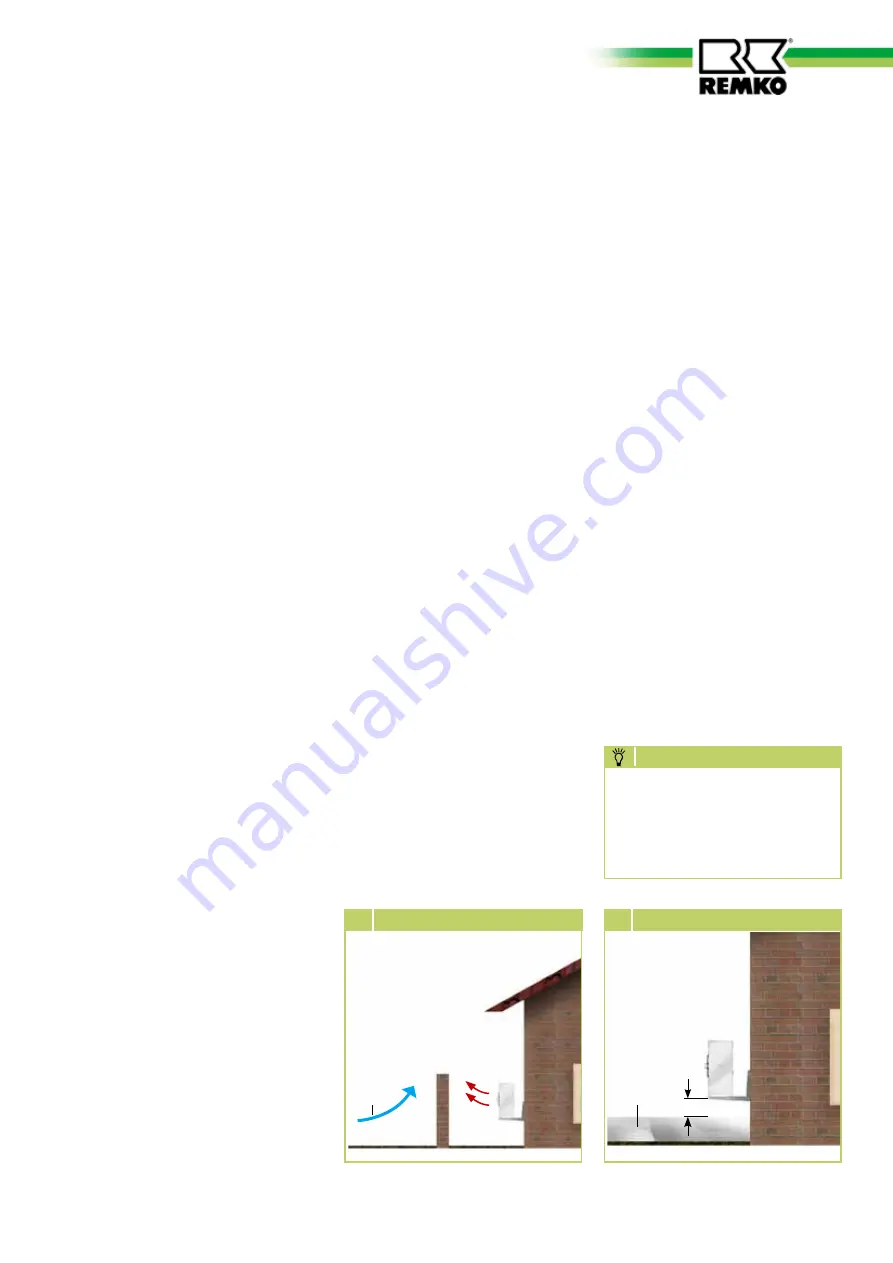
Wind
If the system is being installed
where it is windy, care must be
taken that the discharged warm air
(cooling mode) is carried off in the
prevailing wind direction. If this is
not possible, it may be necessa-
ry to install a windbreak on-site
(Figure 3)
.
Ensure that the windbreak does
not adversely affect the air intake-
to the unit.
Snow
The system should be wall-mounted
in areas where there is heavy snow-
fall. Mounting should be at least 20
cm above the expected snow level
to prevent snow from getting into
the system
(Figure 4)
.
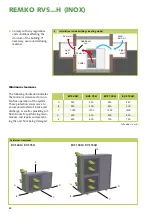
Installation inside buildings
■
Ensure that heat can dissipate
adequately when placing the
outdoor unit in cellars, attics,
adjoining rooms or halls
(Figure 5)
.
■
Install an additional fan with
the same air flow as that of the
outdoor unit being installed in
the room which can compen-
sate any additional pressure
losses.
(Figure 5, Page 20)
.
■
Ensure a continuous and unob-
structed air flow from outside,
preferably using sufficiently
large air openings
(Figure 5,
Page 20)
.
Cooling or heating perform-
ance changes as a conse-
quence of the ambient condi-
tions influenced by rain, sun,
wind, and snow.
NOTE
Wind
3 Windbreak
20 cm
Snow
4 Minimum clearance to snow
19
Summary of Contents for RVS 100H INOX
Page 2: ......

