6
Accessing the Configuration Tool
The Configuration Tool is accessed through your browser. It’s used to add and change
programming for the SKT. In the Configuration Tool you may create food groups, items, job aids,
devices, as well as add Wireless Sensor Modules and Gateways.
1. Connecting for the first time: Connect the included power supply to the back of the
unit and insert the plug into a wall outlet. Initial power up may take up to 30 seconds.
Once the Smart Kitchen Timer has powered on, rotate the screen by tapping on the blue
button until the desired orientation is set. Once finished, tap “Next.” Continue with steps
2-6.
Reconnecting to the Configuration Tool: Hold the “RENAU” logo in the main screen,
enter the PIN number, Click on “Setup”, and finally select “Reconfigure Device.” Continue
with steps 2-6.
Warning: You must use the included power supply, or a Renau approved replacement.
Use of a third-party power supply or any other replacement not approved by Renau will
void the warranty.
2. Select the desired device operation mode:
Connected:
Allows for communication between multiple SKT’s. If this is the main
connected SKT, select “Master.” Otherwise, select “Slave.” If selecting Slave, refer to pages
10-11 on how to establish a Master/Slave relationship. If you will be adding a Gateway or
Sensor Module, the SKT must be used in connected mode.
Standalone:
Allows for the SKT to work as a single standalone device with reduced setup
requirements. Once configured, Standalone Devices do not require a WiFi dongle inserted
at all times.
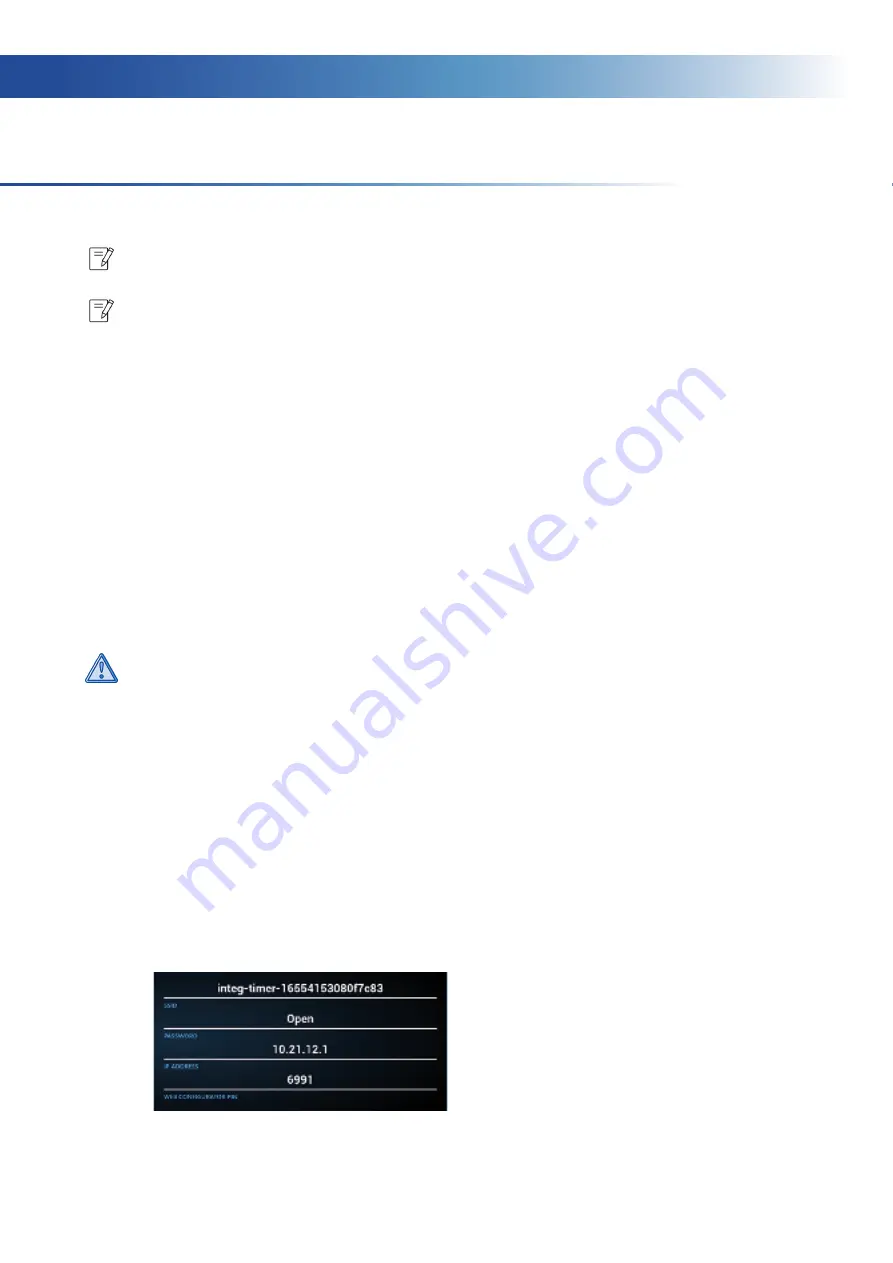
3. The SKT should now display a screen with an SSID, an IP Address, and a Configuration
Tool PIN.
Note: Before getting started, ensure that the Wi-Fi Dongle provided in the packaging is inserted
into the USB port on the SKT.
Note: The preprogrammed PIN number for all new units is 4444. If you would like to change this
number, you may do so later in the SKT menu.


