63
Intera 5.3
End of Arm Tooling
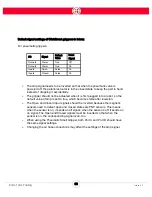
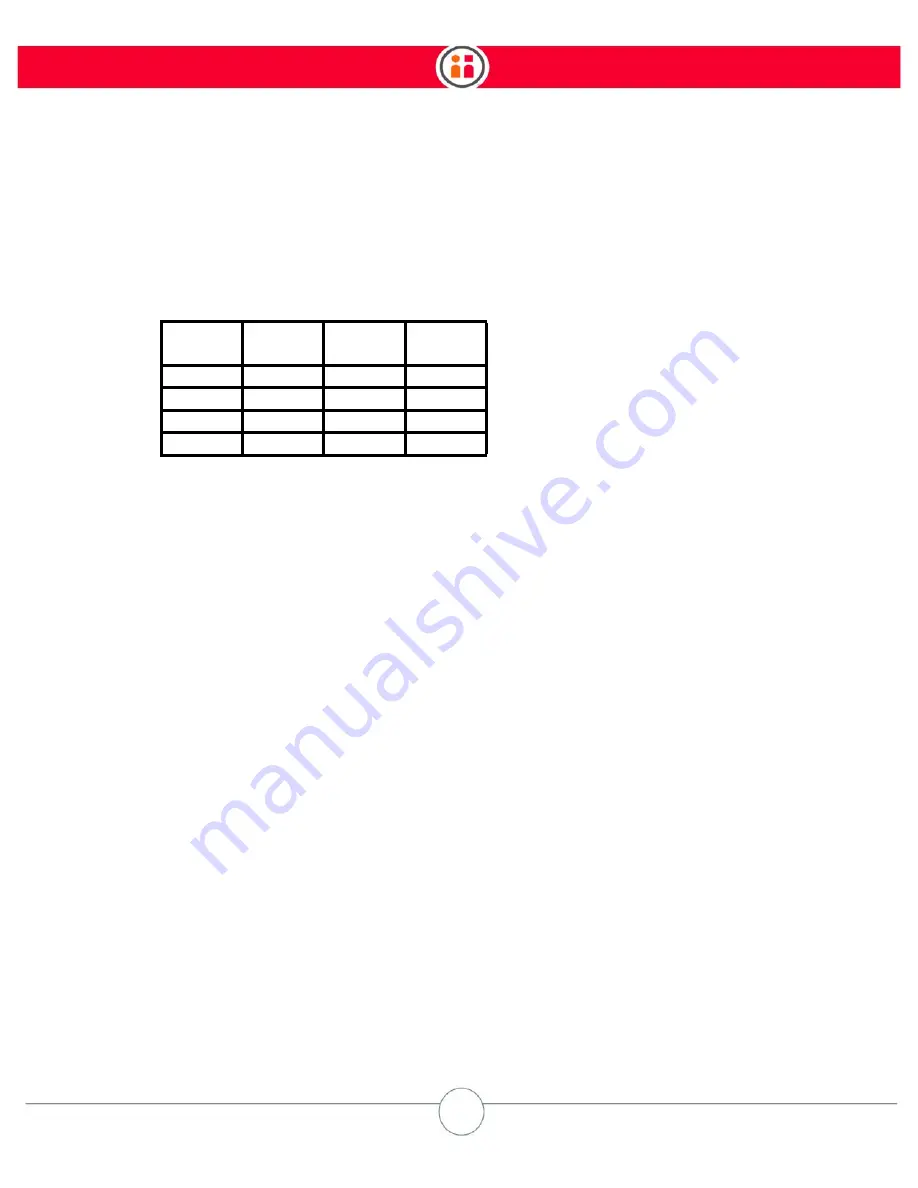
Default signal settings of ClickSmart grippers in Intera:
For pneumatic grippers:
•
The Grip signal needs to be inverted so that when the pneumatic valve is
powered off, the parallel actuator is in the closed state to keep the part in hand
instead of dropping it accidentally.
•
The gripper should not be actuated when it is first plugged into a robot, so the
default value of Grip is set to true, which becomes false after inversion.
•
The Open and Closed input signals should be inverted because the magnetic
sensors used to detect open and closed states are PNP sensors. This means
when the sensor is on, it sends an off signal; when the sensor is off, it sends an
on signal. The Open and Closed signals must be inverted so that when the
sensor is on, the corresponding signal is on, too.
•
When using the Pneumatic Small Gripper, both Port A and Port B should have
the same signal settings.
•
Changing the air hose connections may affect the settings of the Grip signal.
I/O
Signal
Default
Value
Invert
Signal
Outputs
Power
True
Off
Outputs
Power
True
On
Inputs
Open
False
On
Inputs
Closed
False
On
Summary of Contents for Sawyer
Page 15: ...8 Intera 5 3 Getting to Know Sawyer Hardware Overview of Your Robot ...
Page 16: ...9 Intera 5 3 Getting to Know Sawyer Dimensions ...
Page 17: ...10 Intera 5 3 Getting to Know Sawyer Sawyer Reach ...
Page 93: ...86 Intera 5 3 Train Pick and Place Patterns on the Head 11 Press OK to go to the next step ...
Page 104: ...97 Intera 5 3 Train Pick and Place Patterns on the Head You may now run the task ...
Page 134: ...127 Intera 5 3 TCP IP The Set To node in the Behavior Editor is used to output information ...
Page 138: ...131 Intera 5 3 Fieldbus Devices 3 Using a keyboard navigate to CONFIGURATION and press ENTER ...
Page 155: ...148 Intera 5 3 ...
Page 156: ...149 Intera 5 3 ...
Page 180: ...173 Intera 5 3 ...
Page 190: ...183 Intera 5 3 Fixed Data 112 From Robot ...
Page 206: ...199 Intera 5 3 Small Assembly 114 From Robot 115 To Robot ...
Page 207: ...200 Intera 5 3 Large Assembly 116 From Robot 117 To Robot ...
Page 208: ...201 Intera 5 3 Floats 118 From Robot 119 To Robot ...
Page 209: ...202 Intera 5 3 Strings 120 From Robot 121 To Robot ...
Page 218: ...Z Zero G button 16 17 Zero G mode 24 Zero Gravity mode 17 zoom reset 42 ...
Page 219: ......
Page 220: ...Last updated June 18 2018 Intera 5 3 User Guide Getting Started Rev A ...


