85
Intera 5.3
Train Pick and Place Patterns on the Head
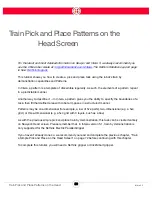
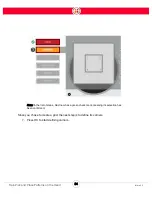
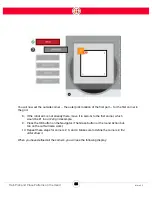
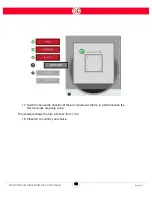
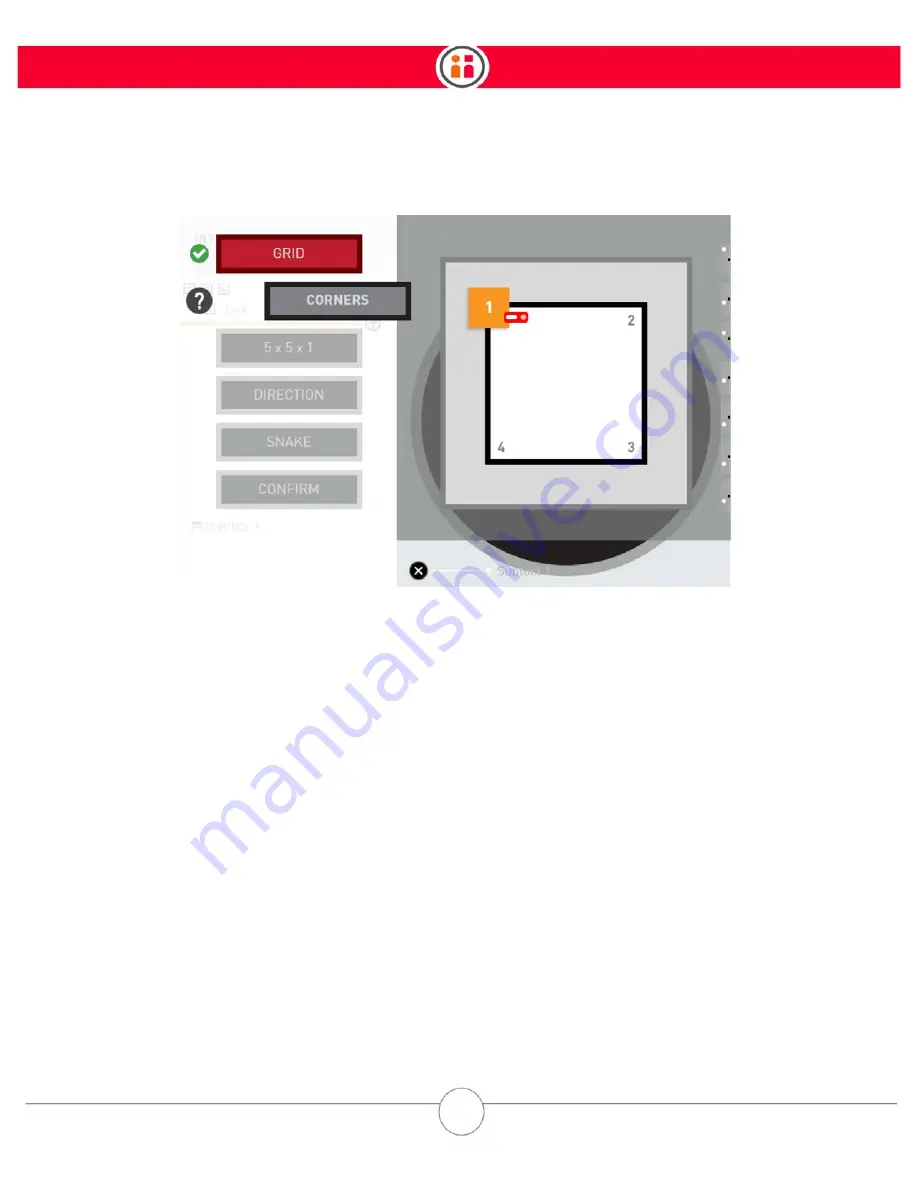
You will now set the outside corner -- the outer pick location of the first part -- for the first corner in
the grid.
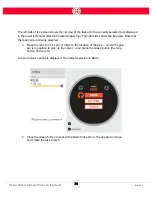
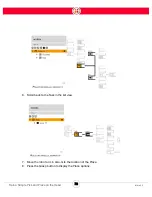
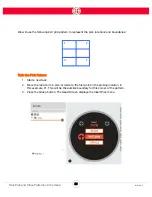
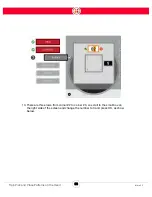
8. If the robot arm is not already there, move it in zero-G to the first corner, which
would be #1 in our 2x3 grid example.
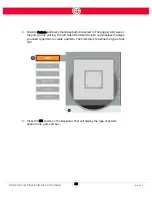
9. Press the OK button on the Navigator. (The Grasp button or the round Action but-
ton on the cuff will also work).
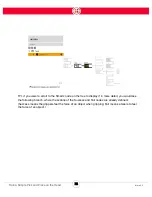
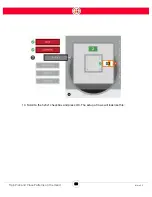
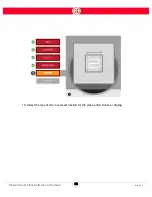
10. Repeat these steps for corners 2, 3, and 4. Make sure to define the corners
in the
order shown
.
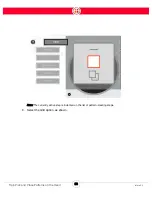
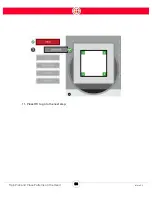
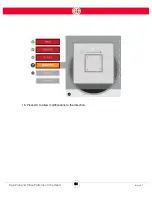
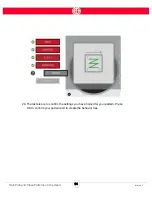
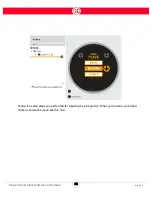
When you have defined all the corners, you will see the following display:
Summary of Contents for Sawyer
Page 15: ...8 Intera 5 3 Getting to Know Sawyer Hardware Overview of Your Robot ...
Page 16: ...9 Intera 5 3 Getting to Know Sawyer Dimensions ...
Page 17: ...10 Intera 5 3 Getting to Know Sawyer Sawyer Reach ...
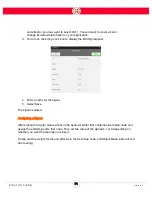
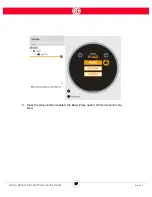
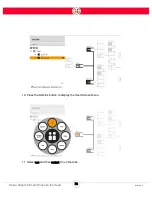
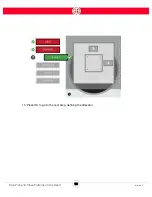
Page 93: ...86 Intera 5 3 Train Pick and Place Patterns on the Head 11 Press OK to go to the next step ...
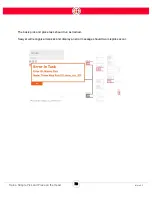
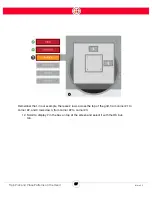
Page 104: ...97 Intera 5 3 Train Pick and Place Patterns on the Head You may now run the task ...
Page 134: ...127 Intera 5 3 TCP IP The Set To node in the Behavior Editor is used to output information ...
Page 138: ...131 Intera 5 3 Fieldbus Devices 3 Using a keyboard navigate to CONFIGURATION and press ENTER ...
Page 155: ...148 Intera 5 3 ...
Page 156: ...149 Intera 5 3 ...
Page 180: ...173 Intera 5 3 ...
Page 190: ...183 Intera 5 3 Fixed Data 112 From Robot ...
Page 206: ...199 Intera 5 3 Small Assembly 114 From Robot 115 To Robot ...
Page 207: ...200 Intera 5 3 Large Assembly 116 From Robot 117 To Robot ...
Page 208: ...201 Intera 5 3 Floats 118 From Robot 119 To Robot ...
Page 209: ...202 Intera 5 3 Strings 120 From Robot 121 To Robot ...
Page 218: ...Z Zero G button 16 17 Zero G mode 24 Zero Gravity mode 17 zoom reset 42 ...
Page 219: ......
Page 220: ...Last updated June 18 2018 Intera 5 3 User Guide Getting Started Rev A ...

