54
Intera 5.3
End of Arm Tooling
End of Arm Tooling
For the latest and most detailed information on Sawyer and Intera 5, we always recommend you
see the Online User Guide at:
mfg.rethinkrobotics.com/intera.
The Rethink Robotics support page
is here:
“End of arm tooling” is the term for what is attached to the end of the robot’s arm that allows the
robot to interact with parts in its environment. Rethink offers optional accessories for use with Saw-
yer, the ClickSmart Family of Gripper Kits. Refer to the corresponding Rethink Robotics guides for
instructions on connecting these accessories to Sawyer.
Attaching End of Arm Tooling
The Sawyer end plate is designed per the ISO 9409-1-40-4-M6 standard bolt pattern with M6 bolts.
If you’re using a ClickSmart Plate and/or Gripper Kit, you must first attach the ClickSmart Plate
(Robot Side), which comes in the accessory box that ships with Sawyer. Then attach the ClickSmart
Plate (Tool Side), which comes in every ClickSmart Gripper Kit, to the Robot Side of the system.
How to Configure End Effectors
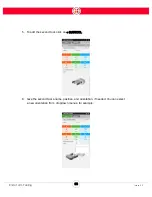
After attaching end effectors according to the instructions included in the gripper kits, you must
configure the grippers before use.
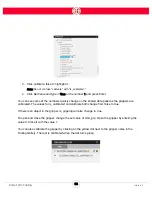
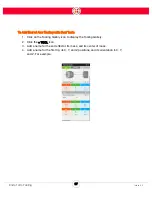
Click on the Tooling Gallery icon in the Top Tool bar:
Summary of Contents for Sawyer
Page 15: ...8 Intera 5 3 Getting to Know Sawyer Hardware Overview of Your Robot ...
Page 16: ...9 Intera 5 3 Getting to Know Sawyer Dimensions ...
Page 17: ...10 Intera 5 3 Getting to Know Sawyer Sawyer Reach ...
Page 93: ...86 Intera 5 3 Train Pick and Place Patterns on the Head 11 Press OK to go to the next step ...
Page 104: ...97 Intera 5 3 Train Pick and Place Patterns on the Head You may now run the task ...
Page 134: ...127 Intera 5 3 TCP IP The Set To node in the Behavior Editor is used to output information ...
Page 138: ...131 Intera 5 3 Fieldbus Devices 3 Using a keyboard navigate to CONFIGURATION and press ENTER ...
Page 155: ...148 Intera 5 3 ...
Page 156: ...149 Intera 5 3 ...
Page 180: ...173 Intera 5 3 ...
Page 190: ...183 Intera 5 3 Fixed Data 112 From Robot ...
Page 206: ...199 Intera 5 3 Small Assembly 114 From Robot 115 To Robot ...
Page 207: ...200 Intera 5 3 Large Assembly 116 From Robot 117 To Robot ...
Page 208: ...201 Intera 5 3 Floats 118 From Robot 119 To Robot ...
Page 209: ...202 Intera 5 3 Strings 120 From Robot 121 To Robot ...
Page 218: ...Z Zero G button 16 17 Zero G mode 24 Zero Gravity mode 17 zoom reset 42 ...
Page 219: ......
Page 220: ...Last updated June 18 2018 Intera 5 3 User Guide Getting Started Rev A ...


