3
Installation and Operation
Blood Bank Refrigerators
4.5
Door Seal
To check the door seal, complete the following steps:
1. Open the door.
2. Insert a strip of paper (a couple of inches wide) between the
door gasket and the cabinet flange and close the door.
3. Slowly pull the paper strip from the outside. You should feel
some resistance.
4. Repeat this test at 4-inch intervals around the door. If the
door does not seal properly, you need to either replace the
gasket, or adjust the door (see Section 4.4).
CAUTION!
Door seal integrity is critical for blood
bank refrigerators. A loose fitting gasket allows moist
air to be drawn into the cabinet, resulting in quicker
frost buildup on the evaporator coil, longer running
time, poor temperature maintenance, and increased
operation cost.
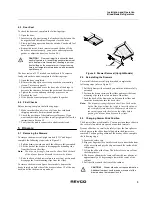
The door seals on 12 ft
3
models can be adjusted. To correct a
faulty seal on these units, complete the following steps:
1. Open the door completely.
2. Remove the hinge pin cover to expose the door mounting
screws. This cover pops off.
3. Loosen the screws and move the door side of the hinge to
decrease the clearance between the gasket and the cabinet.
4. Tighten the screws and snap the hinge pin covers on.
5. Recheck the seal.
6. If the door does not seal properly, replace the gasket.
4.6
Final Checks
Before start up, complete the following steps:
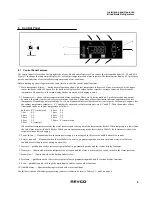
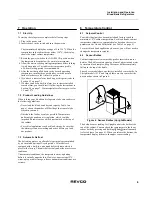
1. Make sure that the unit is free of all wood or cardboard
shipping materials, both inside and outside.
2. Check the positions of the stainless steel drawers. If you
want to adjust the drawer slides in an Upright unit, follow the
instructions in Section 5.3.
3. Verify that the unit is connected to a dedicated circuit.
5
Drawers
5.1
Removing the Drawers
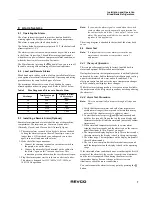
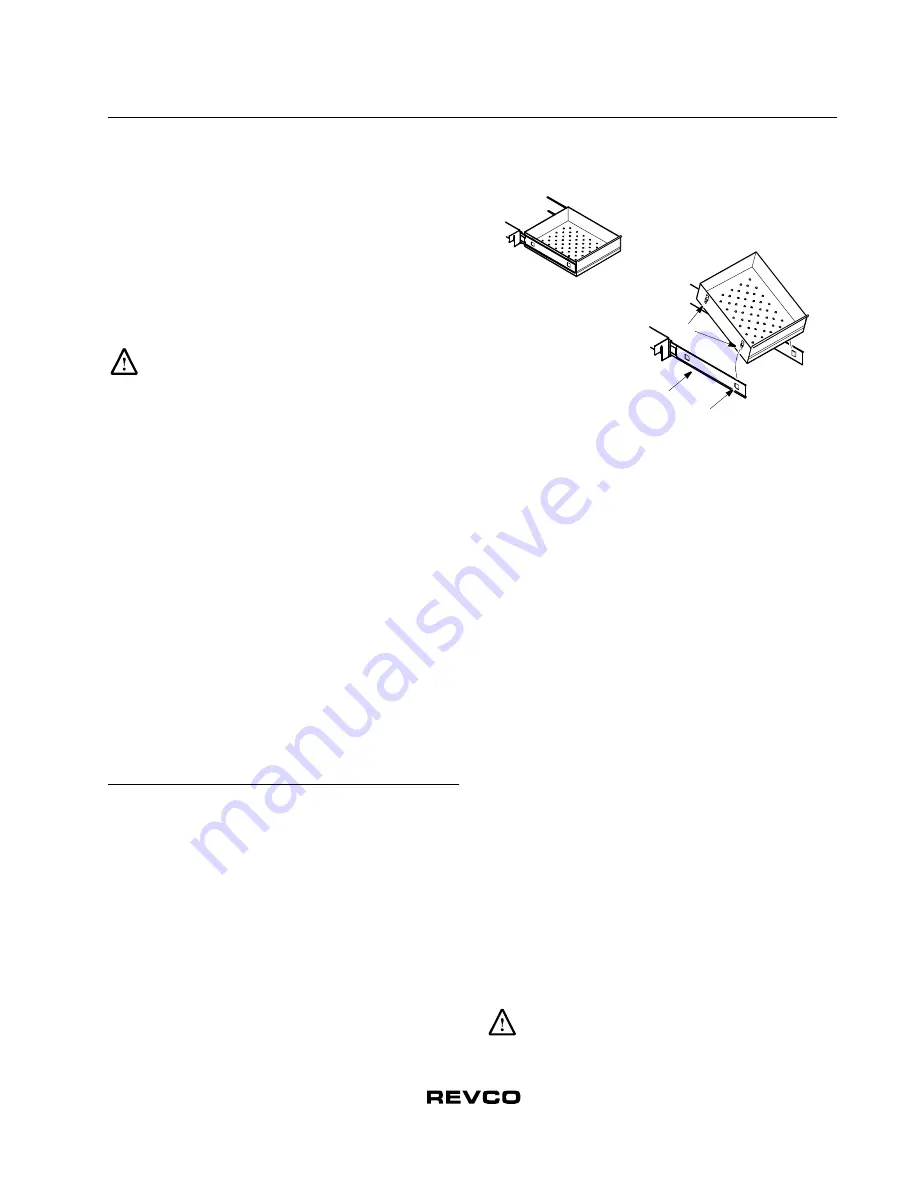
To remove the drawers in Upright models (23 ft
3
and larger)
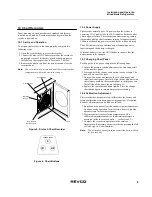
complete the following steps (refer to Figure 2):
1. Pull the drawer toward you until the slides are fully extended.
2. Lift the back of the drawer to disengage the mounting tabs
from the slots on the slides.
Note:
The drawers fit snugly between the slides. Push the back
of the drawer from underneath to remove the drawer.
3. Raise the back of the drawer almost to a vertical position and
disengage the front mounting clips from the slides.
To remove the drawers on Space Saver models, depress the
hooks located on both sides of the drawers (about 1/3 of the way
back) and slide the drawers up and out.
Figure 2. Drawer Removal (Upright Models)
5.2
Reinstalling the Drawers
To reinstall the drawers in Upright models, complete the
following steps (refer to Figure 2):
1. Pull both drawer slides toward you until the slides are fully
extended.
2. Position the drawer between the slides and insert the front
mounting clips into the slots on front of the slides.
3. Push the back of the drawer down between the slides and
insert the drawer tabs into the back slots.
Note:
The drawers fit snugly between the slides. Push on the
back of the drawer from the inside to insert the drawer
tabs completely into the slots. Make sure both drawer
tabs are aligned with the slots on the slides before
pushing the drawer down between the slides.
5.3
Changing Drawer Slide Position
The drawer slides are adjustable. You can position these slides in
the vertical slots which are spaced at one-inch intervals.
Drawer slides have a small wire safety clip at the front pilaster
which prevents the slides from falling when the drawers are
removed. To change the position of the drawer slides, complete
the following steps:
1. Locate the safety clip.
2. Slip your fingernail or a small screwdriver under the bottom
of the wire clip and pry the clip out toward the inside of the
refrigerator.
3. Lift up the slide at the front. The slide is free to move from
the front pilaster.
4. The drawer slide must be removed from the rear pilaster at
approximately a 45 degree angle toward the center of the
cabinet.
5. Pull the slide toward the front of the cabinet.
CAUTION!
Drawer slides do
not
require lubrication.
Additional lubricant could impede movement of the
drawers when the lubricant is cold.
Tabs
Drawer slide
Slot


