6
Installation and Operation
Blood Bank Refrigerators
7
Operation
7.1
Start Up
To start up the refrigerator, complete the following steps:
1. Plug in the power cord.
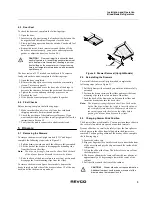
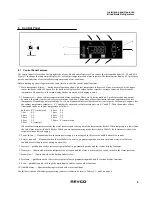
2. Insert the key in the switch and turn the power on.
The temperature display has a range of 0 to 11.4
°
C. When the
temperature in the cabinet drops below 11.4
°
C, the display
shows the actual cabinet temperature.
3. Rotate the power switch to the ALARM ON position when
the temperature drops below the warm alarm setpoint.
4. Allow the unit to reach operating temperature before loading
it with any product. To stabilize the temperature profile,
a 24-hour waiting period is recommended.
5. After the unit has pulled down to the desired operating
temperature, turn the three position key switch one turn
further clockwise to the Alarm On position.
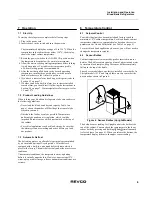
6. If you have a remote alarm, hook it up at this point (refer to
7. Whether you have a built-in alarm or a customer-installed
remote alarm, you should test it following the instructions in
Section 9.4 on page 7. Alarm setpoints are factory pre-set for
5.5 and 1.5
°
C.
7.2
Product Loading Guidelines
When loading your blood bank refrigerator, take care to observe
the following guidelines:
•
Never load the blood bank beyond capacity. Table 1 on
page 1 shows the number of 450ml bags that can safely be
stored in your unit.
•
Distribute the load as evenly as possible. Temperature
uniformity depends on air circulation, which could be
impeded if drawers are overfilled, particularly at the top of
the cabinet.
•
For critical applications such as blood storage, be sure that
the alarm systems are working and active before you load
any product.
7.3
Automatic Defrost
The defrosting process on all models is primarily accomplished
by air circulated during off-cycle periods. All models are
equipped with a built-in, on-demand defrost feature which is
preset at the factory. The units defrost only under the most severe
conditions.
Under normal conditions, the temperature warm-up during
defrost is virtually unnoticeable. However, an occasional 2
°
C
warm-up is possible if usage is heavy and ambient conditions are
extreme.
8
Temperature Control
8.1
Setpoint Control
Your individual unit has been adjusted and factory tested to
maintain a +4
°
C cabinet temperature. For blood banks, cabinet
temperature setpoint is a computed value based on the service
parameters Cut On and Differential (see Table 4 on page 5).
For most blood bank applications, however, you will not need to
change the temperature setpoint.
8.2
Sensor Bottles
Cabinet temperature is measured by probes inserted in sensor
bottles. The bottles contain equal portions of glycerine and water
to simulate blood samples. Keep the sensor bottles completely
full up to the top of the bottle.
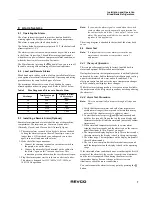
Space Saver models have one factory-installed sensor bottle. In
Upright models (23 ft
3
and larger) there are two sensor bottles,
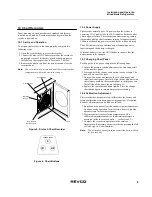
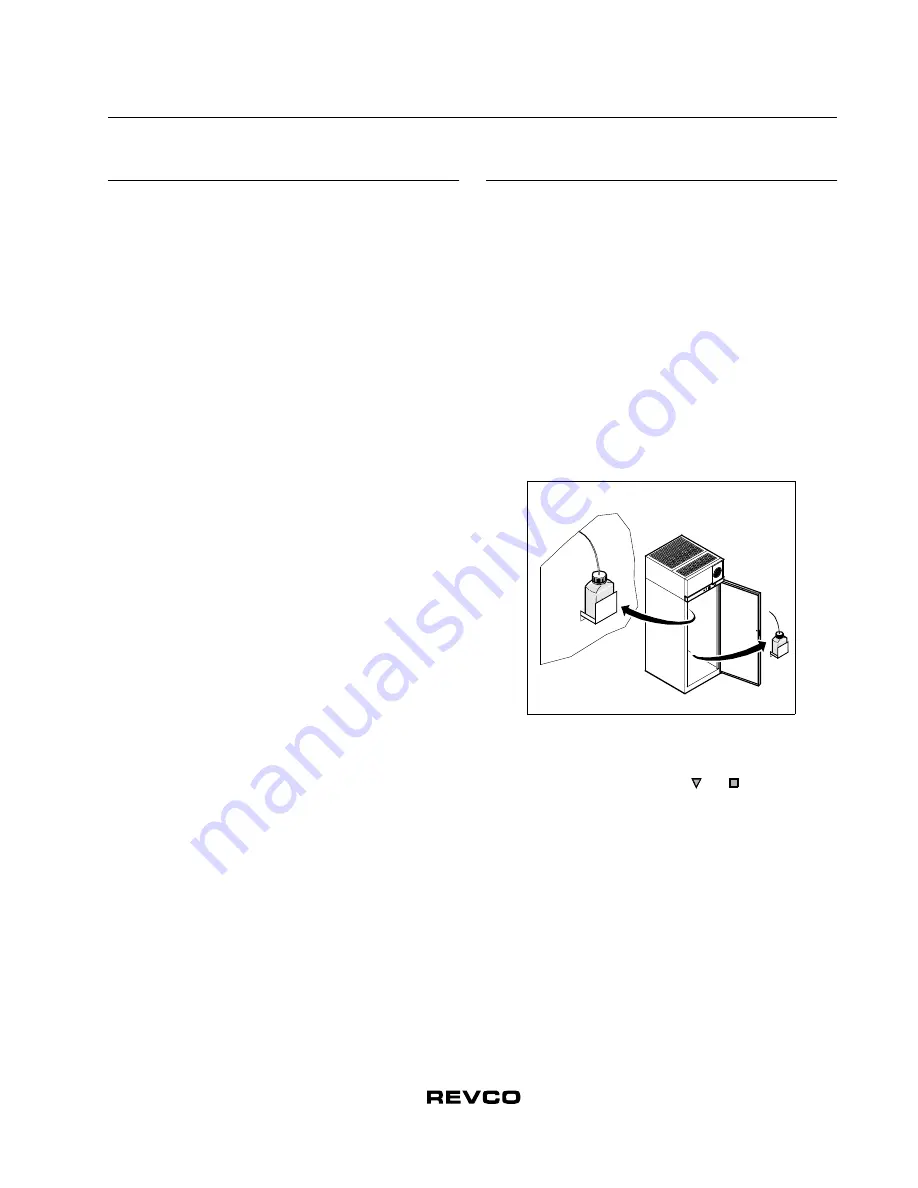
positioned as shown in Figure 4.
Figure 4. Sensor Bottles (Upright Models)
The default sensor reading for Upright units is the bottle at the
top of the cabinet. You can check the temperature in the lower
sensor bottle by pressing and holding
and simultaneously
(refer to Figure 3 on page 4). When you release the buttons, the
temperature display returns to the upper sensor reading.


