

Vorfilter Maxi/Prefilter Maxi DORW3106 08.03.2014 9/10
5. Installation
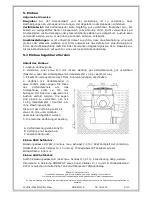
General notes
Excavation pit:
Existing pipelines, pipes, vegetation as well as other specifics have to be
considered, so that damages and hazards will be avoided.
Filling material:
The filling material has to be load bearing, well compactable and frost
free. The best would be sand/gravel e.g. grain size 0/32.
Excavation soil can only be used if it fulfils the above criteria. Topsoil, loam or clay are not
suitable for the backfilling.
For the drivable versions (points 5.2 and 5.3) limestone graining 2/45 or equivalent
material is to be used for the rubble base layer.
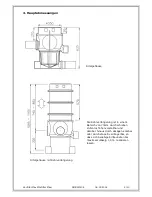
Connection pipes:
it is very important that the outflow pipe shows an equally strong or
stronger slope from the filter than the slope from the inflow pipe to the filter. With
nonobservance the filter overflows with heavy rainfall. This also applies to the outflow pipe.
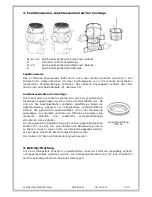
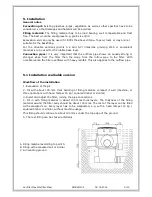
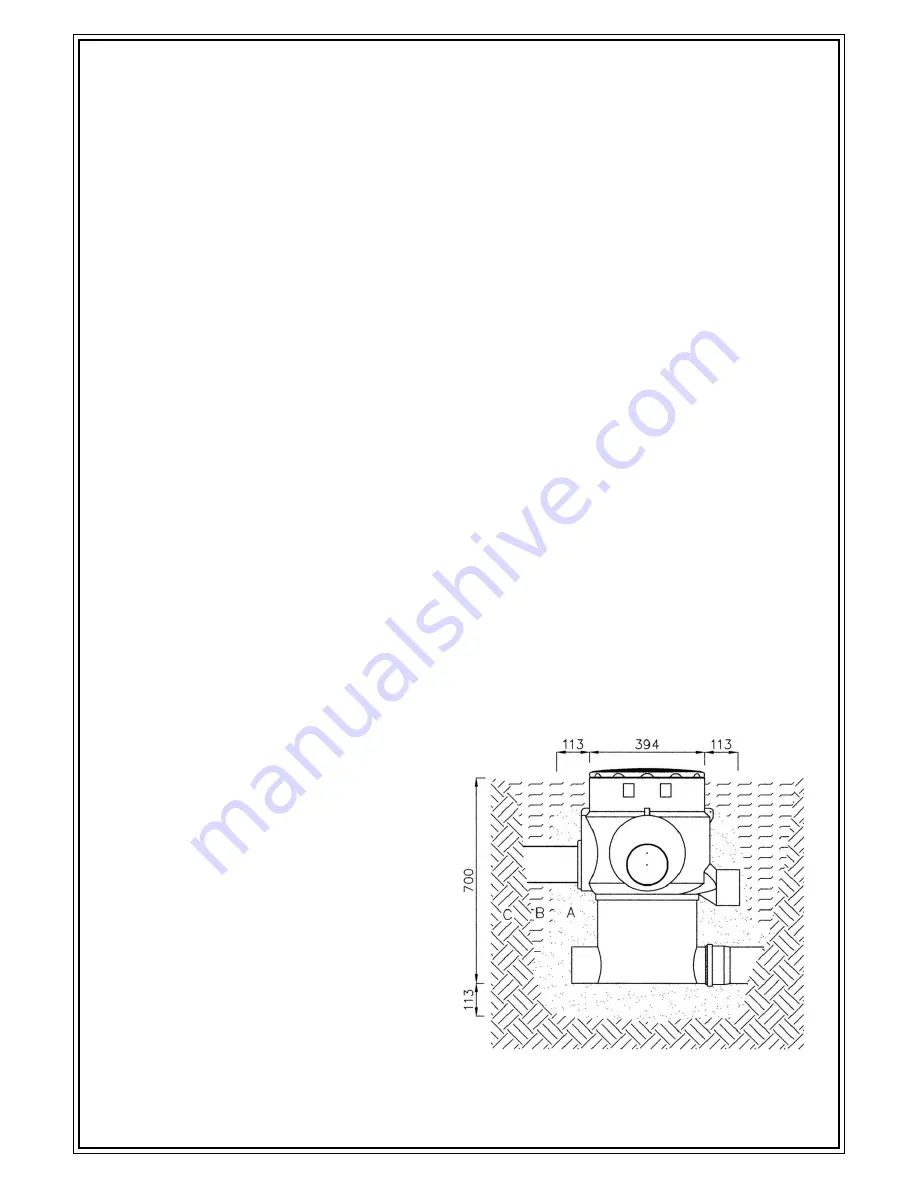
5.1 Installation walkable version
Workflow of the installation
1. Excavation of the pit
2. Fill with about 100 mm thick bedding of filling material, compact it well (machine, or
three operations with hand tamper 15 kg / squared timber or similar)
3. Insert and adjust the filter, joining the pipe connections.
4. Fill in with filling material in about 100 mms thick layers. The thickness of the filling
material around the filter body should be about 100 mms. The rest of the layer can be filled
with excavated soil. Every layer has to be compacted, e.g. with a hand tamper 15 kg /
squared timber or similar, without machine usage.
This filling should continue to about 100 mms under the top edge of the ground.
5. The rest filling can be chosen arbitrarily
A Filling material according to point 5.
B Filling with excavated soil or similar
C surrounding ground


