DEM Page 25 of 43 FEBRUARY 07
REPLACING GEARBOX
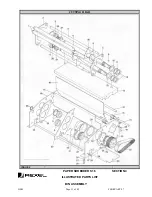
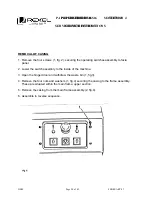
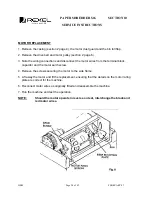
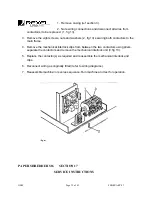
1. Remove the cutting head unit (section 2 page 7), drive belt (section 2 page 6), and motor
(section 2 page 10).
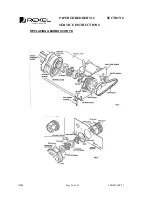
2. Support the cutting head with the gearbox uppermost and remove the screws securing the
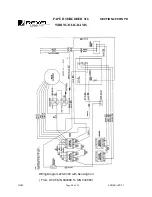
de-jam plate, gearbox cover and tie rods. Lift away the side plate and gearbox assembly.
(Fig 6)
3. Remove the circlip securing the gearbox and withdraw the gearbox from the side frame.
Retain the de-jam plate.
4. On separation of the gearbox, part of the gear train may remain in the gearbox position.
Remove the gears and clean gearbox cover.
NOTE: Examine the shaft bearings and 1/1 gears for wear and replace if required.
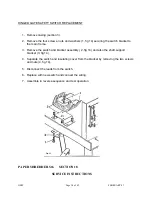
5. Should the gears have become dislodged from the replacement gearbox position the
centre dowel gear as shown (fig. 7) into drive pulley, locate the centre dowel and engage
assembled 1
st
stage gear. Pack with LM2 grease. Engage the assembled 2
nd
stage
planet gear carrier with the 1
st
stage drive gear.
Restrain the gear carrier and rotate the drive pulley to seat the gears.
6. Align the de-jam plate with the gear casing and secure with the new circlip to the side
frame.
7. Offer the side frame assembly to the gearbox cover and rotate the drive pulley to locate
the gears.
8. Locate the de-jam plate with the gearbox mounting holes and secure.
9. Reassemble the remaining components in the reverse sequence.
PAPER SHREDDER S16 SECTION 8
SERVICE INSTRUCTIONS
Summary of Contents for S16
Page 21: ...DEM Page 21 of 43 FEBRUARY 07 ...

