background image

Sales department : Radio Frequency Systems GmbH

Kabelkamp 20, D-30179 Hannover (Germany) 

 Tel. +49-511 676-25 20 

 Fax +49-511 676-25 21

Plant: RFS France Trignac 

 Fax +33 02 40 90 41 43


1/8

Installation Instructions

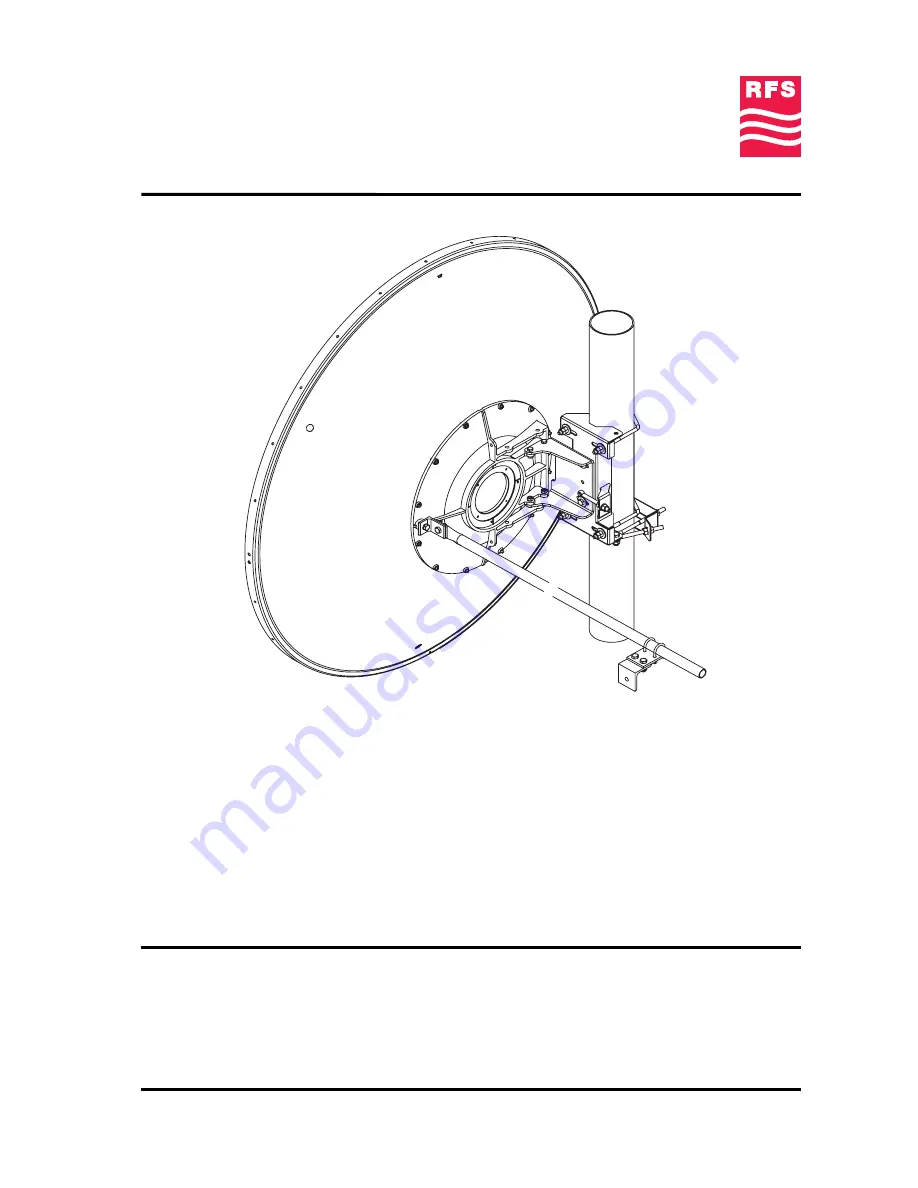
4 ft Antennas (with E-Mount)

PA, PAL, SP, SPF

PAX, SPX

NMT 552-01(e)

These Installation Instructions are valid for antennas in the following version :

Reflector Ø 1.2 m (4 ft)

Single

 or 

Dual

 polarization

Pipe mount for installation on pipe 

Ø 114 mm

Antenna offset to the left or to the right

Standard installation on


114 mm

 pipe with offset to the left

Safety collar for easy installation

2 spindles for fine adjustment of 

Elevation


of ± 15°

 and 

Azimuth


±

 5°

Reflector without shroud

200 km/h

 version : 

With sway bar Ø 27 mm x 1.35 m


(mandatory)

It is important to mount the antenna exactly as described in this installation instruction.

The installed antenna shall be inspected once per year by qualified personnel.

RFS disclaims any responsibility for the result of improper or unsafe installation.

This installation instruction has been written for qualified, skilled personnel.

We reserve the right to alter details, especially with respect to technical improvement.

Summary of Contents for PA

Page 1: ...o the right Standard installation on 114 mm pipe with offset to the left Safety collar for easy installation 2 spindles for fine adjustment of Elevation of 15 and Azimuth 5 Reflector without shroud 200 km h version With sway bar Ø 27 mm x 1 35 m mandatory It is important to mount the antenna exactly as described in this installation instruction The installed antenna shall be inspected once per yea...

Page 2: ...nches for hexagon bolts 1 strong rope or cable approx Length 2 5x tower high M5 8 M6 10 M8 13 M10 17 Water balance compass cutter tape measure Key for socket screw M3 2 5 values in brackets openings of spanners 2 Antenna Offset Overview Holes for feed systems equipped with guy wires Offset right Rotate the reflector and the tower mount 180 Reflector TOP mark aligned with antenna BOTTOM Reflector T...

Page 3: ...d dirt a Torque Table is attached for specifications 3 1 3 2 3 2 3 3 Connecting Support Mount Steel U Mount 4 ft 2 SL screws M10x25 2 washers 10 5 Ø30 4 screws M8x25 4 SL washers A8 4 nuts M8 3 4 Install the reflector front side facing ground on the packing cover Do not lean on the reflector during the assembly the reflector geométry may be permanently damage and degrade antenna performances ELEVA...

Page 4: ...n actions and decisions The use of hoisting systems must be done by qualified and skilled personnel Always use certified and controlled equipments and be sure to respect the breaking load and the working load limit of each element pulleys ropes carabiners RFS disclaims any responsibility in case of non repect of these warnings For an installation Offset Left For an installation Offset Right Minimu...

Page 5: ...ith the tower structure during hoisting To winch Shackle 2 shackles with steel ring Steel mount Principle for an installation with a left offset Strong rope attached on the reflector casting eye Ø8 5 mm with a shackle and linked to winch Strong rope fixed at the tower top The rope is slipping through a steel roll attached with 2 shackles on reflector rim ...

Page 6: ... Eye spindle M10x130 2 washers 10 5 2 brass nuts M10 2 V Bolts M10 4 washers 10 5 30 8 nuts M10 Antenna installation over the pre installed azimuth safety collar Do not forget to apply Anti Seize installation paste on V Bolt threads It will insure a correct tension for the final V Bolts torque tightening Principle for an installation with a left offset ...

Page 7: ...ion fine adjustment torque tighten the 2 M10 screws After complete Azimuth fine adjustment lock each first nut of the V bolts greased at the specific torque refer to torque table joined then tighten the second nut against the first one using usual wrench do not use 2 wrenches to fix the second nut Then tighten the 2 brass nuts M10 of the Azimuth spindle Principle for an installation with a left of...

Page 8: ...tenna casting ring Sway bar clamp After sway bar positioning torque tighten all bolted joints 11 Sway bar pre assembly 12 Sway bar installation Feed system not shown 13 Final Check When the installation of the antenna has been completed it is necessary to make sure that the installation instructions have been followed in all aspects It is especially important to check that all bolted joints have b...

Reviews: