


Safety precautions
Safety precautions
·To ensure safe and correct use, be sure to read the “Safety
Precautions” before using the product.
·The “Safety Precautions” contain the information critical for your
safety. Be always sure to heed the information given here.
·The following symbols describe the degrees of risk and damage
that may be caused if the information given under each symbol
is not observed.
DANGER
Indicates an imminently hazardous
situation which, if not avoided, could
result in death or serious injury.
WARNING
Indicates a potentially hazardous
situation which, if not avoided, may
result in death or serious injury.
CAUTION
Indicates a potentially hazardous
situation which, if not avoided, may result
in serious injury or equipment damage.
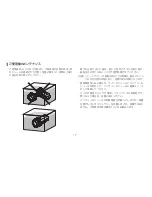
If the product is used improperly without observing the following
information, fire ignition, heat generation, equipment damage or
liquid leak may cause a burn, injury or loss of sight.
DANGER
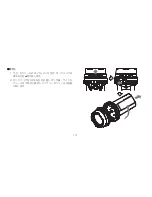
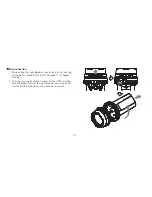
·Do not disassemble or modify the modules.
·Do not soak a single module in water without connecting it to
the other module.
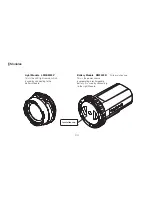
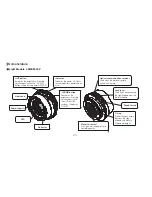
* The Light Module and Battery Module cannot be connected
or disconnected to each other under water.
·Do not throw the modules in fire or heat them excessively in an
oven.
·Do not use or leave the modules in an area exposed to high
temperatures.
·Do not apply a strong impact to the modules, such as dropping
them. Otherwise, the broken glass or damaged components
may cause an injury.
·Do not place the modules in the reach of children.
WARNING
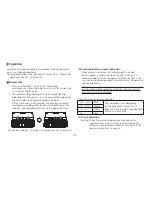
·Do not project the light toward human eyes.
·Do not short-circuit the charge terminals of the Battery Module
or charge plug with a metallic object such as a pin.
22
Summary of Contents for BM3400B
Page 3: ...4 6 7 9 10 12 14 15 16 17 18 19 19 40 3...
Page 4: ...AC AC100V 240V AC 4...
Page 5: ...AC AC AC AC 5 O AC 5...
Page 6: ...6 LM5K2500V BM3400B LED...
Page 7: ...LM5K2500V 7 LED UP DOWN ON OFF DOWN UP ON OFF ON O...
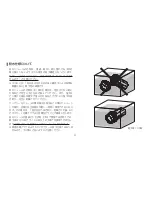
Page 8: ...BM3400B 8...
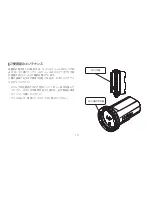
Page 9: ...IPX6 IPX6 AC 100M 100M AC 100M 9...
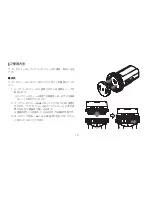
Page 10: ...100M O O O O 1 O 10 O O...
Page 11: ...1 O O 2 O O 3 O 4 O 5 O O 6 O 11...
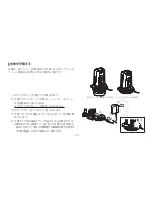
Page 12: ...O 1 2 OPEN OPEN 3 3 CLOSE 12...
Page 13: ...1 OPEN 2 OPEN 13...
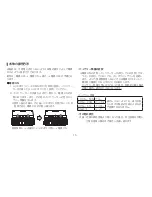
Page 14: ...1 AC 2 3 AC 4 5 3 14...
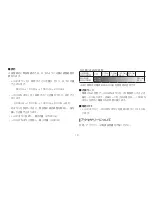
Page 15: ...OFF ON OFF ON 1 UP DOWN UP 1 2 ON UP 5 OFF UP ON ON OFF ON 5 100 50 50 20 20 5 5 15...
Page 17: ...1 O O 17...
Page 38: ...Memo 38...
Page 39: ...39...