User Manual
Reference number: 4111A-RADAR4600-GBD-R1.1
Date: 27 February 2018
Page 98 of 149
3.8
MISCELLANEOUS
3.8.1
Clock time settings
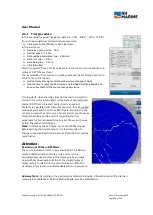
In right upside edge of screen, clock time is shown. It can be
UTC, Local Time with time shift or Bridge Time
To select and change:
Click into the time cell or
click menu button [SYSTEM] and
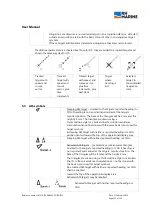
select menu 'Clock Settings'
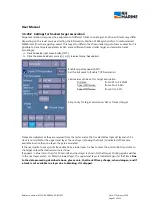
Beside shown menu pops up:
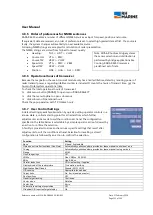
To get UTC, mark the UTC-box.
To get Local time, mark the Local time box.
When Local time is marked, the shifted time to GMT time must
be selected in steps of 0.5 hours.
After setting the time shift, check that the time is shown correct
for the actual region.
Bridge Time may be chosen in case that a centralized clock
option is available with output connection to the radar.
3.8.2
MAP function
RH Marine RADAR 4600 includes a basic map function which offers the facility to draw simple lined maps
into the radar image. This allows marking a dangerous area or other areas which needs particular attention.
Draw a map
To draw a new map or to activate a
stored map,
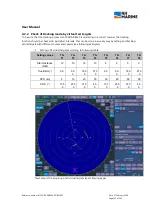
Click menu button [MAP]
if not shown, click head cell or click
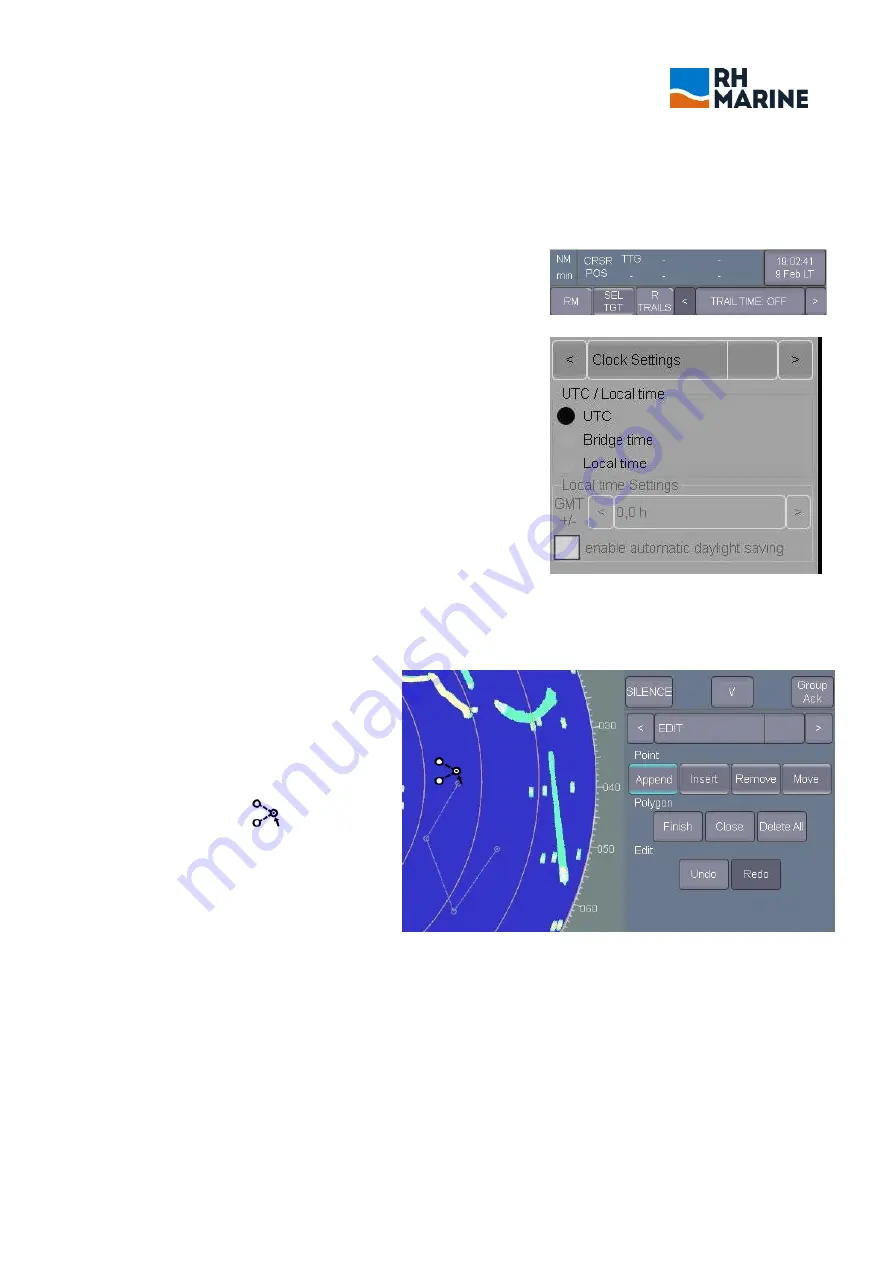
[<] or [>] and select 'EDIT'.
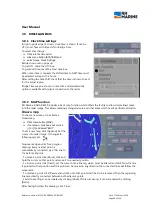
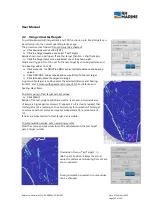
To set a new map, click [Append]. Set the
cursor into radar image. It changes to
following symbol.
Now mark edge points for a polygon
drawing. Every next set point is
automatically connected by a thin line to
the before set point.
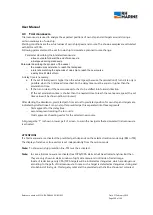
- To move a point, click [Move], click and
hold the cursor on that point and move it to a needed position.
- To insert a point, click [Insert], set the cursor onto a line leg, which must be altered and click. Now the line
is pointed on that position and this point can be moved in any direction the connected lines will follow the
movement.
- To remove a point, click [Remove] and click onto that point which has to be removed. Then the regarding
lines are directly connected between both adjacent points.
- Last done settings can be deleted by clicking [Undo]. If this was wrong, it can be renewed by clicking
[Redo].
After having finished the drawing, click 'Close'.

