


Operative Instructions
14
- The magnetic-snap safety system of the fuses must
be calibrated according to the power indicated on the
machine plate.
- Make sure that the measured voltage is equal to
the one reported on the identification plate of the
machine;
- Check that the voltage does not differ by more than
10% from its rated value;
- Make sure that the electrical system is equipped with
an efficient grounding connection;
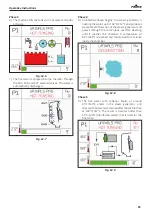
- Connect the cable that comes out of the machine
to the wall socket. In case the machine has a three-
phase connection (standard), connect the cable
installed on the machine to the three-phase plug
and insert it into the interlocked socket next to the
machine (not provided).
- The socket must be accessible after the machine
installation. This facilitates verification of the electrical
safety, e.g. in repair or maintenance interventions.
- The machine must be supplied with current whose
voltage, frequency and protection values correspond
to those indicated on the data plate.
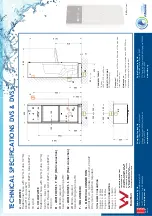
- Additional indications regarding the electrical
connection are shown in the Technical Specifications
(see pg. 2).
Ö
IMPORTANT NOTE! The fuses must be in
compliance with Standards IEC 60127-2,
UL248-14, CSA C22.2.
b
HAZARD! Make a permanent connection
with the power supply in order to reduce any
danger for the users.
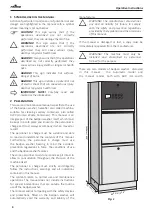
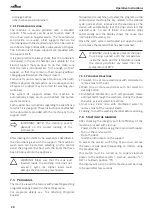
1
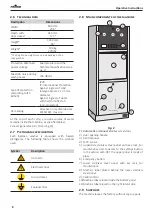
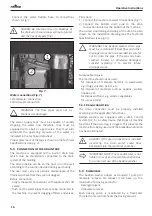
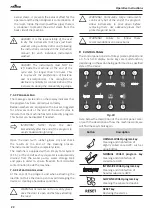
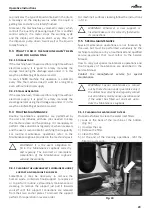
Fig. 6
c
HAZARD! Damaged fuses must be replaced
(see Fig. 6) by authorised personnel (for the
value and size of the fuses see Annex 10.8).
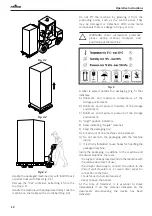
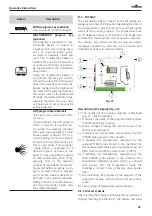
5.1.1 Electrical connection
Connection of the machine to the electrical mains must
be made by qualified, skilled personnel.
a
WARNING! Power supply cable: it is
compulsory for the retailer - installer to
adapt the insulation class of the power
supply cable to suit the working environment
in compliance with current technical
regulations.
- Check that the electric specifications match those
shown in the label.
- The electrical connection must be carried out in
compliance with current technical regulations.
- Make sure that the primary voltage reading
corresponds to the voltage indicated on the machine
plate.
- Check that the power supply voltage does not differ
by more than 10% from its nominal value.
- The frequency of the power supply voltage must not
differ by more than 1% of its value.
- Connection of the machine to the mains must
be provided with an earth connection and an
equipotential circuit as set forth by current standards.
- Make sure that the electrical systems are efficiently
earthed.
- The earth conductor is to be connected to the earth
terminal identified by the standard symbol.
- The machine is equipped with a terminal identified by
the relative symbol for equipotential connections
between appliances (see rules for electrical plants).
- Connect the machine by using the power cable
supplied with the machine.
- In case of prolonged use of the machine it is
recommended that you execute the disconnection
procedure of the electrical connection by placing the
dedicated safety device in “OFF” state.
- The upstream electrical power line must be
dimensioned and protected in accordance with
current local regulations.
Electromagnetic compatibility (EMC)
The machine has been tested on electromagnetic
compatibility pursuant to Standards EN 61326-1 and
is suitable for operation in institutes such as hospitals,
Summary of Contents for DVS
Page 40: ...Operative Instructions 40 Notes ...
Page 41: ...Operative Instructions 41 Notes ...


