

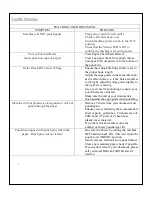

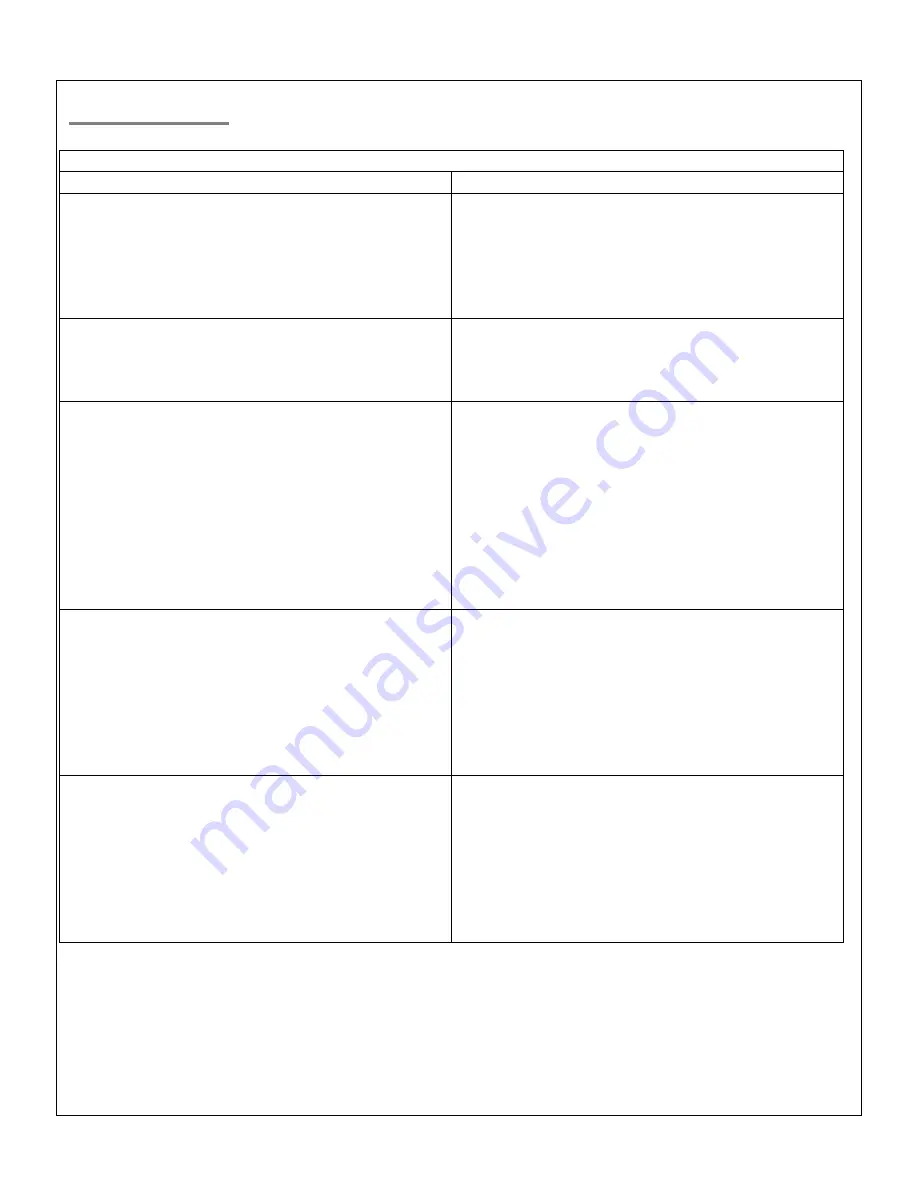
Trouble Shooting:
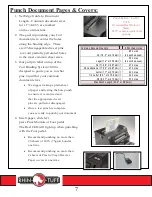
PUNCHING YOUR DOCUMENT
SYMPTOM
SOLUTION
Machine will NOT punch paper
-
Plug power cord into wall outlet
-
Check wall outlet has power
-
Switch machine power switch to the “ON”
position
-
Check that the Yellow LED is ON to
confirm the machine is receiving power
Uneven Punched Holes
(holes punch on edge of paper)
-
Clear Paper Chad Waste Drawer
-
Clear any paper chads from punch throat
-
Seat paper lift completely into the bottom of
the punch die
Holes Punch Off-Center of Page
-
Ensure the Adjustable Edge Guide is set to
the proper book length
-
Adjust the edge guide in the same direction
as the offset holes (i.e. if the holes are offset
to the right, adjust the edge guide slightly to
the right for centering
-
Use a test sheet for punching to ensure your
punch holes are centered
-
Make sure the end of your document is
flush against the edge guide when punching
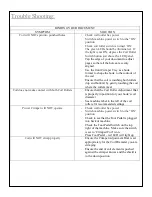
Machine will not produce a clean punch or will not
punch through the paper
-
Remove 5 sheets from your document and
punch again
-
Ensure you are following the recommended
sheet capacity guidelines: 20 sheets max of
20lb. bond (75 gsm) or 2 sheets max
plastic/cover material.
-
If you have thicker media reduce the
number of sheets punched per lift.
Punch has stopped with punch pins still in the
paper. Punch pins will not retract.
-
Re-cycle the Power by turning the machine
OFF and then back ON. This will return the
punch to its “HOME” position.
-
Gently remove all sheets from punch throat.
Clear any remaining paper chads if possible
-
If you cannot remove your document, please
call your local Rhin-O-Tuff® Dealer for
Service.
•
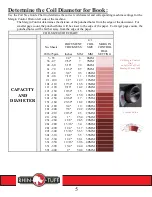
Summary of Contents for 3000
Page 7: ...6 ...


