9
Prepare For Safe Operation
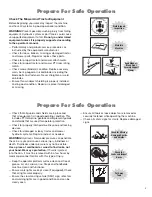
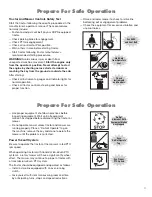
Check The Mower And Tractor Equipment
Before beginning your work day inspect the machine
and have all systems in good operational condition.
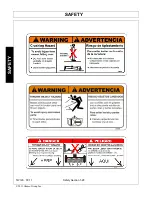
WARNING!
Prevent possible crushing injury from falling
equipment. Hydraulic system or part failure could cause
unsupported equipment to fall.
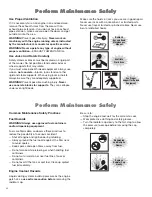
Do not go under raised
equipment unless it is properly supported according
to the operator’s manual.
— Perform daily and periodic service procedures as
instructed by the equipment manufacturer.
— Check for loose, broken, missing or damaged tractor
and mower parts. Repair or replace these parts.
— Check for proper tractor and mower attachments.
— Check for proper tractor and mower PTO rpm rating
match.
— Check mower blade(s) condition. Replace severely
worn, bent, gouged or nicked blades including the
blade bolts and fasteners. Never straighten or weld
on blades.
— Ensure thrown object shielding is properly installed
and in good condition. Repair or replace if damaged
or missing.
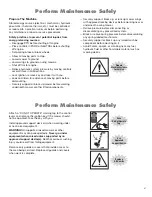
Read Manual –
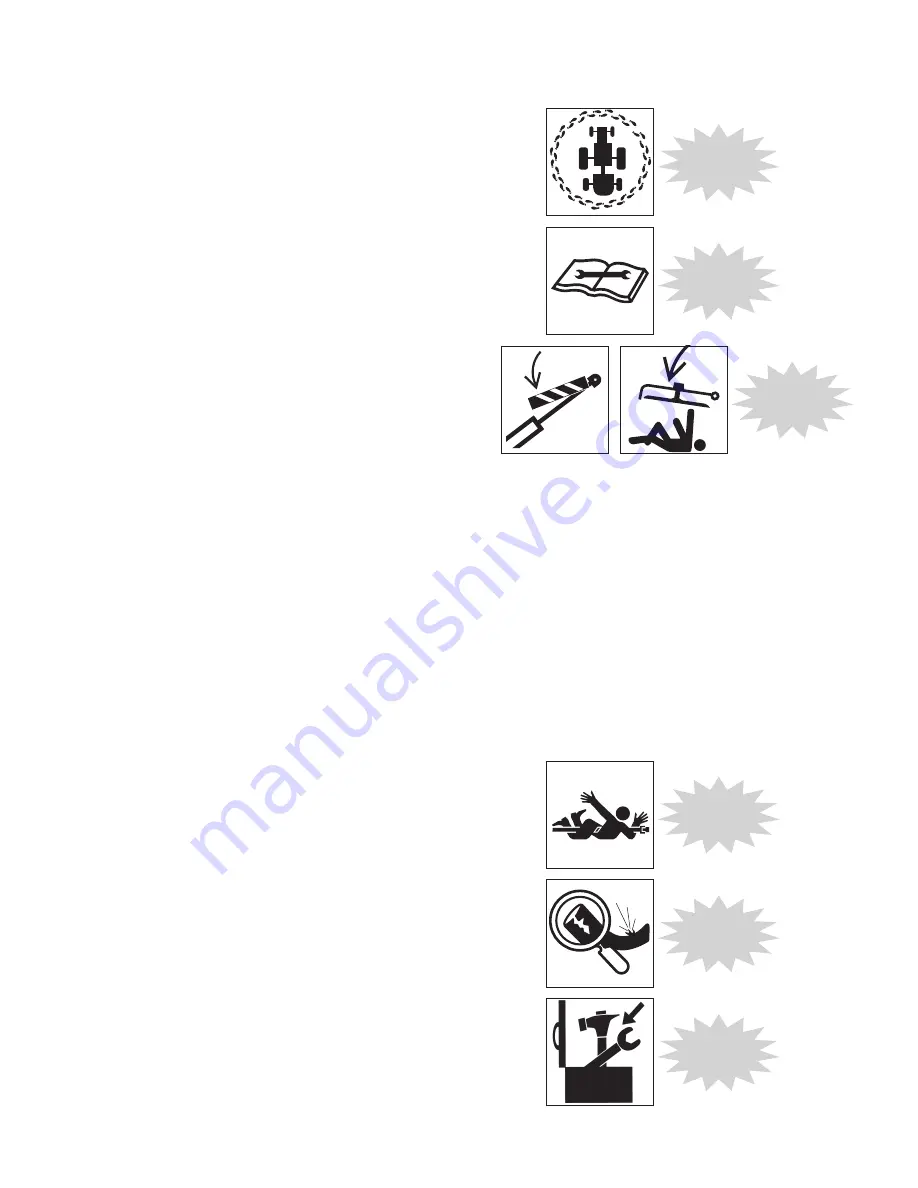
Block Up or
Securely Support
Mower
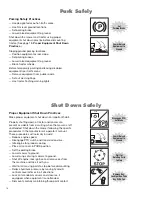
Maintain
Machine
Walk-Around
Inspection
Prepare For Safe Operation
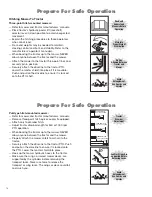
— Check that all guards and shields are in place and
that all equipment is in good operating condition. This
includes PTO driveline, gearbox and implement guards
and shields that are used for operator protection.
— Check for properly latched driveline yoke-end locking
devices.
— Check for damaged or leaky tractor and mower
hydraulic systems. Repair or adjust as needed.
WARNING!
Hydraulic fl uid under pressure can penetrate
the skin or eyes and cause serious injury, blindness or
death. Fluid leaks under pressure may not be visible.
Use a piece of cardboard or wood to fi nd leaks, not
your hand. Wear eye protection.
If fl uid is injected
into the skin, it must be removed within a few hours by
medical personnel familiar with this type of injury.
— Keep the operator platform surface clean and free of
grease, oil, dirt, snow or ice. Steps and handholds
must be clean and functional.
— Ensure work lights are kept clean (if equipped). Check
that all lights work properly.
— Ensure the slow moving vehicle (SMV) sign, refl ectors
and warning lights are in good condition and can be
clearly seen.
— Ensure all tools or loose objects are removed or
securely fastened while operating the machine.
— Check all safety signs for clarity. Replace damaged
signs.
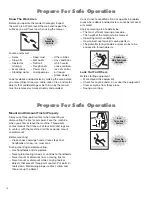
Check for
Leaks and Inspect
Hoses
Check for Missing/
Damaged Guards
and Shields
Put Away
Tools
Summary of Contents for TW120
Page 9: ...Safety Section 1 1 2011 Alamo Group Inc SAFETY SECTION...
Page 28: ...SAFETY TW120 01 11 Safety Section 1 20 2011 Alamo Group Inc SAFETY Decal Description...
Page 29: ...SAFETY TW120 01 11 Safety Section 1 21 2011 Alamo Group Inc SAFETY...
Page 30: ...SAFETY TW120 01 11 Safety Section 1 22 2011 Alamo Group Inc SAFETY...
Page 31: ...SAFETY TW120 01 11 Safety Section 1 23 2011 Alamo Group Inc SAFETY...
Page 32: ...SAFETY TW120 01 11 Safety Section 1 24 2011 Alamo Group Inc SAFETY...
Page 33: ...SAFETY TW120 01 11 Safety Section 1 25 2011 Alamo Group Inc SAFETY...
Page 34: ...SAFETY TW120 01 11 Safety Section 1 26 2011 Alamo Group Inc SAFETY...
Page 35: ...SAFETY TW120 01 11 Safety Section 1 27 2011 Alamo Group Inc SAFETY...
Page 36: ...SAFETY TW120 01 11 Safety Section 1 28 2011 Alamo Group Inc SAFETY...
Page 38: ......
Page 39: ......
Page 65: ......
Page 91: ...Introduction Section 2 1 2011 Alamo Group Inc INTRODUCTION SECTION...
Page 96: ......
Page 97: ...Assembly Section 3 1 2011 Alamo Group Inc ASSEMBLY SECTION...
Page 109: ...Operation Section 4 1 2011 Alamo Group Inc OPERATION SECTION...
Page 156: ......
Page 157: ...Maintenance Section 5 1 2011 Alamo Group MAINTENANCE SECTION...
Page 160: ...MAINTENANCE TW120 01 11 Maintenance Section 5 4 2011 Alamo Group MAINTENANCE...
Page 161: ...MAINTENANCE TW120 01 11 Maintenance Section 5 5 2011 Alamo Group MAINTENANCE...
Page 174: ...MAINTENANCE TW120 01 11 Maintenance Section 5 18 2011 Alamo Group MAINTENANCE...
Page 188: ...Secci n de Seguridad 1 1 2011 Alamo Group Inc SECCI N DE SEGURIDAD...
Page 189: ......


