IV. GETTING STARTED
4.1- Unpacking
Remove product from its packaging.
Check that product and accessories are not damage.
4.2- Content
The unit package contains:
- Power unit (Engine)
- Handle
- 1 Nylon Spool
- 1 metal blade
- Blade & Line protector
- Harness
- Tool kit
4.3- Assembly
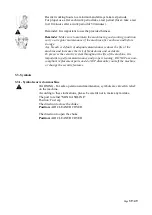
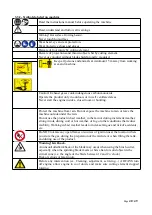
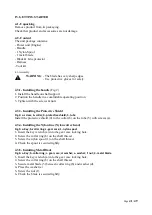
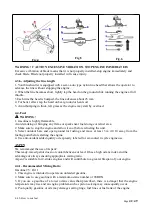
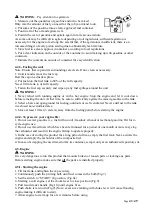
WARNING
- The blade has very sharp edges.
- Use protective gloves for safety.
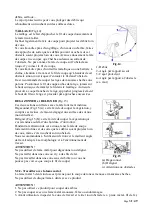
4.3.1- Installing the handle
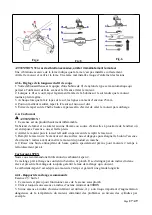
(Fig.2)
1. Install the handle on shaft support.
2. Position the handle in a comfortable operating position
3. Tighten with the screws & nuts.
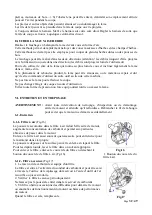
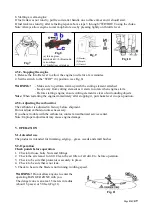
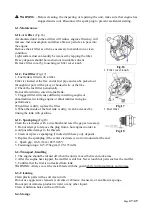
4.3.3- Installing the Protective Shield
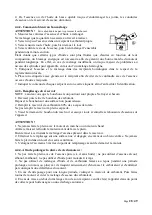
Fig.4: a- screw; b- collar; 4- protective shield; 5- tube
Install the protective shield (4) to the collar (b) on the tube (5) with screws (a).
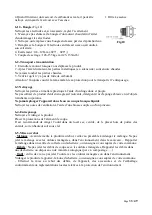
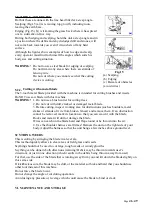
4.3.4- Installing the Nylon line (Nylon cutter head)
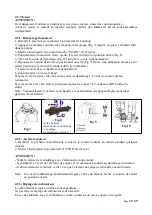
Fig.5: a- Key; b-collar ring; c- gear case; 1- nylon spool
1- Insert the key wrench (a) into the gear case locking hole.
2- Screw the collar ring (b) on the shaft thread.
3- Screw the nylon spool (1) on the shaft thread.
4- Check the spool is secured tightly.
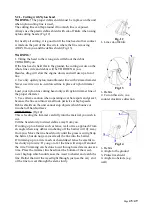
4.3.5- Installing Metal Blade
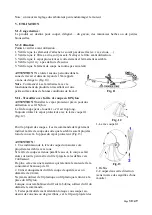
Fig.6: a- Key; b- collar ring; c- gear case; d- washer; e- washer; f- nut; 3- metal blade
1- Insert the key wrench (a) into the gear case locking hole.
2- Screw the collar ring (b) on the shaft thread.
3- Secure metal blade (3) between collar ring (b) and washer (d).
4- Place the washer (e)
5- Screw the nut (f).
6- Check the blade is secured tightly.
Page
41
/
49

