Page 21 / 37
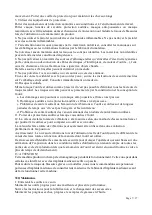
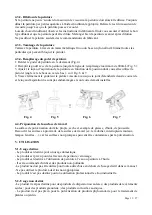
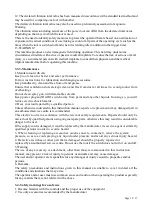
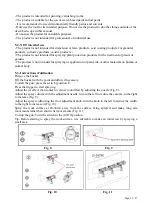
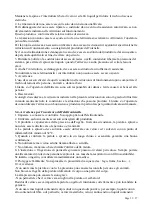
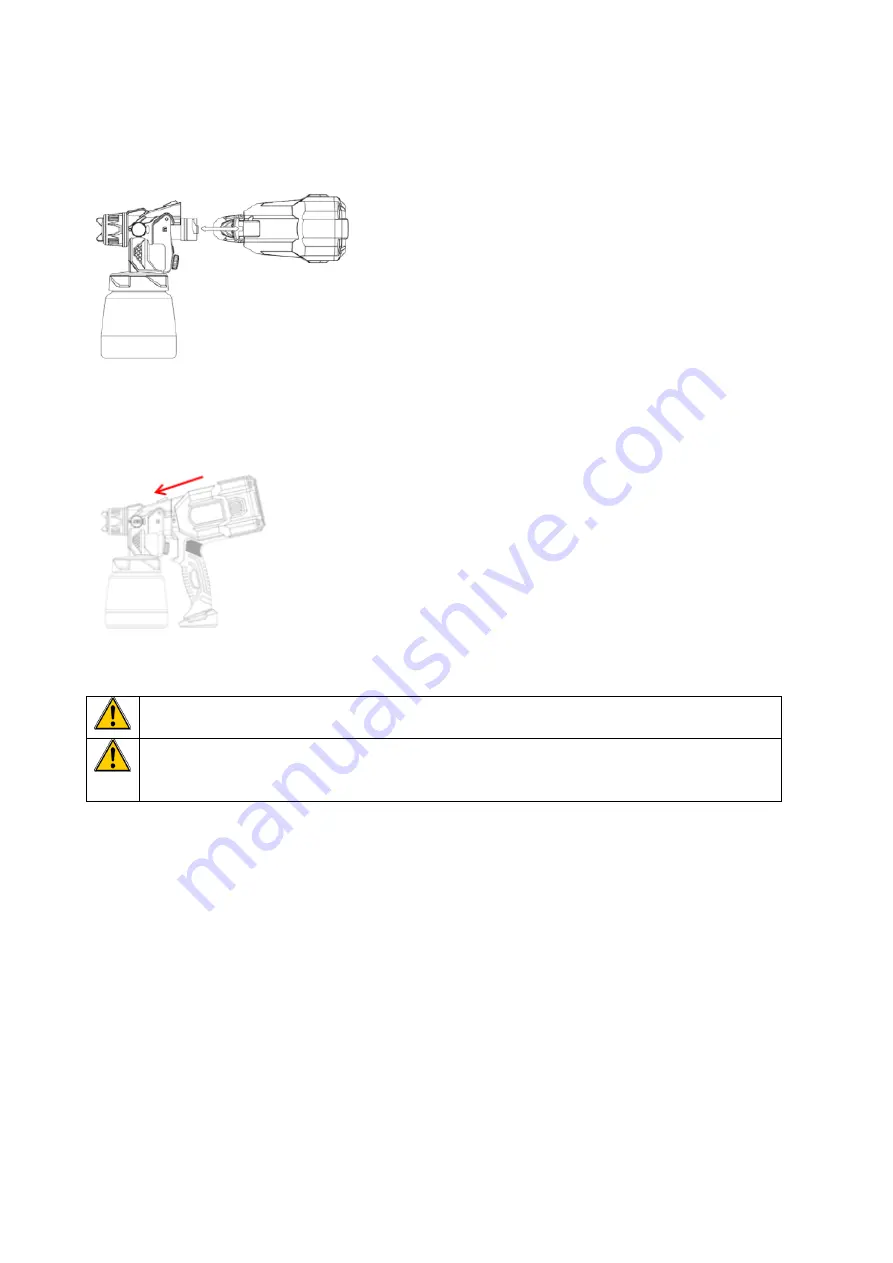
4.2.1- Connecting the motor unit to the spray gun (Fig. 1)
1. Hold the gun in one hand and the motor unit in the other.
2. Align the gun slot with the motor unit.
3. Rotate the motor block 90 ° clockwise until you hear a clip.
Fig. 1
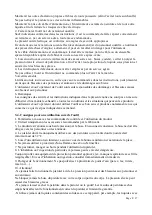
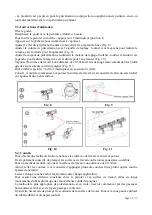
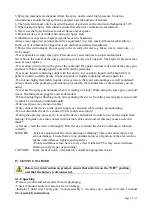
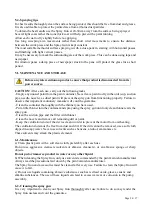
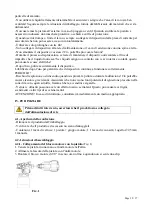
4.2.2- Removing the motor unit from the spray gun.
1. Hold the gun firmly and press the disconnect latch in the direction indicated by the arrow (Fig. 2).
2. Rotate the motor unit 90 ° counter clockwise.
Fig. 2
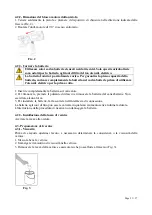
4.2.3- Charge and set up the battery
Use only the chargers listed in the technical data. Only these chargers are suitable
for the lithium-ion battery of your power tool.
The supplied battery is partially charged. To ensure full battery capacity, fully
charge the battery in the battery charger before using your power tool for the first
time.
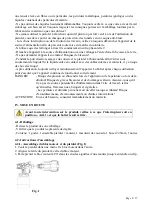
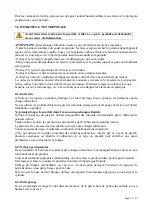
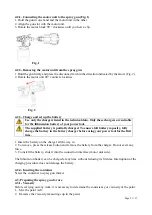
1. Insert the battery on the charger all the way in.
2. To remove, press the release button and remove the battery from the charger. Do not exert any
force.
3. To install the battery, slide it into the connection interface (motor unit side).
The lithium-ion battery can be charged at any time without reducing its lifetime. Interruption of the
charging procedure does not damage the battery.
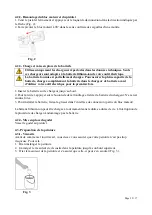
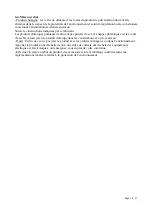
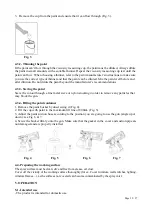
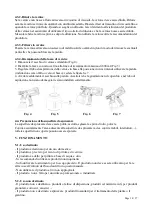
4.2.4- Inserting the container
Screw the container to spray gun thread.
4.3- Preparing the spray gun for use
4.3.1- Viscosity
Before carrying out any work, it is necessary to determine the consistency or viscosity of the paint:
1.
Mix the paint well.
2.
Immerse the viscosity measuring cup in the paint.

