background image

118580

Rice Lake Digital Wheelchair Scale

340-10 Series

Software Revision 11387

Technical and Operating 

Instructions

To be the best by every measure

Summary of Contents for 340-10 Series

Page 1: ...118580 Rice Lake Digital Wheelchair Scale 340 10 Series Software Revision 11387 Technical and Operating Instructions To be the best by every measure...

Page 2: ......

Page 3: ...Keypad Print 17 6 2 Standard Remote Protocol configuration option 9 set to 1 17 6 3 ESC Protocol configuration option 9 set to 0 18 6 4 Sample and Explanation of ESC Protocol 21 7 0 Troubleshooting a...

Page 4: ...i Wheelchair Scale Technical and Operating Instructions Rice Lake continually offers web based video training on a growing selection of product related topics at no cost Visit www ricelake com webinar...

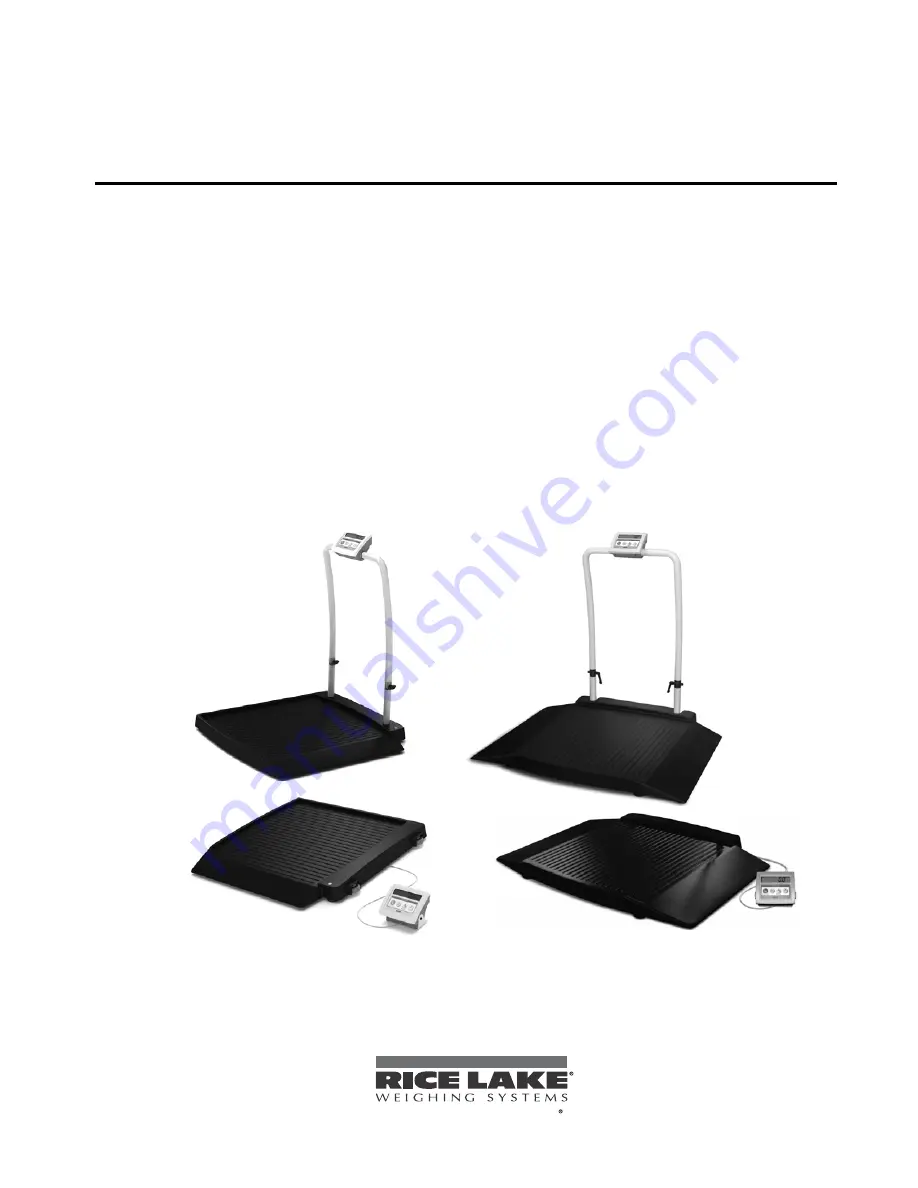
Page 5: ...displayed in either pounds or kilograms and you can enter a tare weight The scale operation section on page 8 of this manual explains the scale operation and how to obtain a tare weight The wheelchair...

Page 6: ...ly inspect your scale to ensure all parts are included and undamaged Parts contained in the shipping box include The scale This manual Small box containing AC adaptor RS 232 cable and scale feet Figur...

Page 7: ...the scale out of the box by the scale base as shown in Figure 2 2 DO NOT lift the scale out of the box by its handle as this can cause the hinges to break or affect the scale operation Figure 2 2 Lift...

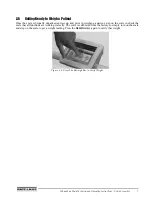
Page 8: ...full turns This will ensure that there is enough clearance between the scale base and the floor 3 Gently set the scale base down to the floor There should be minimal clearance between the scale base a...

Page 9: ...s shown in Figure 2 6 and set upright as shown in Figure 2 7 Figure 2 6 Loosen the Durable Hinges to Set Handles Upright Figure 2 7 Set Scale Handles Upright 6 Tighten the two hinges on the Digital Wh...

Page 10: ...hours If the LO Bat indicator is showing on the display recharge the battery or connect the scale to an AC power source as soon as possible for accurate weighing Battery Charging When the AC adaptor i...

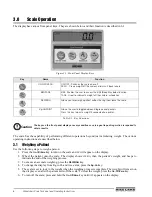
Page 11: ...ked and set up and prior to weighing a patient step on the scale to check the scale that all functions are working correctly The scale is calibrated from the factory so simply turn on the scale and st...

Page 12: ...of the weighing process 3 To ensure an accurate weighing press the REWEIGH key 4 To change the display from Kg to Lb and vice versa press the Kg Lb key 5 The scale is set to lock in the weight when t...

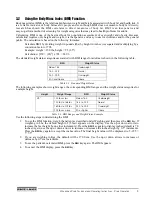
Page 13: ...following examples show weight ranges the corresponding BMI ranges and the weight status categories for a sample height Use the following steps in determining the BMI 1 To use the BMI function weigh t...

Page 14: ...ent 6 To cancel the tare weight press and hold the TARE key until TARE disappears from the display and the display returns back to 0 0 The tare weight is also cancelled when the scale is turned off En...

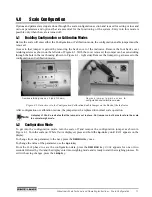
Page 15: ...ibration modes Figure 4 1 Gain Access to the Configuration Calibration Enable Jumper on the Back of the Indicator After configuration or calibration is done the jumper must be replaced for normal scal...

Page 16: ...rightmost digit on the display will begin to increment 2 Release the Kg Lb key to stop the increments 3 A double click on the Kg Lb key will cause the right hand digit to move one place to the left 4...

Page 17: ...600 Lb This value is dependent on the model you have Refer to the serial number label on your scale and set appropriately Use the numeric data entry See Numeric Data Entry on page 12 to change the va...

Page 18: ...for browsing through the options Double click on the Kg Lb key to change the options value or to advance to the next step press the REWEIGH key 0 Disable 1 Enable This option works only if Option 3 i...

Page 19: ...e REWEIGH key 0 9 volts 1 6 volts Leave set to 1 Option 9 allows you to select the communications protocol OP9 1 Hold the Kg Lb key for browsing through the options Double click on the Kg Lb key to ch...

Page 20: ...figuration menu 17 Determines the automatic shut off time when the scale is not in use Options are between one and 20 minutes This is used when the unit is battery operated t OFF 5 Press and hold the...

Page 21: ...to the next step press the REWEIGH key 3 Sets the value of the calibration weight you are going to use for calibrating the span value of the scale LOAd XXX X Use the numeric data entry explained in N...

Page 22: ...u SP mmmmm SP CR LF Where xxxxxxxxx is the weight with decimal point and sign if negative uu is the unit lb or kg mmmmm is the mode gross or net Examples 10 Lb net SP SP SP SP 10 0 SP lb SP SP Net SP...

Page 23: ...mmand Response ESC Character ESC value with Parameters Description Reading R R This value tells the PC that the scale is sending a reading Immediately following this will be the value that is sent Exa...

Page 24: ...k on the file Inbar ini 5 Click on STRINGS and the following screen appears Figure 6 2 Strings to be Used in the RS 232 Transmission This screen is showing that the function keys are already pre progr...

Page 25: ...tructions RS 232 Communication 21 Examples of what you would see in the HEX screen are shown in Figure 6 3 Figure 6 3 HEX Screen Example Examples of what you would see in the ASCII screen are shown in...

Page 26: ...like this SCALE PC When the user wants to diagnose any problems with the scale the operator will have to ask the scale to send the error data if any exists This is done with the Diagnostics request co...

Page 27: ...ions RS 232 Communication 23 If the battery is okay the scale will reply with the following value If the battery is critically low it will reply with 4 6 4 BUUFSZ JT PLBZ OP FSSPST 01 3 0 DIRECTION OF...

Page 28: ...Weighing is performed but the display shows WEIGH and REWEIGH every few seconds the weighing process takes too long and no weight is displayed The patient is not sitting still Ask the patient to be st...

Page 29: ...the scale in test mode Press the Kg Lb REWEIGH to exit weighing mode Figure 7 1 Test Mode Menu Structure Table 7 2 lists the various display messages when testing the scale means that you can toggle...

Page 30: ...t or the unit is operating on its external AC adaptor To advance to the next step press the REWEIGH key 6 This shows the calibration factor FACtOr XXXXX Press the REWEIGH key to return to the top of t...

Page 31: ...o through the following steps for basic maintenance 1 Check the overall appearance of the entire scale for any obvious signs of damage abuse etc 2 Inspect the condition of the AC adaptor for cord crac...

Page 32: ...calibrated 70 kg test weight over each load cell in turn as shown below in Figure 8 1 starting in the following sequence Start with the furthest left hand corner 1 Nearest lefthand corner 2 Furthest...

Page 33: ...1 through 3 again 4 Now measure load cell three 3 and four 4 and use the corresponding potentiometer to turn each cell down the equal the referenced load cell 5 Now align the two sides of the scale b...

Page 34: ...ge activity Automatic power off can be configured from 0 20 minutes Data Communications RS 232 with RJ 45 jack Selectable baud rate default 9600 8 bits No parity 1 stop bit No handshaking Environmenta...

Page 35: ...ay CST Telephone Sales Technical Support 800 472 6703 Canadian and Mexican Customers 800 321 6703 International 715 234 9171 Immediate Emergency Service For immediate assistance call toll free 1 800 4...

Page 36: ...y exists and was not caused by accident misuse neglect alteration improper installation improper repair or improper testing RLWS shall be the sole judge of all alleged non conformities Such equipment...

Page 37: ......

Page 38: ...PN 118580 01 12...

Reviews: