Setup
©
Rice Lake Weighing Systems
●
All Rights Reserved
7
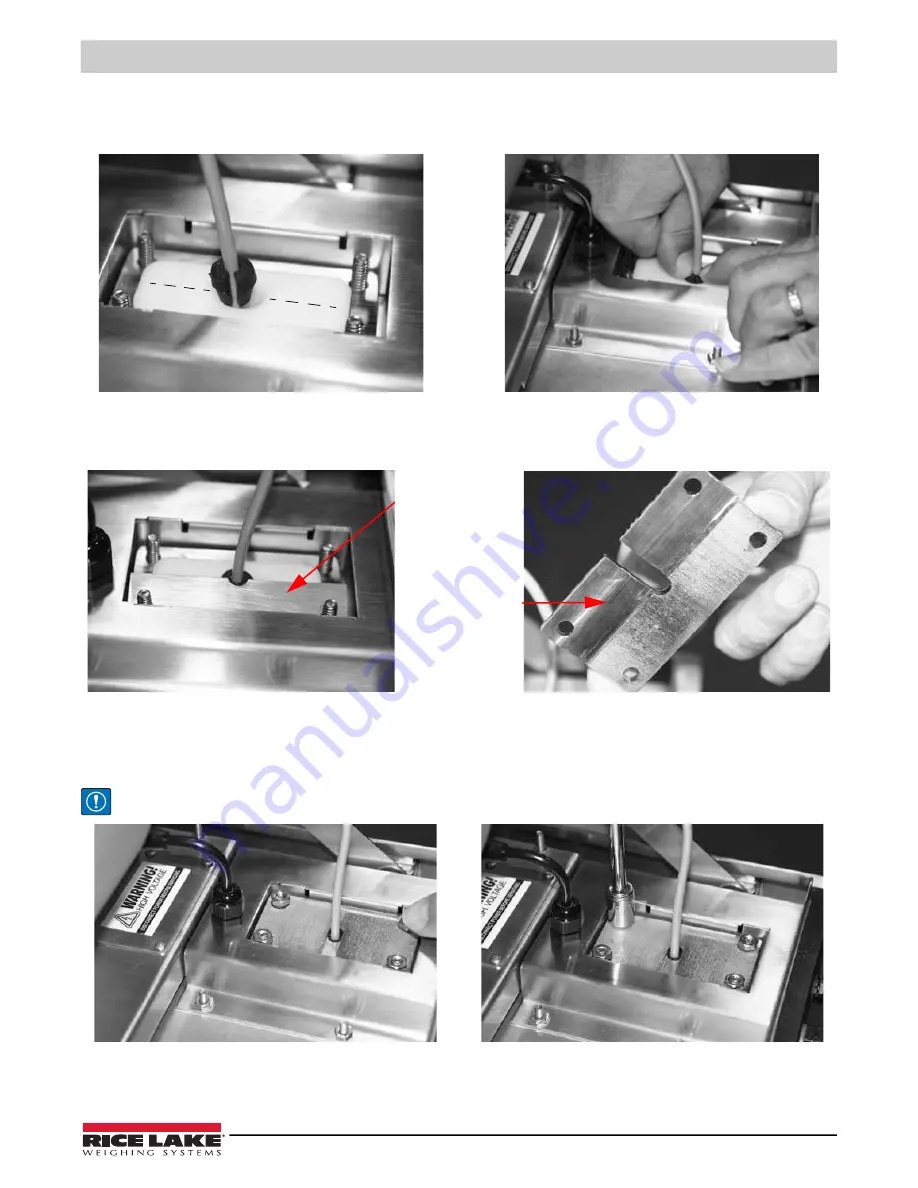
13. Wrap a split grommet around the cable with the small end of the grommet pointing downwards. Orient the grommet
split to a position that is 90 degrees to the split in the split seal insert and press the grommet into the tapered hole in
the split seal insert. At this time, position the cable to make a 90° bend from the printer.
Figure 2-11. Insert Split Grommet Onto the Split Seal Plates
14. Place the half clamp plate onto the studs, then place the clamp plate onto the studs with the step facing down and the
half plate nesting in the step of the clamp plate.
Figure 2-12. Place Half Clamp Down on Assembly
15. Press the assembly down and partially tighten the four nuts that hold the entire assembly in place. Once all the nuts
are started, tighten the nuts in a diagonal sequence until all the nuts are tight using a 7/16'' socket and torque wrench.
Tighten to 30 in/lb torque.
IMPORTANT: Do not over tighten. Over tightening can break the studs from the base.
Figure 2-13. Tighten Up The Entire Assembly
Half clamp plate
Clamp plate - note the
step for the half plate


