Beijing RichAuto S&T Co., Ltd.
21
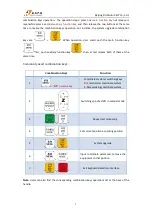
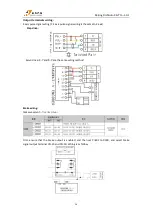
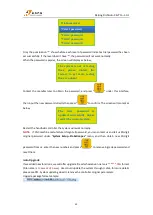
double press “
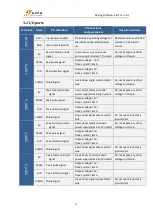
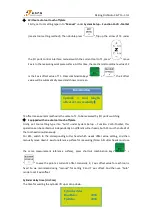
” key, access I/O ports control interface, show as below,
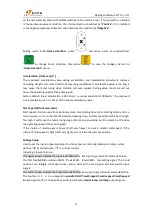
Move the cursor to Y5 arrow, and press “
” to flip up the arrow on Y5; Control relay of
cylinder on spindle No.1 enabled; Spindle No.1 drops down towards the working table. After that,
press “
” move the Z axis to the workpiece surface and cut a point of knife mark, then
press “
” to set work origin of X and Y axis.
Manually lift up Spindle No.1, switch to spindle No.2, double press “
”. Y5 arrow flips
down, and control relay of Y5 enable is canceled. Move the tool nose of spindle No.2 to the
position where spindle No.1 leaved a knife mark. If the X axis value displays 200.000, means that
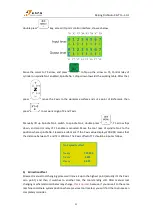
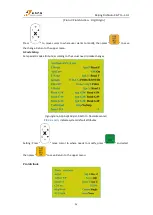
the distance between T1 and T2 is 200mm. The X axis offset of T2 should be input as follow;
b)
Z direction offset
Stressed: manual tool changing process will move Z up to the highest point (actually it’s the Z axis
zero point), and then it switches to another tool, the tool standing still. After manual tool
changing mechanical coordinates may change,
this is normal,
because, if you move it to the same
machine coordinate system position where previous tool located, you will find the tool nose can
completely coincides.
No.2 spindle offset
X axis -200.000
Y axis 0.000
Z axis 0.000

