4
Installation Manual:
JAX ARM
8479181 Rev. A
USING THE ARM
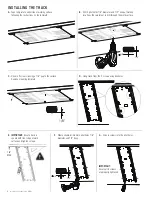
SITTING TO STANDING
1. Lift front of tray up and
hold to release lock.
TILTING THE TRAY
1. Rotate knob clockwise for negative tilt
2. Rotate knob counterclockwise for positive tilt
2. Move arm to desired height keeping the tray
completely tilted up to avoid dragging the brake.
3. Release tray and push down on palm rest,
arm will hold position.
-15
-
+10
+
0
1
2
INSTALLATION MANUAL
JAX ARM
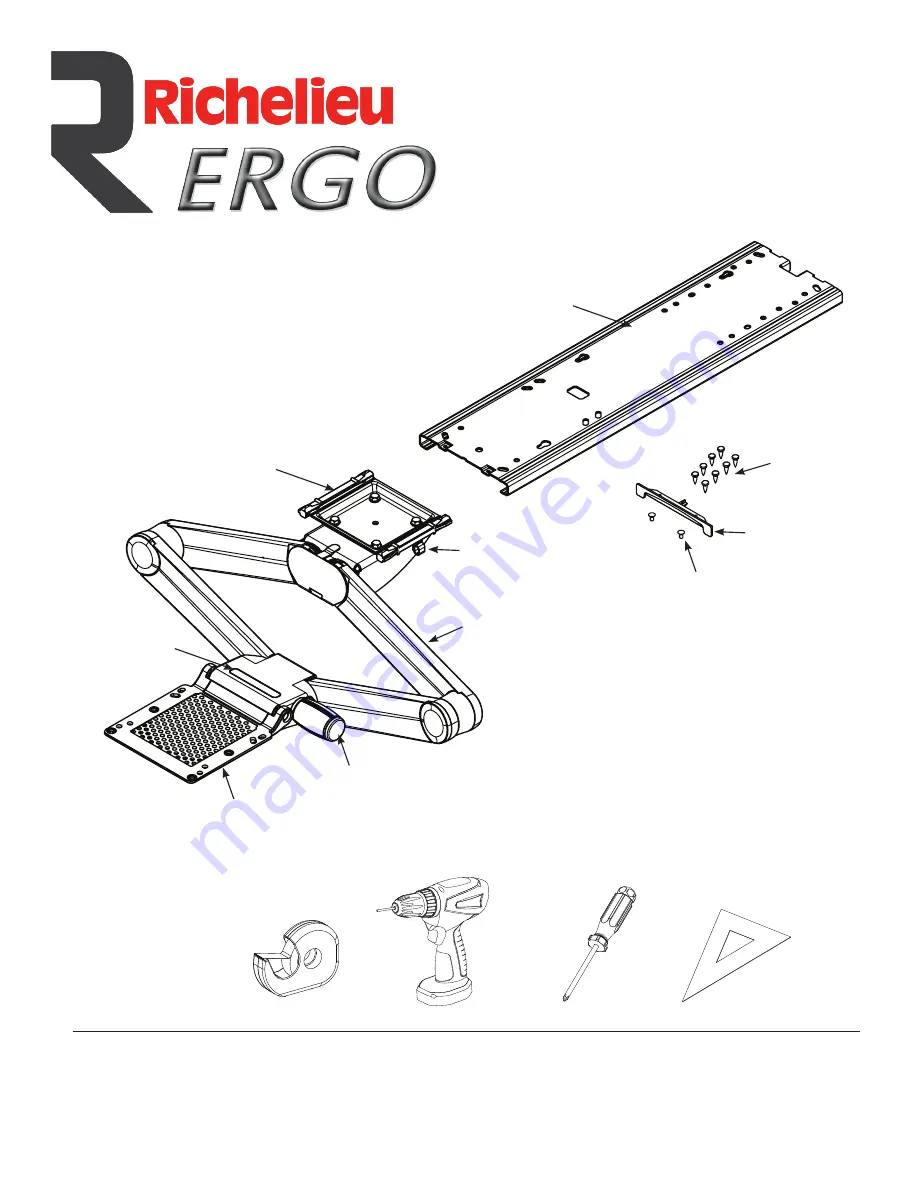
TOOLS REQUIRED
Adhesive tape
Drill with 1/8’’ bit
#2 Phillips screwdriver
Square
WARNINGS/DISCLAIMERS
TRACK
ARM BASE
TILT GAUGE
TRAY HEAD
TILT KNOB
TRACK
MOUNTING
SCREWS (8)
FRONT PLATE
SCREWS (2)
ARM
CABLE MANAGER
FRONT PLATE
INSTALLATION WARNINGS:
• Read the entire instruction manual before beginning
any installation or assembly.
• Improper installation of this product may cause
property damage or personal injury, either
during or after installation.
DISCLAIMER:
• The manufacturer will bear no responsibility for any damages
of any kind arising from improper installation of this product.
• Work surfaces will vary widely and the ultimate method of
installing is out of the manufacturer's control. It is imperative
that the installer consult the work surface installation guide to
ensure that it can safely handle the applied load.
ADJUSTMENT NOTIFICATION:
• Routine maintenance checks and adjustments are suggested
to properly support the quality and optimal performance of
this product.
• Over tightening of bolts during installation or adjustments
can damage the product and affect the function and warranty.
JAX
50084792190
Installation Instructions


