background image

1


Thank you for your purchase of a Richter Optica microscope.  The information in this manual is provided to answer most 

questions that can arise when operating your microscope and to help you avoid unneccesary maintenance expenses in 

the future.

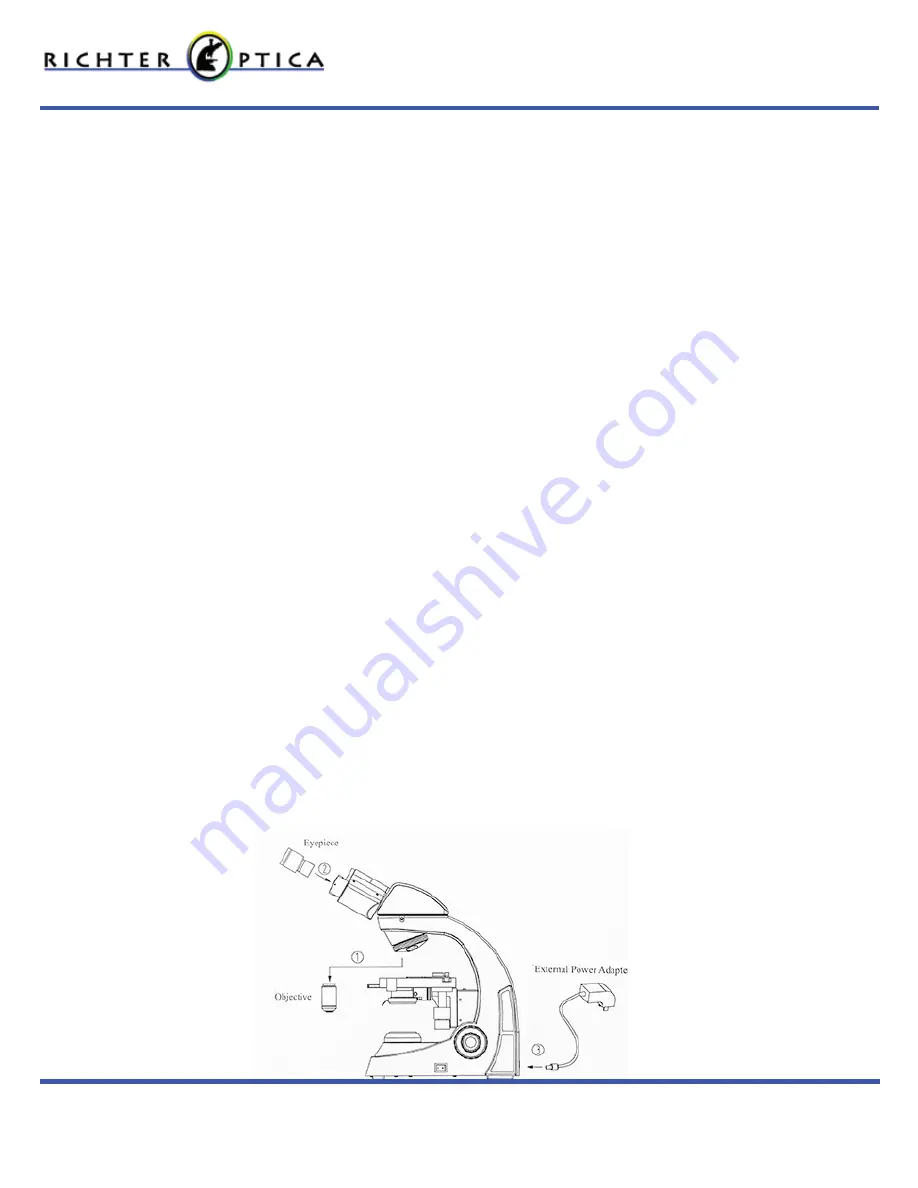
Please carefully read instructions before operating microscope. Nomenclature used to describe components and 

controls are identified on opposite page.

UNPACKING

Do not discard styrofoam container or packing materials until you are sure shipment is complete and 

undamaged (retain styrofoam shipping container to store your microscope when it is not in use).  Remove all tape and 

packing material used to protect microscope during shipment.  Make certain lens surfaces do not come in contact with 

dirt, fingerprints or oil.  Damage of lens surfaces occur when they come in contact with such contaminants, and image 

quality is reduced.

BEFORE USE

When moving the microscope, use both hands and only lay on flat, even surfaces.  Damage will occur by holding the 

stage, focussing knobs or head when moving the microscope.

For safety, make sure the power switch is always turned to the off position “O” before replacing the bulb or fuse and 

wait until both the bulb and bulb holder have cooled down.

Replacement bulb: Single 3w LED bulb.

SETTING UP THE INSTRUMENT

Avoid placing the instrument in locations exposed to direct sunlight, dust, vibration, high humidity and where it is 

difficult to unplug the power supply cord. 

MAINTENANCE


1.   Wipe lenses only with lens paper.


2.   Never disassemble the microscope, disasembling the microscope will affect the performace of the    


microscope and void any warranty. 


3.   Cover microscope with dust cover provided after every use.

Summary of Contents for UX1B

Page 1: ...Richter Optica info richter optica com Instructions for Models UX1B Binocular and UX1T Trinocular Laboratory and University Biological Microscope...

Page 2: ...cular Eyepiece Tube Stage Specimen Holder Objectives Condenser Focusing Knob Coarse Focus Knob Fine Focus Knob Illumination on off switch Light Intensity Control Stage Y Axis Travel Knob Stage X Axis...

Page 3: ...fingerprints or oil Damage of lens surfaces occur when they come in contact with such contaminants and image quality is reduced BEFORE USE When moving the microscope use both hands and only lay on fl...

Page 4: ...he silver plate on the base of the microscope To access replace the batteries remove all screws in the corners of the silver metal plate Once screws are removed lift off metal plate and access battery...

Page 5: ...objective While looking through the eyepieces move the eyetubes either further apart or closer together until the right and left field of view become one Line up the dots 1 on either side of the basep...

Page 6: ...o the left closed For the objectives in between adjust the lever betwen these settings 8 Using the oil immersion objective a First use the 4x objective to focus the specimen b Place a drop of oil on t...

Page 7: ...agm closed too far No cover glass Too thick or thin cover glass Immersion oil not used on immersion procedure Air bubbles in immersion oil Immersion oil used on a dry objective Greasy residue on eye l...

Page 8: ...eyepiece differ Inadequate illumination Lamp does not light Inadequate brightness Lamp blows out immediately Lamp flickers Power supply not plugged in Lamp not installed Lamp burnt out Specified lamp...

Page 9: ...tage is fashioned incorrectly Make sure cover glass is facing up Use a standard cover glass with a thickness of 0 13 0 17mm Turn the nosepiece into the right position until you hear it click into plac...

Page 10: ...t use any solvents other than absolute alcohol as they may damage lens bonding cement 3 Do not use petroleum benzene when cleaning components such as filters or lenses 4 Absolute alcohol and petroleum...

Reviews: