background image

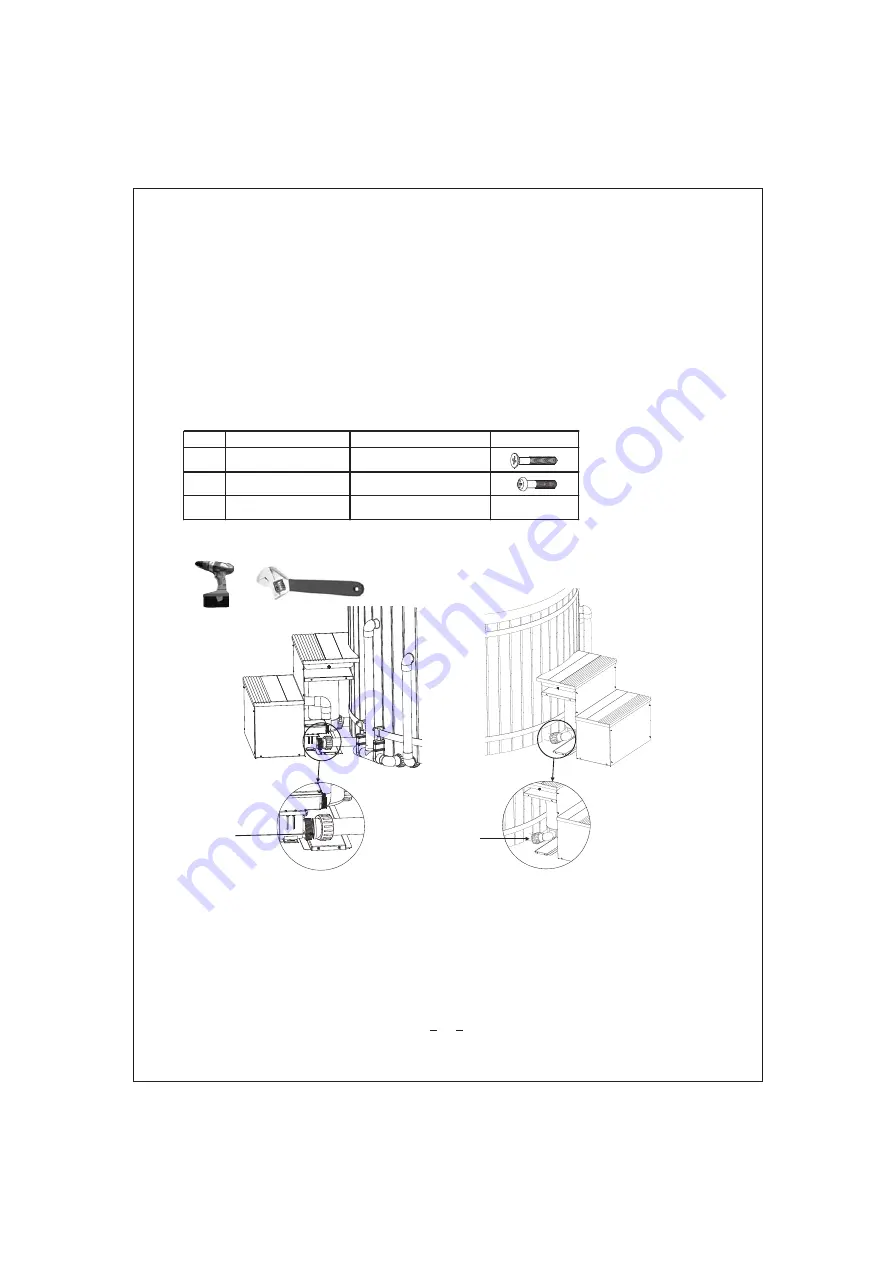
PARTS:

Step 5. Assemble the stair

1. • Assemble the stair as shown in the diagram below.

• In the  photos shown below, to get the correct position and to keep the steps square,

lay flat on level ground then screw in the  screws.

TOOLS:

Congratulations-your hot tub is now assembled!!!

You can use a fine sandpaper (120 grade for example) to sand away any marks that you may
find on your hot tub.

11

NO.

Component

Screw size

PIC

1

Step

M5x60

2

Step bracket screw

M5x30

3

Step bracket

60x60x50

1

2

1-Connect pipe to the thermostat

2 contect pipe to the filter system

-

Summary of Contents for RWH001-635I

Page 1: ...SPA HOT TUB Hot tub assembly instruction...

Page 2: ...ing see below For the samll parts used in assembly see the part list below During assembly make sure that all parts are oriented as shown in the drawings Before beginning assembly carefully read the f...

Page 3: ...ize Unit Model Screw numbers Base Connector Bands Bench top fire box Fence hinge Lower fence connector Upper fence fitting Fire box cover Step Step bracket Step bracket screw 5x3 5x3 5 5x4 6x3 7x3 6x3...

Page 4: ...e bench seating Assemble the stair Assemble the fire box cover and upper fence Step One Step Two Step Three Step Four Step Five Step Six 4 1 2 3 4 5 6 7 8 9 The model of the hot tub showed in the diag...

Page 5: ...wood in line with the holes on the base struts 3 Insert the M8x100LM into the base connector pieces of wood and tighten 4 Insert the M8x100LM into the bottom fastening pieces and tighten 5 Connect th...

Page 6: ...at it fits up tightly against the previous stave then tapping on the outside of the stave placing in tightly up against the hot tub base Alternate between tapping on the side and the outside of the st...

Page 7: ...s equal distance between the top and bottom bands Alternate between tightening the different bands and stopping occasionally to walk around the hot tub wiggling the staves to make sure they are closin...

Page 8: ...e flue and firebox lid on the firebox covers Screw down the firebox and fence 2 Screw the rain cap to the top of the chimney then fit together the flue pipes then connect to the firebox Be very carefu...

Page 9: ...ST6x35 2 fire box 3 M5x30 4 lower fence left 5 lower fence connector 8 lower fence middle 6 lower fence right 7 M3x16 NO Component Screw size PIC 1 Lower fence connector M5x30 2 Lower fence hinge M3x1...

Page 10: ...feet use an Allen hex key to turn the M6 x 75 bolt piece on the top while using a socket piece to hold the nut in place underneath If you do not have a socket set simply insert a screwdriver up under...

Page 11: ...at on level ground then screw in the screws TOOLS Congratulations your hot tub is now assembled You can use a fine sandpaper 120 grade for example to sand away any marks that you may find on your hot...

Page 12: ...n top of the cover then insert the M5 X 50 screws Assemble the fire box cover as shown in the diagram below TOOLS 12 NO Component Screw size PIC 1 upper fence fitting M5x50 2 Fire box cover M5x50 1 2...

Page 13: ...ed by water before lighting the fire otherwise it may buckle Regularly check the water temperature and close the air vent when you reach your desired temperature After a few attempts at heating up the...

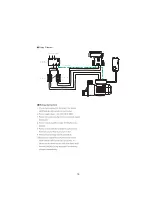
Page 14: ...Wiring Diagram Ground Wire Air Switch Air Switch Leakage Protector 220V 240V 50HZ L N E L N E L N L N L N L N 14...

Page 15: ...Cleaning and Maintenance 15...

Page 16: ...he water The water will appear brown but is in no way harmful and in fact is very aromatic but with progressive water changes this leaching will gradually disappear Absolutely not To clean a hot tub a...

Page 17: ...commend after draining and cleaning that you refill the tub with about 20cm of water Expect your hot tub to leak a little for up to 2 weeks initially Red Cedar being a softwood will eventually swell u...

Reviews: