Configuring the Scanner Settings
80
3
Registering
[
Scan Settings
]
Follow the steps below to configure
and register Scan Settings using the
control panel of this machine.
Note
❒
You can also configure these set-
tings using the Web Status Moni-
tor.
Reference
See p.14 “Using Keys Displayed on
the Screen” for information about
how to select items displayed on
the screen.
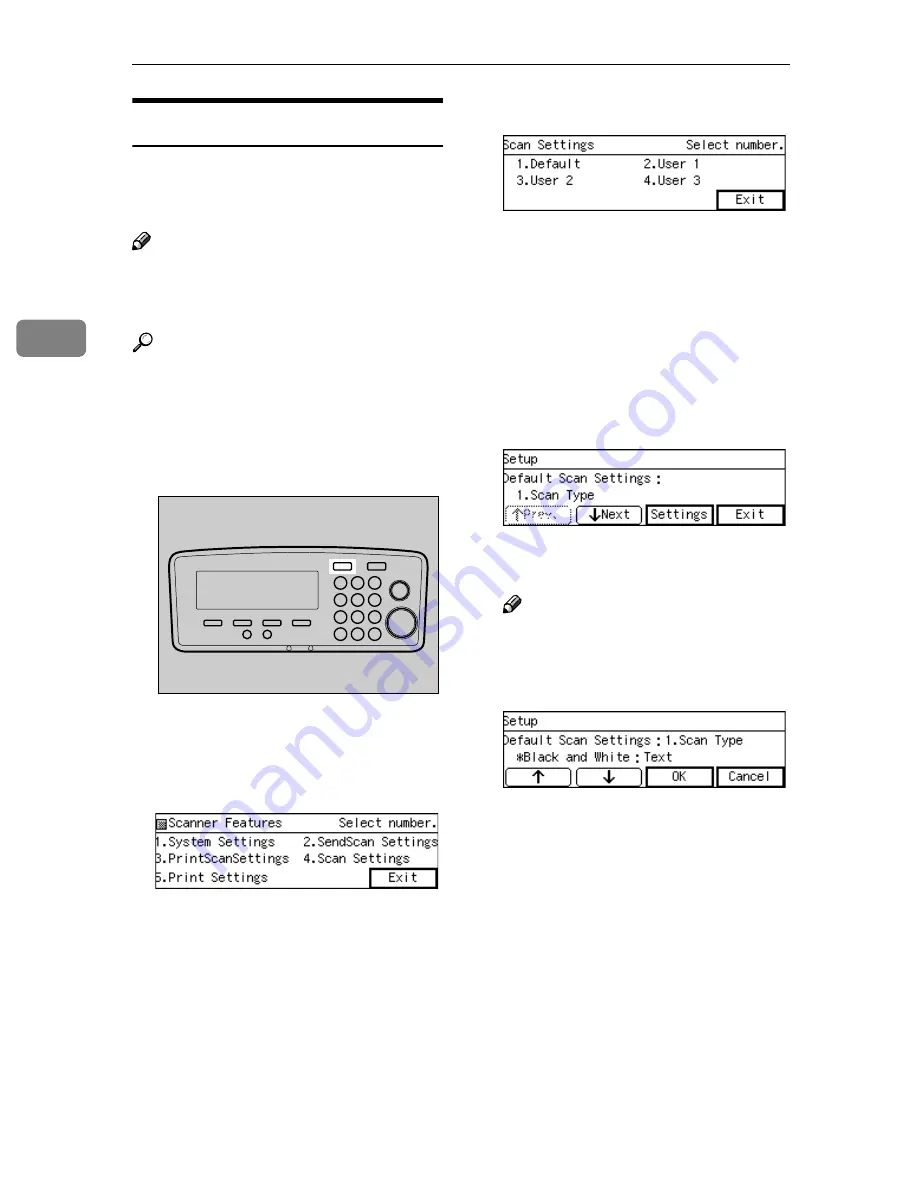
AAAA
Press the
{{{{
User Tools
}}}}
key.
The Scanner Features menu is dis-
played.
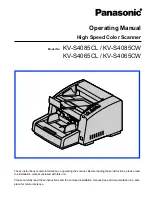
BBBB
Press the
{{{{
4
}}}}
key.
The Scan Settings menu is dis-
played.
On this menu, you can select a
memory area (“Default”, “User 1”,
“User 2”, or “User 3”) for register-
ing the Scan Settings configura-
tion.
CCCC
Press the
{{{{
1
}}}}
key.
The Default Scan Settings menu is
displayed, and “1. Scan Type” ap-
pears as the setup item currently
selected.
This example shows that all the us-
ers have already been configured;
if a user has not been configured,
the item is displayed in gray tone.
DDDD
Press
[
Settings
]
.
The setting screen for “1. Scan
Type” appears.
Note
❒
Press
[
Exit
]
to return to the par-
ent menu screen.
EEEE
Select a scan type.
• The option that is currently se-
lected is displayed first.
• “*” mark appears along with the
option currently selected.
• Use
[
↑↑↑↑
]
and
[
↓↓↓↓
]
to display the
option you want to select.
AFJ004S
Summary of Contents for 402334 - IS 200E
Page 8: ...vi...
Page 30: ...What You Can Do With This Machine 22 1...
Page 40: ...Setting Up the Scanner 32 2...
Page 132: ...Setting Originals 124 4...
Page 162: ...Sending Scan File by Scan to Folder 154 6...
Page 168: ...Sending Scan File by Scan to FTP 160 7...
Page 178: ...Printing Scanned Image Files 170 8...
Page 182: ...Sending Scan Files Using Delivery Server 174 9...
Page 188: ...Using the TWAIN Scanner Function 180 10...
Page 234: ...Image Scanner Operating Instructions EN USA G422 8602...


