

Paper type: OK Prince Eco G100(55kg), Paper Thickness=80
µ
m // Pages in book=116 // Print scale=81%
Gap (when printed at 81% scale) = Pages in book
×
Paper thickness / 2 = 4.640000 mm
O
p
er
atin
g In
str
u
cti
ons
Basic F
eatu
res
Operating In
struction
s
Basic Fe
atures
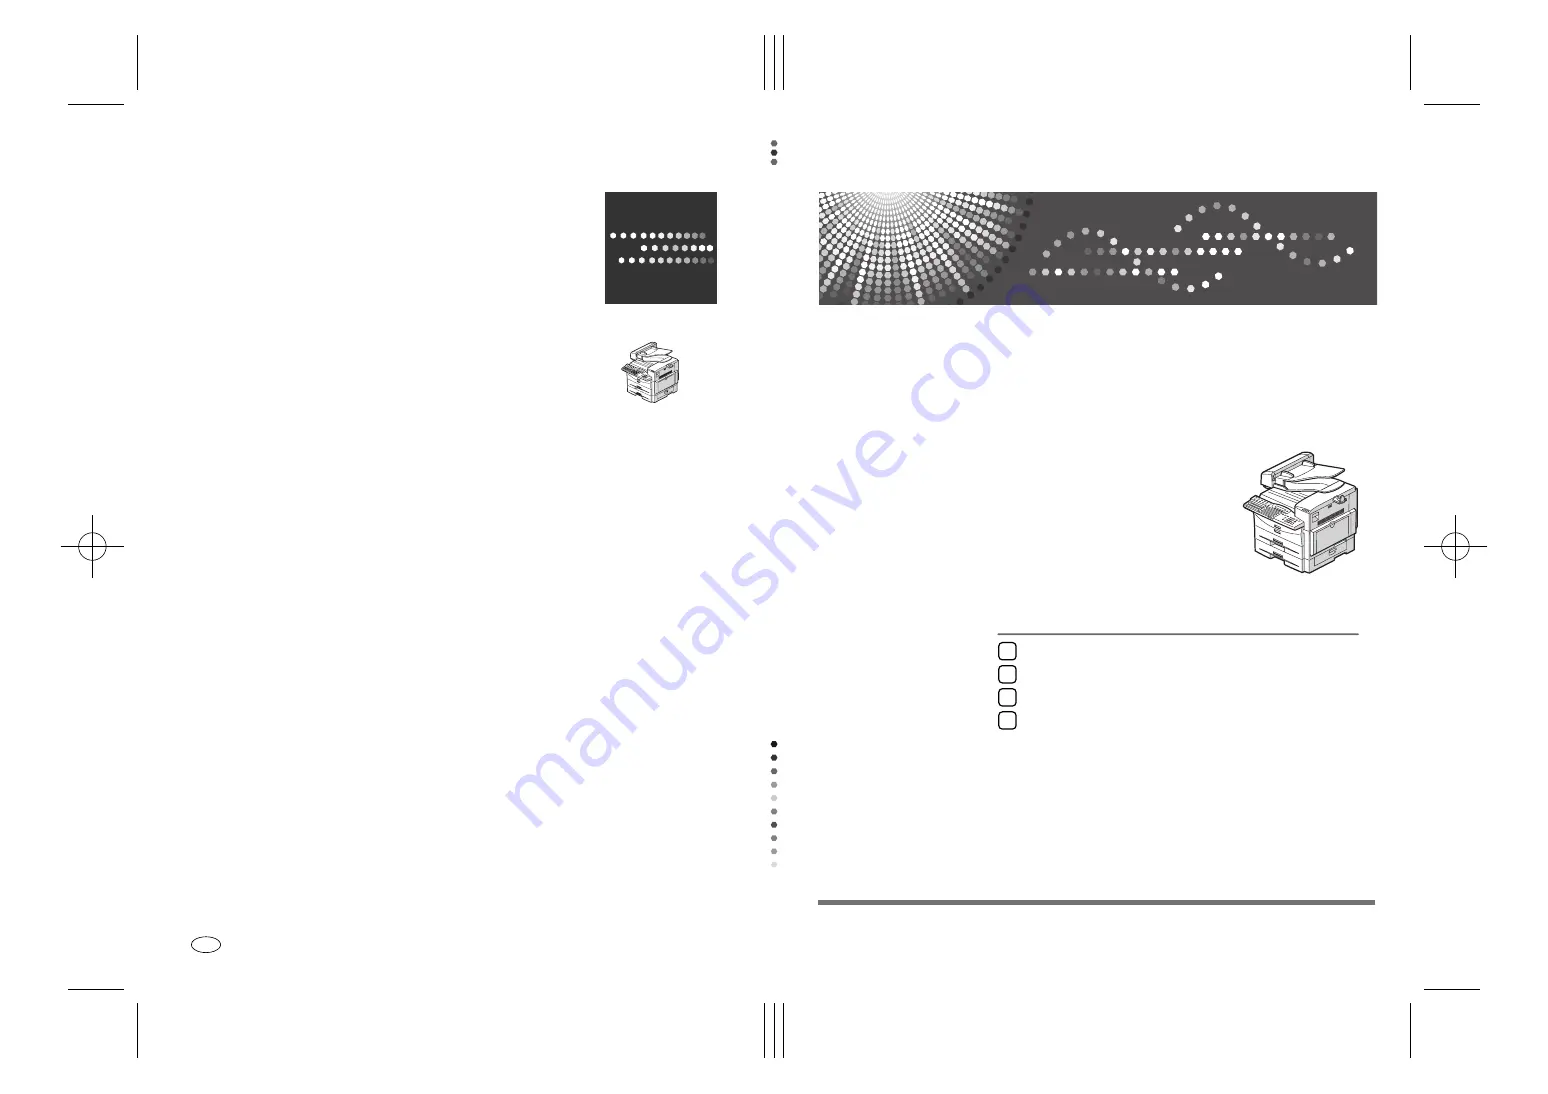
Operating Instructions
Basic Features
For safe and correct use of this machine, please be sure to read the Safety Information before you use it.
Getting Started
Faxing
Programming
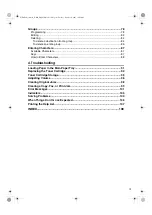
Troubleshooting
1
2
3
4
Printed in The Netherlands
GB
GB
H557-8201
Summary of Contents for 4430NF
Page 6: ...iv StellaF26_combine_F GB_FM_forPaper book Page iv Tuesday January 16 2007 10 08 AM...
Page 24: ...18 StellaF26_combine_F GB_FM_forPaper book Page 18 Tuesday January 16 2007 10 08 AM...
Page 62: ...Faxing 56 2 StellaF26_combine_F GB_FM_forPaper book Page 56 Tuesday January 16 2007 10 08 AM...
Page 117: ...111 MEMO StellaF26_combine_F GB_FM_forPaper book Page 111 Tuesday January 16 2007 10 08 AM...


