2-25
9.
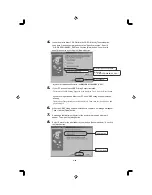
When the same window as that shown in Step 4 appears, click the [Next]
button.
10.
When the location of the printer driver is displayed, click the [Next] button.
11.
Click the [Finish] button. The copy of the file begins.
12.
Completing the "Add New Hardware Wizard". Click the [Finish] button.
The printer icon of the model name to be used in the printer window will be added.
10.2.2 Windows 2000/XP/Server 2003
There are some different operations according to the version of Operating System. Here, we show the
operation in case of Windows 2000 as follows.
Installation Steps
Before installation
Before starting to install the printer driver, check to make sure the following:
Power to the printer main unit is off.
The PC is on.
The printer and the PC are properly connected through a USB cable.
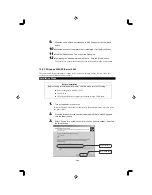
1.
Turn on the power to the printer.
Windows 2000/XP/Server 2003 recognizes new hardware and starts a wizard to set up
the printer driver.
2.
When the "Welcome to the Found New Hardware Wizard" window appears,
click the [Next] button.
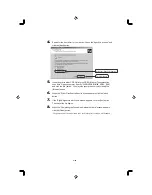
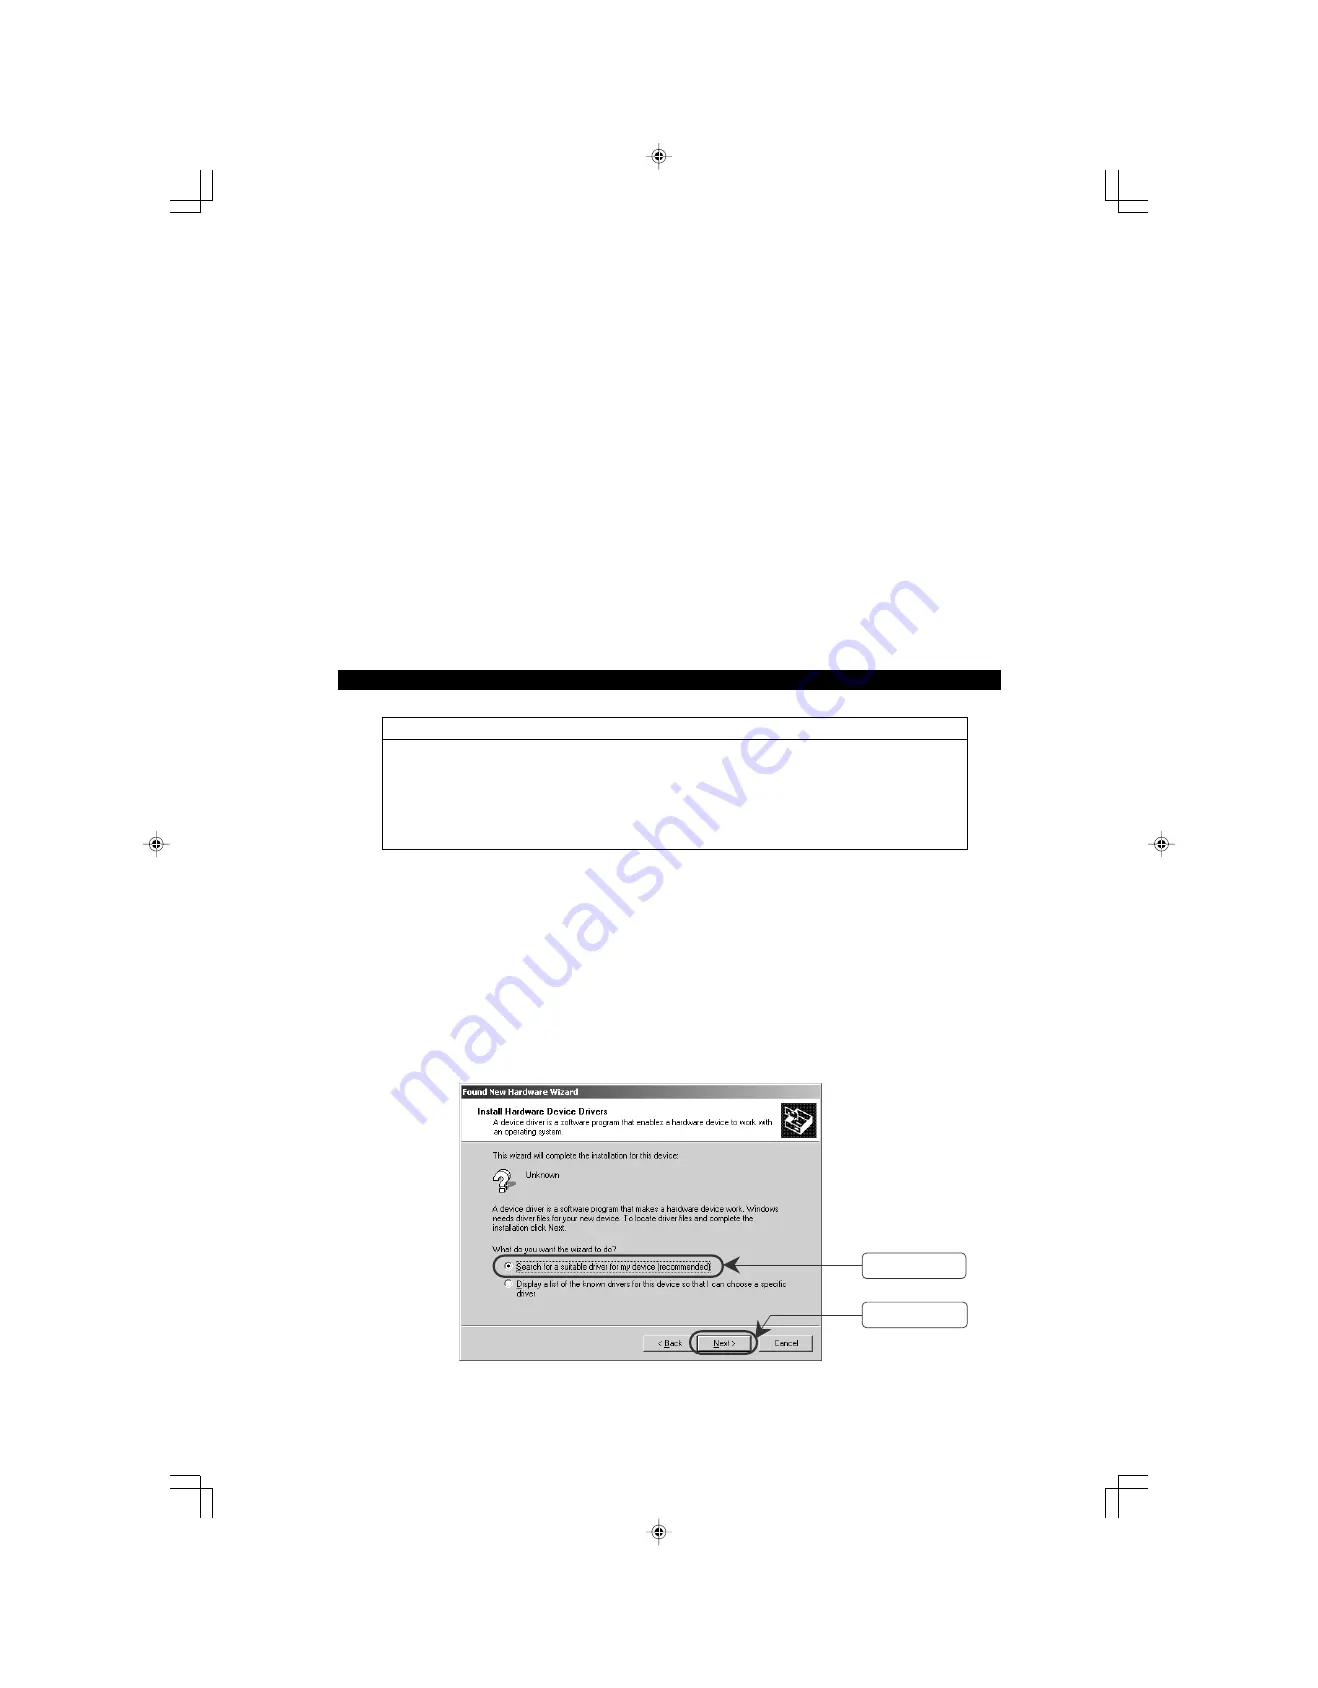
3.
Select "Search for a suitable driver for my device (recommended)." And click
the [Next] button.
(1) Select this.
(2) Click [Next].


