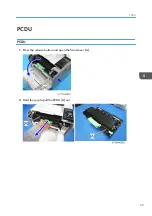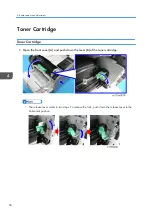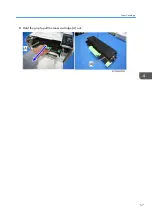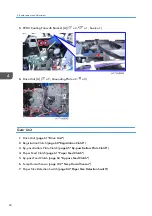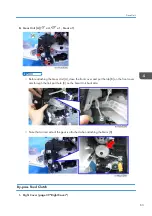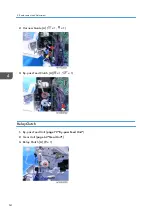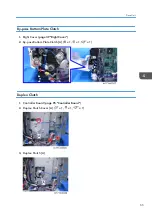
Upper Fusing Unit, Lower Fusing Unit
1.
)
2.
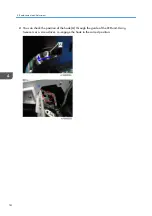
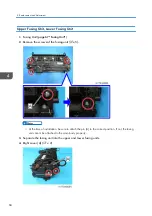
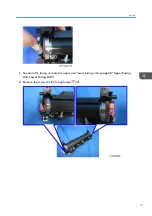
Remove the screws of the fusing unit ( x5).
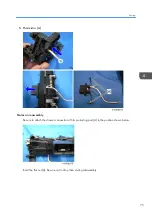
• At the time of installation, be sure to attach the pin [A] to the correct position. If not, the fusing
unit cannot be attached to the main body properly.
3.
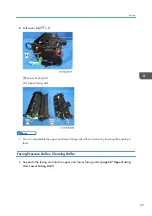
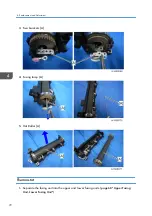
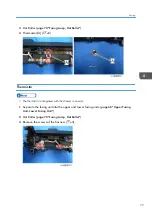
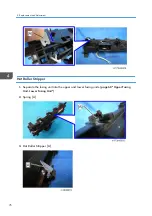
Separate the fusing unit into the upper and lower fusing units.
4.
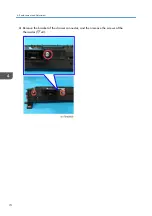
Right cover [A] ( x 2)
4. Replacement and Adjustment
68
Summary of Contents for Aficio MP 171
Page 1: ...Model Gim P1a Machine Code M171 Field Service Manual September 2014 ...
Page 2: ......
Page 14: ...12 ...
Page 34: ...3 Preventive Maintenance 32 ...
Page 48: ...3 OPU Board x 7 4 Replacement and Adjustment 46 ...
Page 59: ...2 Hold the grip to pull the toner cartridge A out Toner Cartridge 57 ...
Page 105: ...2 Rear Cover Switch A x 1 Hook Electrical Components 103 ...
Page 106: ...4 Replacement and Adjustment 104 ...
Page 120: ...5 System Maintenance 118 ...
Page 166: ...MEMO 164 EN ...
Page 167: ...Model Gim P1a Machine Code M171 Appendices September 2014 ...
Page 168: ......
Page 186: ...2 Appendices Preventive Maintenance Tables 18 ...
Page 259: ...MEMO 91 ...
Page 260: ...MEMO 92 EN ...

