


BZH148
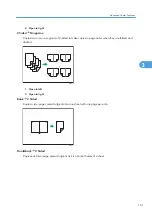
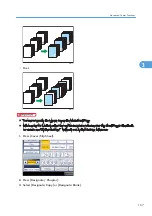
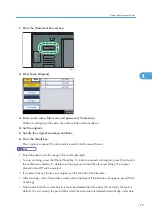
Front/Back Cover
This function copies the first and last pages of an original onto paper that has been specified for
covers, or places a cover sheet before the first copy page and after the last copy page.
• Copy
BZK036
• Blank
BZK037
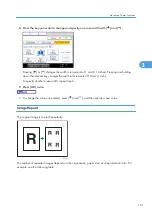
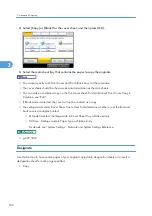
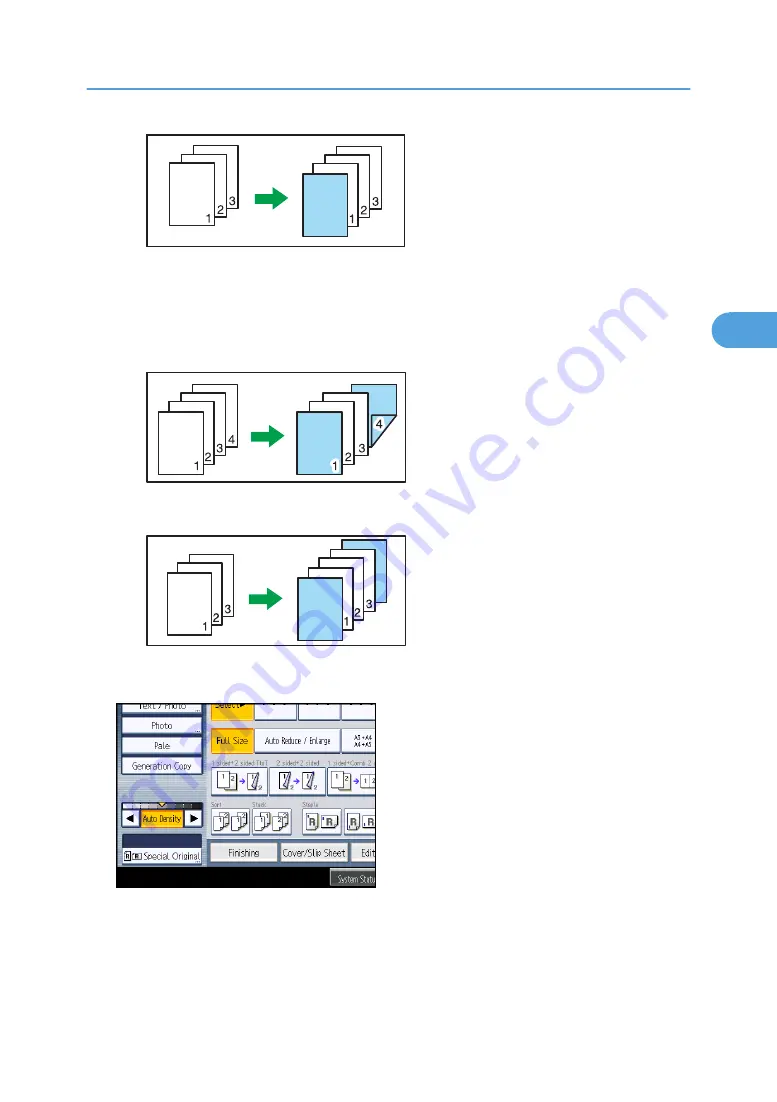
1.
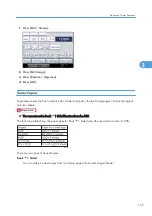
Press [Cover/Slip Sheet].
Advanced Copier Functions
165
3
Summary of Contents for Aficio MP 2352
Page 2: ......
Page 34: ...1 Placing Originals 32 1 ...
Page 85: ...CHF012 1 2 2 3 3 Booklet finisher Finishing 83 2 ...
Page 106: ...2 Basic Copying 104 2 ...
Page 113: ... p 201 General Features Selecting the Original Type 111 3 ...
Page 174: ...3 Advanced Copying 172 3 ...
Page 200: ...4 Document Server 198 4 ...
Page 228: ...6 Appendix 226 6 ...
Page 233: ...MEMO 231 ...
Page 234: ...MEMO 232 EN US D120 7512 ...
Page 235: ......
Page 236: ...EN US D120 7512 2011 ...


