7.
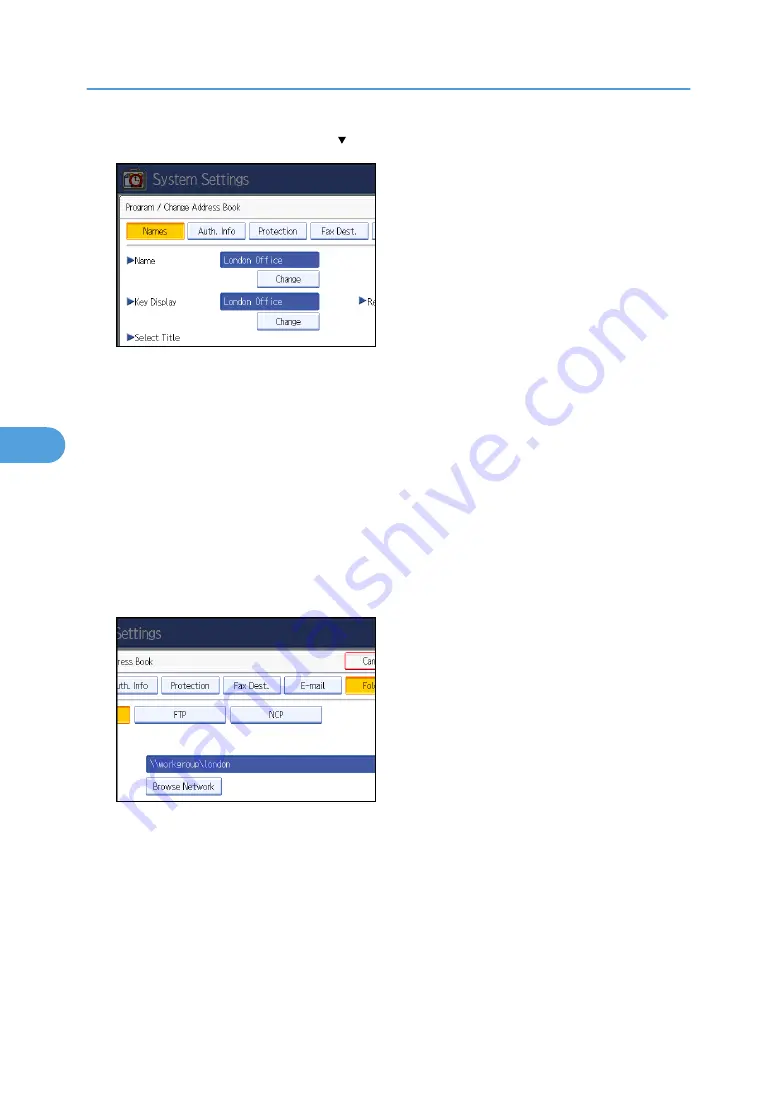
Press [Auth. Info], and then press [ Next].
8.
Press [Specify Other Auth. Info] on the right side of Folder Authentication.
When [Do not Specify] is selected, the NCP User Name and NCP Password that you have specified
in Default User Name/Password (Send) of File Transfer settings applies. For details, see "File Transfer".
9.
Press [Change] under "Login User Name".
10.
Enter the login user name, and then press [OK].
11.
Press [Change] under "Login Password".
12.
Enter the password, and then press [OK].
13.
Enter the password again to confirm, and then press [OK].
14.
Press [Folder].
15.
Press [NCP].
16.
Select "Connection Type".
If you want to specify a folder in an NDS tree, press [NDS]. If you want to specify a folder on a
NetWare server, press [Bindery].
If you have set "Connection Type" to [NDS], enter the user name followed by the name of the context
where the user object is located. If the user name is "user" and the context name is "context", enter
"user.context".
17.
Specify the path.
For details about how to specify the path manually, see "Locating the NCP folder manually".
5. Registering Addresses and Users for Facsimile/Scanner Functions
288
5
Summary of Contents for Aficio MP C2800
Page 2: ......
Page 126: ...3 Using a Printer Server 124 3 ...
Page 277: ... p 245 Registering Names E mail Destination 275 5 ...
Page 312: ...5 Registering Addresses and Users for Facsimile Scanner Functions 310 5 ...
Page 328: ... For details see Using telnet p 164 Remote Maintenance by telnet 7 Appendix 326 7 ...
Page 356: ...7 Appendix 354 7 ...
Page 364: ...MEMO 362 ...
Page 365: ...MEMO 363 ...
Page 366: ...MEMO 364 AE AE D029 7703 ...
Page 367: ...Copyright 2008 ...


