42
If y
ou are u
sing
th
e cam
er
a
for t
h
e f
irst tim
e, read
thi
s sectio
n.
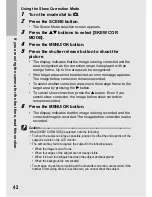
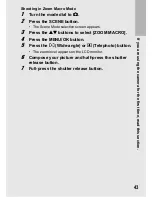
Using the Skew Correction Mode
1
Turn the mode dial to
5
.
2
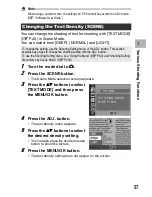
Press the SCENE button.
• The Scene Mode selection screen appears.
3
Press the
!"
buttons to select [SKEW COR
MODE].
4
Press the MENU/OK button.
5
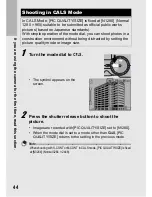
Press the shutter release button to shoot the
picture.
• The display indicates that the image is being corrected and the
area recognized as the correction range is displayed with an
orange frame. Up to five areas can be recognized.
• If the target area cannot be detected, an error message appears.
The image before correction remains recorded.
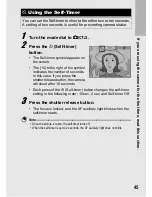
• To select another correction area, move the orange frame to the
target area by pressing the
$
button.
• To cancel skew correction, press the
!
button. Even if you
cancel skew correction, the image before skew correction
remains recorded.
6
Press the MENU/OK button.
• The display indicates that the image is being recorded and the
corrected image is recorded. The image before correction is also
recorded.
Caution-----------------------------------------------------------------------------------------------
When [SKEW COR MODE] is selected, note the following:
•
To shoot the subject as large as possible, position it so that the entire portion of the
subject is visible on the LCD monitor.
•
The camera may fail to recognize the subject in the following cases:
•
When the image is out of focus
•
When four edges of the subject are not clearly visible
•
When it is hard to distinguish between the subject and background
•
When the background is complicated
•
Two images, one before correction and the other after correction, are recorded. If the
number of remaining shots is less than two, you cannot shoot the subject.


