background image

2

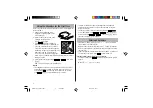
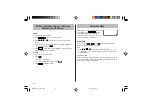
Be sure to perform the following operations before using the Organizer
for the first time.
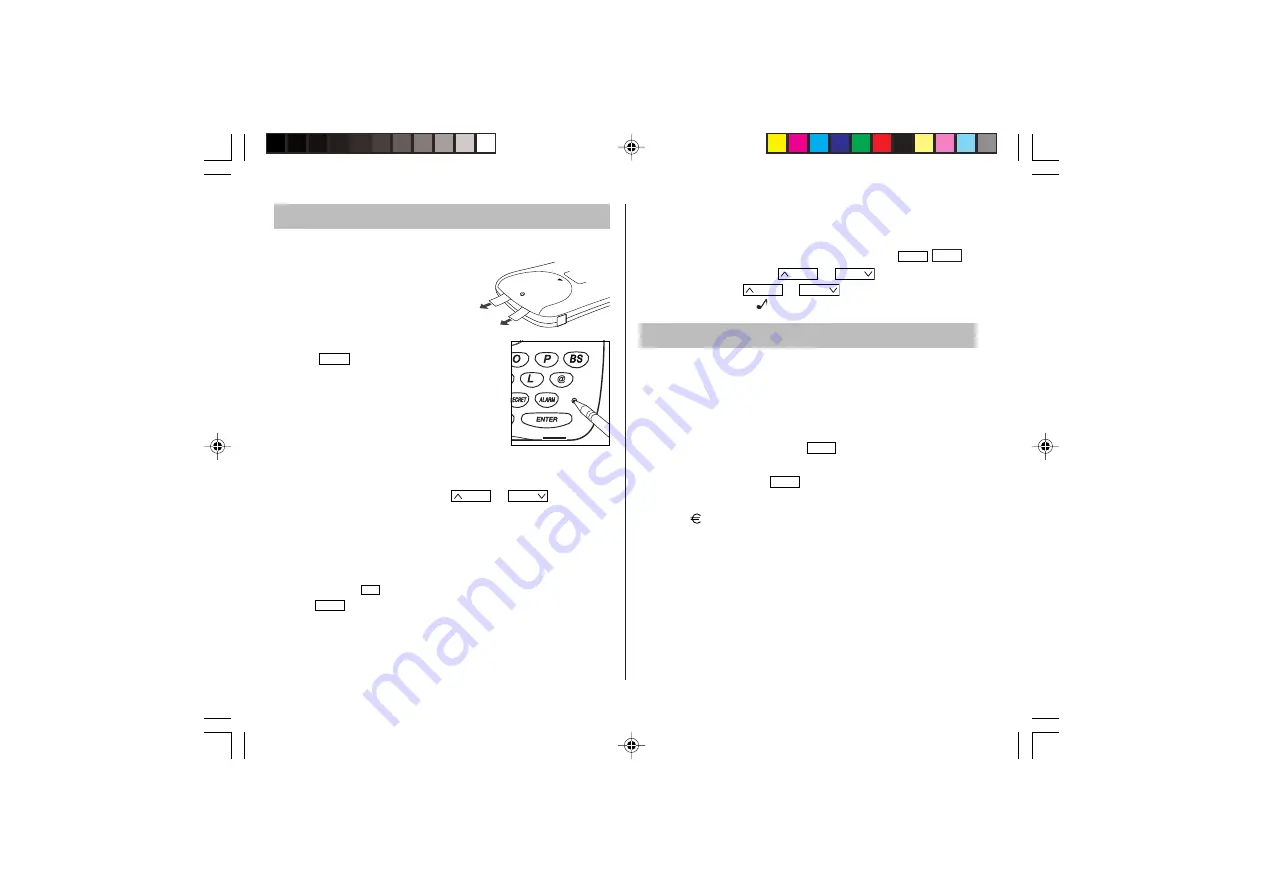
1. Remove the isolating film that is

affixed to the battery holder on the
back of the unit.

2. Press the RESET switch with a ball-

point pen or similar object.
“RESET?” is displayed.

3. Press 

SHIFT


x

 to initialize the

Organizer after “RESET!” is displayed. You
have now cleared the memory contents.
The Select Language screen then appears.
Guidance messages can be displayed in ten
languages – English, Italian, German,
French, Spanish, Portuguese, Hungarian,
Czech, Polish, and Greek. After initializing the Organizer, the default
setting is English.

4. Select the desired language using 

PREV

 or 

NEXT

, then press

x

.

Home clock is displayed. (See “Clock Mode”.)

NOTES

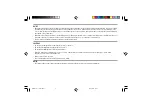
• If the Organizer is subject to strong, extraneous electrical noises or

shocks during use, an abnormal condition may occur in which no
keys (including 

ON

OFF

 ) will respond. Press the RESET switch and

press 

SHIFT


x

 to delete all the memory contents.

Using the Organizer for the First Time

Entering Characters

• Alphanumeric letters, symbols, and “+ – 

×

 ÷ .” can be entered into

the dot display area (the first line).

• Numbers and some characters (only space, –, F, and P in Telephone

mode) can be entered into the number display area (the second and
the third lines).

• Letters are entered in capital letters by default (“CAPS” is turned on).

To enter lowercase letters, press 

CAPS

 to turn “CAPS” off.

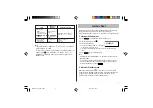
Entering symbols and letters with an accent mark

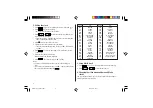
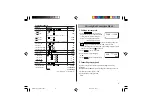
• To enter a symbol, press 

SMBL

 repeatedly until the desired symbol

appears:

@#$£¥

( )~’: / \_&<>ß!?¡¿æµ¢

< REVISED >

RESET

,

:

M –

M +

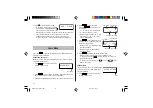
• To minimize battery consumption, the Organizer is designed to

automatically turn off when no key has been pressed for approxi-
mately five minutes.

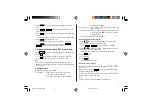
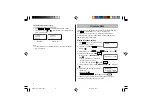
• The key touch tone is turned on and off by pressing 

SHIFT


MENU

,

select “KEY TONE?” using 

PREV

 or 

NEXT

, and press 

x

.

Select on/off using 

PREV

 or 

NEXT

 , then press 

x

. When

the tone is activated, “

” will appear.

EL6991en_bdy0630.pm65

06/30/2003, 16:59

2

Summary of Contents for EL-6991

Page 1: ...o Mode 8 Notes for storing and recalling entries 9 Recalling entries 9 Editing or deleting entries 10 Calculator Mode 10 Currency Unit Conversion Mode 11 Game Mode 12 Word Translator Mode 13 Backlight...

Page 2: ...this product and any of its functions such as stolen credit card numbers the loss of or alteration of stored data etc The information provided in this manual is subject to change without notice CAUTIO...

Page 3: ...ON OFF key Key Assignments ENTER key DELETE key BACK SPACE key INSERT key SYMBOL key ENTER DEL BS INS SMBL CAPS CAPS key Functions as CAPS LOCK It is used to select capital uppercase or small lowercas...

Page 4: ...h no keys including ON OFF will respond Press the RESET switch and press SHIFT x to delete all the memory contents Using the Organizer for the First Time Entering Characters Alphanumeric letters symbo...

Page 5: ...eft of the cursor Key CAPS ON CAPS OFF Key CAPS ON CAPS OFF Clock Mode Each time CLOCK is pressed the clock switches between the Home clock and the World clock mode For World clock is not displayed 1...

Page 6: ...n invalid date or time ERROR appears briefly Enter the correct date and time and press ENTER Display City Display City LON LONDON TYO TOKYO LIS LISBON ADL ADELAIDE PAR PARIS SYD SYDNEY BER BERLIN GUM...

Page 7: ...at the alarm time for one minute when is turned on Up to three daily alarms can be set ALARM1 ALARM2 and ALARM3 2 Hourly alarm beeps every hour when minutes reach 00 when is turned on 3 Schedule alarm...

Page 8: ...RL and number fields Storing telephone entries 1 Press TEL once or twice to display the Telephone mode screen 2 Enter name e g SMITH SPACE ROBERT and press 3 Enter address e g 18 SPACE EAST SPACE ROAD...

Page 9: ...acters are allowable as in Telephone mode 1 Storing schedule entries 1 Press to display the Schedule mode screen 2 Enter the details and press 3 Enter the date and time The types of date and time are...

Page 10: ...ce or twice to display the To Do mode screen 2 Press PREV or NEXT to select the To Do items 3 Press SHIFT e to enter the status field 4 Press to select D Done then press ENTER P stands for pending Mem...

Page 11: ...Recalls entries in reverse order Sequential search Press NEXT or PREV in each mode Direct search Enter the first characters eight characters or under of the person s name schedule details To Do item o...

Page 12: ...C CE 3 Press ENTER to delete the entry Calculator Mode The Organizer can calculate numbers of up to ten digits Press CALC CONV several times to display the Calculator mode screen Calculator Currency...

Page 13: ...al times to display the currency conversion mode screen refer to Calculator mode Example 1 CAD Canada dollars 0 66 USD US dollars 2 Press NEXT NEXT NEXT to change the display and press SHIFT e The ini...

Page 14: ...Each time SPACE is pressed a new card is dealt J Q and K are counted as 10 A can be counted as 1 or 11 When the first two cards are A and a face card J Q or K your hand is BLACKJACK 5 Press ENTER to...

Page 15: ...ce word and press ENTER English or Spanish is displayed while conducting search The matching English or Spanish word will then be displayed When the symbol appears on more letters exist To view remain...

Page 16: ...essive use of the Backlight will significantly reduce the life of your battery Memory Storage 1 Checking memory storage 1 Press TEL or MEMO TO DO to display NAME SCHEDULE MEMO or TO DO 2 Press SHIFT M...

Page 17: ...on and press ENTER The display returns to the Home clock The secret function turns on automatically If you enter the wrong password ERROR appears briefly and display returns to the Home clock Follow t...

Page 18: ...s displayed 5 Press ENTER to delete the password The CD ROM contains software to enable exchange of data with a PC The software can be used to backup restore data in the Organizer and export import da...

Page 19: ...lation is complete click the Finish button to finish the installation process Desktop Utilities Launch Desktop Utilities from the Start menu or double click on the shortcut icon on the desktop Utilize...

Page 20: ...erve the following instructions If fluid from a leaking battery accidentally gets into your eyes it may result in serious injury Should this occur flush your eyes with clean water and consult a physic...

Page 21: ...ly after replacing the batteries Because the batteries in the Organizer were installed at the factory they may become exhausted before the specified expiration time is reached Operating Battery Replac...

Page 22: ...language Power consumption 0 11 W Operating temperature 0 C to 40 C 32 F to 104 F Power supply Operating battery 3 0V DC Lithium battery CR2032 x 1 Backlight battery 3 0V DC Lithium battery CR2032 x 1...

Page 23: ...used in accordance with the instructions may cause harmful interference to radio communications However there is no guarantee that interference will not occur in a particular installation If this equ...

Page 24: ...the product and the RadioShack sales receipt as proof of purchase date to any RadioShack store RadioShack will at its option unless otherwise provided by law a correct the defect by product repair wit...

Reviews: