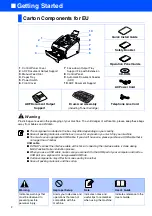
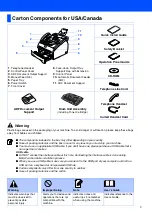

Before you can use the machine, you must set up the hardware.
Please read this “Quick Setup Guide” for the correct setup procedure.
Keep this “Quick Setup Guide” and User’s Guide in a convenient place for quick and easy
reference at all times.
Read this manual carefully before you use this product and keep it handy for future reference. For
safe and correct use, please be sure to read the Important Information in "User's Guide" before
using the machine.
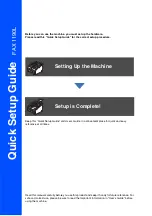
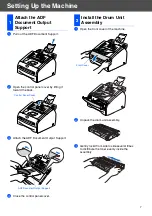
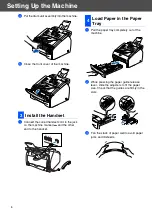
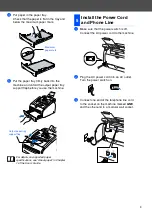
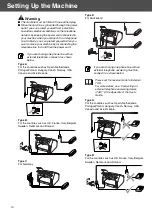
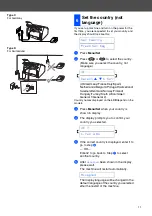
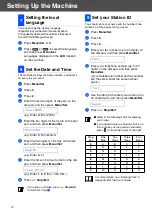
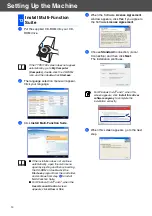
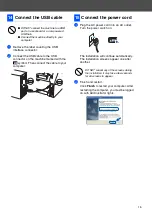
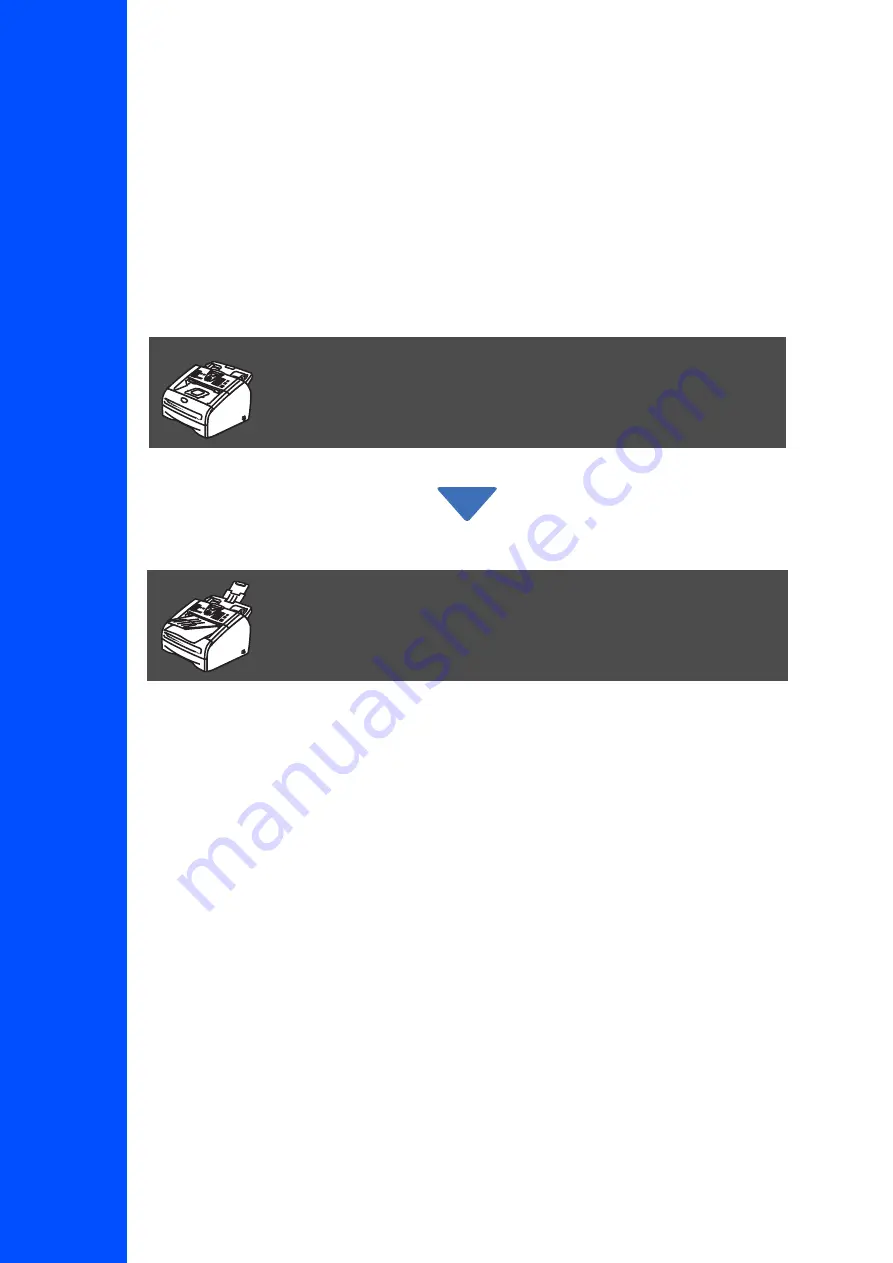
Setting Up the Machine
Setup is Complete!
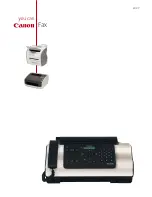
FAX 1190L
Quick Setup Guide
Summary of Contents for FAX 1190L
Page 18: ...H558 6030 GB...