6. By-pass friction pad [G]
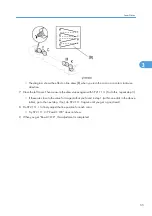
• Pull up the edge of the by-pass friction pad (
¬
).
• Pull the by-pass friction pad forward. When you do this, hold down the edge where its shaft is located
(
Á
).
Reassembling the by-pass friction pad
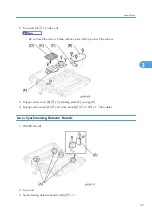
1. Place the spring [H] on the projection [I] of the by-pass tray.
2. Hold down the by-pass friction pad after you put the spring on the projection of pad’s reverse side
(
®
).
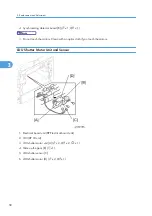
3. Release the by-pass tray friction pad when it passes through the bushing [J].
4. Pull up the shaft of the by-pass friction pad to the busing until it is clicked.
Paper Feed
63
3
Summary of Contents for G-P3
Page 1: ...Model G P3 Machine Code G190 SERVICE MANUAL January 2008 Subject to change...
Page 11: ...10...
Page 77: ...11 Harness guide C x 2 12 Drive unit D x 6 x 16 3 Replacement and Adjustment 76 3...
Page 91: ...3 Replacement and Adjustment 90 3...
Page 137: ...LEDs No LEDs are used for this model except for the Network Interface 4 Troubleshooting 136 4...
Page 337: ...5 Service Tables 336 5...
Page 411: ...MEMO 410...
Page 412: ...MEMO 411...
Page 413: ...MEMO 412...


