1.
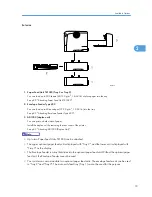
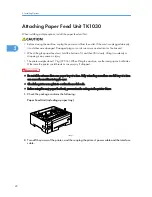
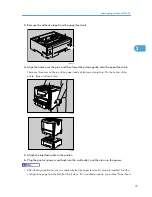
Attach the paper feed unit (Paper Feed Unit TK1030).
Attach the paper feed unit to the bottom of the printer.
You can attach up to two paper feed units. Up to 1600 sheets of paper can be loaded.
2.
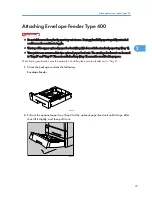
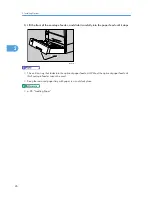
Attach the envelope feeder (Envelope Feeder Type 400).
Replace the paper tray of the optional feeder with the envelope feeder.
3.
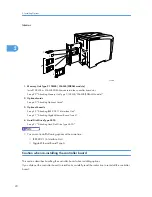
Take out the controller board from the printer.
4.
Remove all the SDRAM module before installing the hard disk drive.
5.
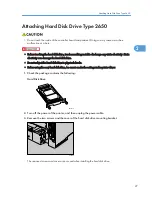
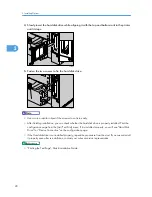
Install the hard disk drive (Hard Disk Drive Type 2650).
Install the hard disk drive to the controller board.
6.
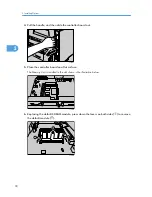
Install the SDRAM module (Memory Unit Type C 128MB/ 256MB).
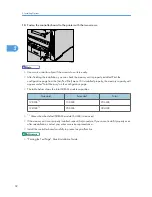
Install the module to the SDRAM module slot on the controller board.
There are three types of memory unit: 128 MB and 256 MB.
7.
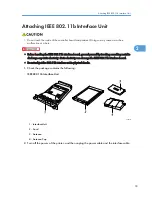
Install the IEEE 802.11b interface unit, or the Gigabit Ethernet board.
Install one of these options into the vacant expansion slot (on the left) of the controller board.
The followings can be installed:
• IEEE 802.11b Interface Unit
• Gigabit Ethernet Board Type A
Do not install more than one option. These options do not function simultaneously.
8.
Install the VM card (VM Card Type D) or the data storage card (Data Storage Card Type
A).
Insert these units into the SD card slot on the controller board.
9.
Attach the AD1000 (duplex unit).
Attach the duplex unit to the rear of the printer.
Installing Options
Install options in the positions shown in the illustration.
2. Installing Options
18
2
Summary of Contents for LP131n
Page 6: ...Options 192 INDEX 197 4 ...
Page 18: ...1 Guide to the Printer 16 1 ...
Page 48: ...2 Installing Options 46 2 ...
Page 53: ... p 37 Attaching Gigabit Ethernet Board Type A USB Connection 51 3 ...
Page 76: ...4 Configuration 74 4 ...
Page 130: ...6 Replacing Consumables and Maintenance Kit 128 6 ...
Page 140: ...7 Cleaning the Printer 138 7 ...
Page 198: ...11 Appendix 196 11 ...
Page 201: ...MEMO 199 ...
Page 202: ...MEMO 200 GB GB EN USA G176 ...
Page 203: ...Copyright 2006 ...


