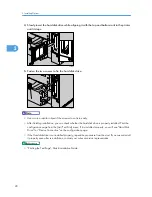
4.
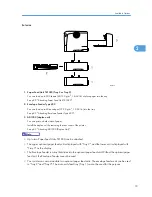
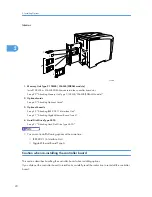
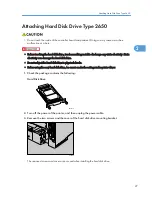
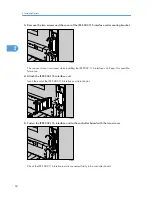
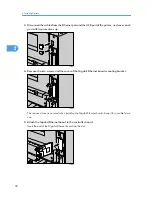
Slowly insert the hard disk drive while aligning it with the top and bottom rails in the printer
until it stops.
AUB216S
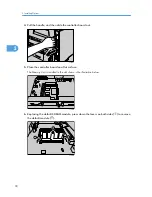
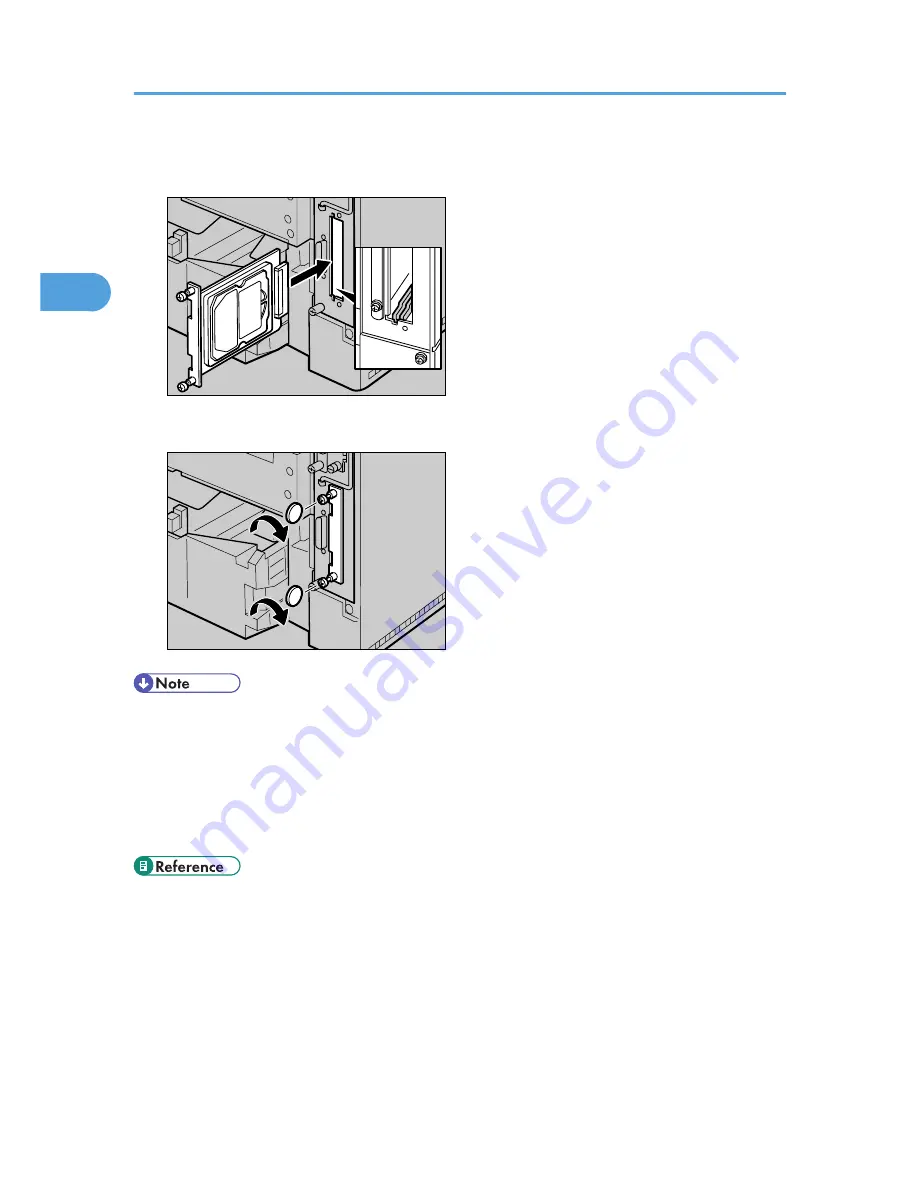
5.
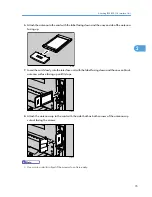
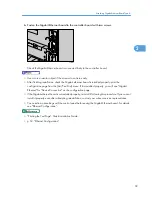
Fasten the two screws to fix the hard disk drive.
AUB217S
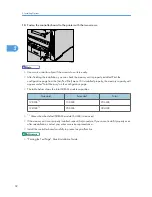
• Use a coin or similar object if the screws do not turn easily.
• After finishing installation, you can check whether the hard disk drive is properly installed: Print the
configuration page from the [List/Test Print] menu. If it is installed properly, you will see "Hard Disk
Drive" for "Device Connection" on the configuration page.
• If the Hard disk drive is not installed properly, repeat the procedure from the start. If you cannot install
it properly even after reinstallation, contact your sales or service representative.
• "Printing the Test Page", Quick Installation Guide.
2. Installing Options
28
2
Summary of Contents for LP131n
Page 6: ...Options 192 INDEX 197 4 ...
Page 18: ...1 Guide to the Printer 16 1 ...
Page 48: ...2 Installing Options 46 2 ...
Page 53: ... p 37 Attaching Gigabit Ethernet Board Type A USB Connection 51 3 ...
Page 76: ...4 Configuration 74 4 ...
Page 130: ...6 Replacing Consumables and Maintenance Kit 128 6 ...
Page 140: ...7 Cleaning the Printer 138 7 ...
Page 198: ...11 Appendix 196 11 ...
Page 201: ...MEMO 199 ...
Page 202: ...MEMO 200 GB GB EN USA G176 ...
Page 203: ...Copyright 2006 ...

