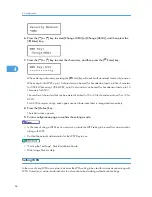
18.
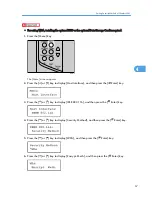
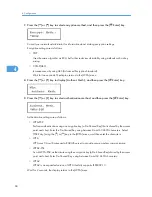
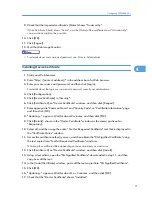
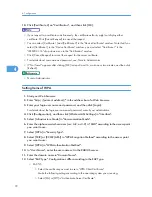
Click [Certificate 2] on "Certification", and then click [OK].
• If you request two certificates simultaneously, the certificate authority might not display either
certificate. Click [Cancel Request] to cancel the request.
• You can select [Certificate 1] and [Certificate 2] in the "Device Certificate" window. Note that if you
select [Certificate 1] in the "Device Certificate" window, you must select "Certificate 1" in the
"IEEE802.11b" drop down menu in the "Certification" window.
• Click [Cancel Request] to cancel the request for the server certificate.
• For details about user name and password, see, Note to Administrator
• If "Not found" appears after clicking [OK] in steps 8 and 16, wait one or two minutes, and then click
[Refresh].
• Note to Administrator
Setting Items of WPA
1.
Start your Web browser.
2.
Enter "http://(printer's address)/" in the address bar of a Web browser.
3.
Enter your login user name and password, and then click [Login].
For details about the login user name and password, consult your administrator.
4.
Click [Configuration], and then click [Wireless LAN Settings] in "Interface".
5.
Select [Infrastructure Mode] in "Communication Mode".
6.
Enter the alphanumeric characters (a-z, A-Z, or 0-9) in "SSID" according to the access point
you want to use.
7.
Select [WPA] in "Security Type".
8.
Select [TKIP] or [CCMP (AES)] in "WPA Encryption Method" according to the access point
you want to use.
9.
Select [WPA] in "WPA Authentication Method".
10.
In "User Name", enter the user name set in the RADIUS server.
11.
Enter the domain name in "Domain Name".
12.
Select "EAP Type". Configurations differ according to the EAP Type.
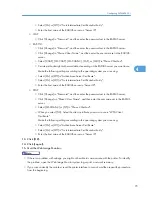
• EAP-TLS
• Select the certificate you want to use in "WPA Client Certificate".
Make the following settings according to the operating system you are using:
• Select [On] or [Off] in "Authenticate Server Certificate".
4. Configuration
72
4
Summary of Contents for LP131n
Page 6: ...Options 192 INDEX 197 4 ...
Page 18: ...1 Guide to the Printer 16 1 ...
Page 48: ...2 Installing Options 46 2 ...
Page 53: ... p 37 Attaching Gigabit Ethernet Board Type A USB Connection 51 3 ...
Page 76: ...4 Configuration 74 4 ...
Page 130: ...6 Replacing Consumables and Maintenance Kit 128 6 ...
Page 140: ...7 Cleaning the Printer 138 7 ...
Page 198: ...11 Appendix 196 11 ...
Page 201: ...MEMO 199 ...
Page 202: ...MEMO 200 GB GB EN USA G176 ...
Page 203: ...Copyright 2006 ...

