Calibration
Lens Calibration
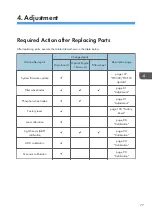
After replacing the main board, Lens Calibration must be done.
If you execute lens calibration, the lens is returned to the home position using a stepping motor.
Since alignment error occurs after the machine has been used for some time, lens calibration must be
done to return the lens to the reference position and reset the internal positional information.
This can be done by users too.
1.
Put the projector on a horizontal surface.
2.
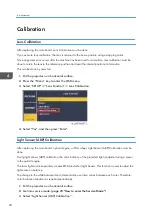
Press the “Menu” key to enter the OSD menu.
3.
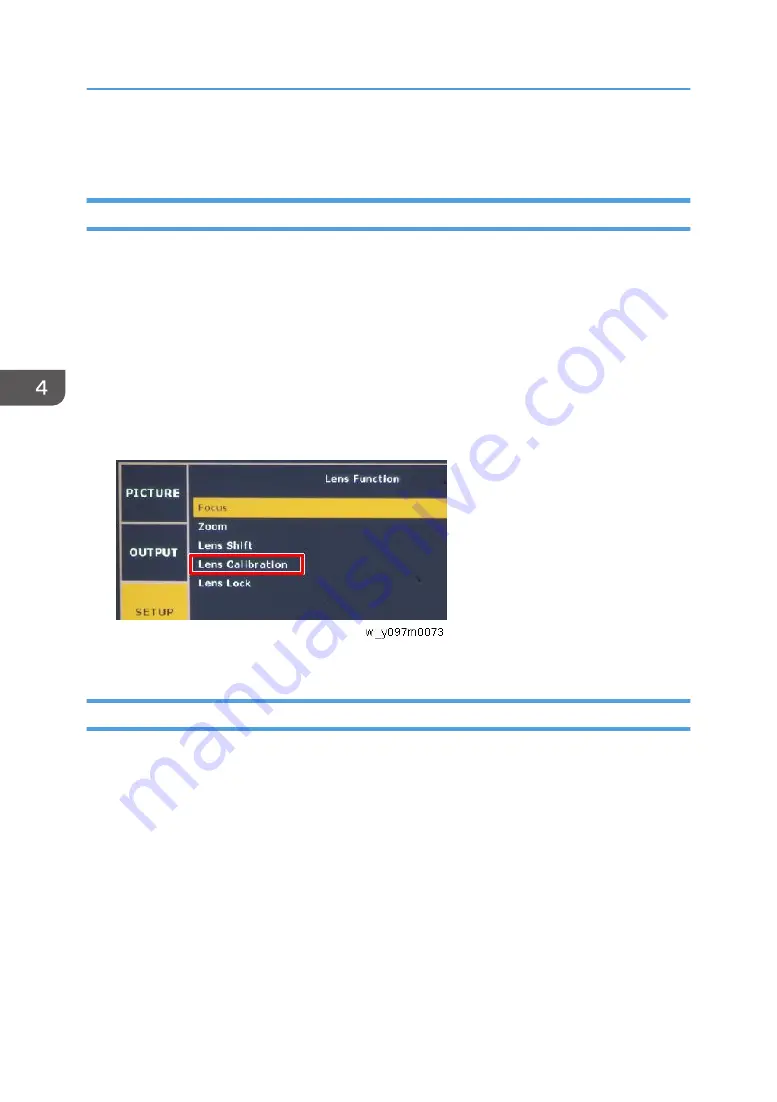
Select “SETUP”-> “Lens Function” -> Lens Calibration.
4.
Select "Yes", and then press “Enter".
Light Sensor (ABP) Calibration
After replacing the main board, optical engine, or filter wheel, Light Sensor (ABP) Calibration must be
done.
During light sensor (ABP) calibration, the color balance of the projected light is adjusted using a sensor
in the optical engine.
The laser light source separately creates RGB (and other) light beams. This function is used to adjust the
light emission balance.
The change in the white balance due to deterioration over time varies between each color. Therefore,
color balance adjustment is required periodically.
1.
Put the projector on a horizontal surface.
2.
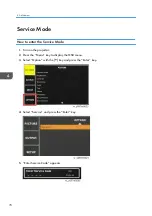
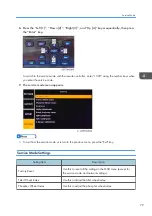
Get into service mode. (
page 78 "How to enter the Service Mode"
)
3.
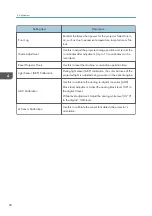
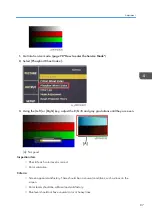
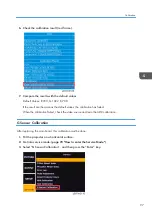
Select “Light Sensor (ABP) Calibration”.
4. Adjustment
90
Summary of Contents for LU6000
Page 2: ......
Page 10: ...Projection Light 145 Light 145 8 ...
Page 28: ...Block Diagram 1 Product Information 26 ...
Page 29: ...Block Diagram 27 ...
Page 30: ...1 Product Information 28 ...
Page 44: ...4 Front Cover A x6 5 Front IR Sensor A 2 hooks 3 Replacement 42 ...
Page 46: ...4 Left Cover A x6 Right Cover 1 Top Cover page 38 Top Cover 3 Replacement 44 ...
Page 51: ...3 LAN Board A x3 x2 There are 2 connectors A at the back side Part Replacement 49 ...
Page 69: ...4 Fan Bracket A x3 5 Fan 4 A x2 Fan 5 1 Right Cover page 44 Right Cover Part Replacement 67 ...
Page 78: ...3 Replacement 76 ...
Page 100: ...When the calibration has finished a message appears 4 Adjustment 98 ...
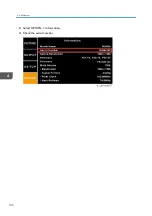
Page 104: ...2 Select OPTION Information 3 Check the serial number 4 Adjustment 102 ...
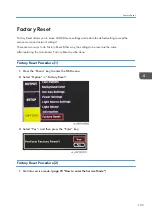
Page 106: ...2 Select Factory Reset 3 Select Yes and then press the Enter key 4 Adjustment 104 ...
Page 116: ...5 Troubleshooting 114 ...
Page 127: ...3 Cancel selection of the proxy server as shown below and then click OK Network Test 125 ...
Page 128: ...6 Test Inspection 126 ...
Page 146: ...Cooling System Location of fans 8 Detailed Description 144 ...
Page 149: ...MEMO 147 ...
Page 150: ...MEMO 148 EN ...


