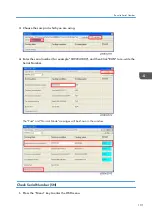
7.
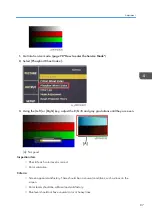
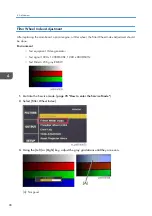
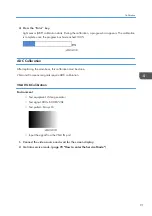
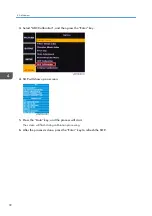
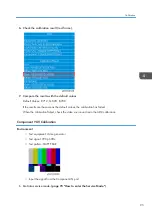
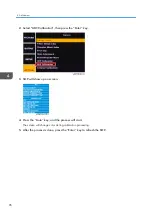
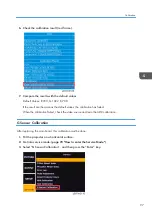
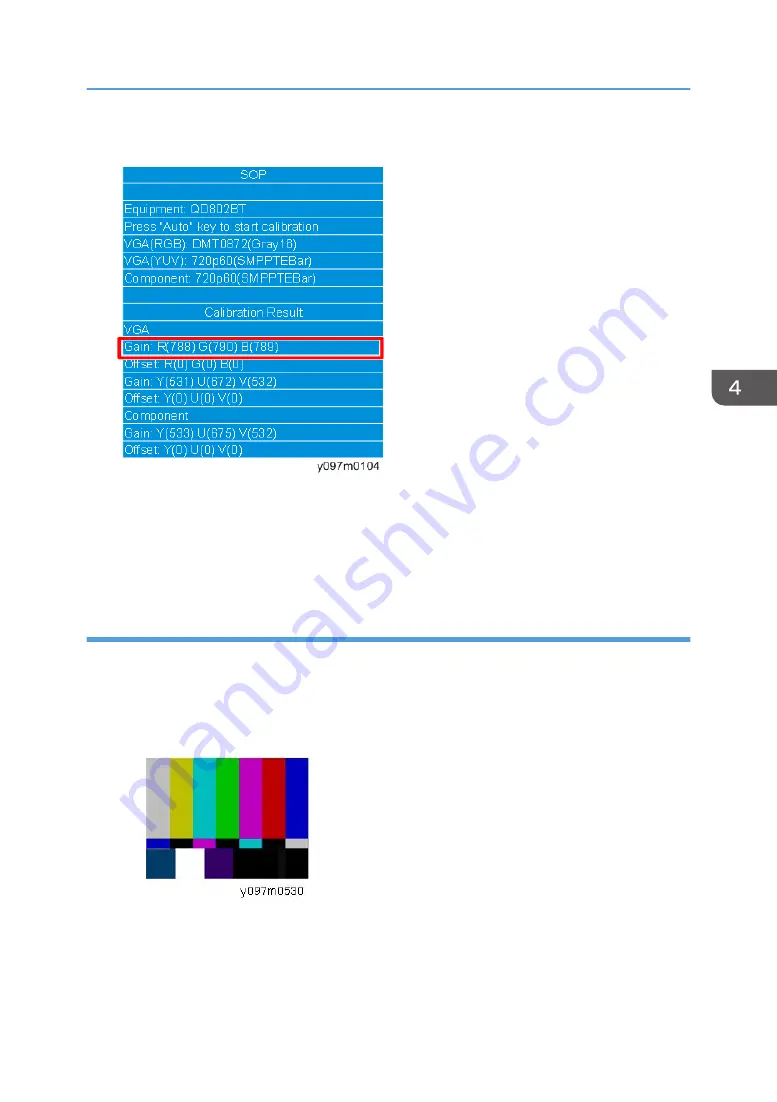
Check the calibration result (red frame).
8.
Compare the results with the default values.
Default Values: R:802, G:802, B:802
If the result are the same as the default values, the calibration has failed.
When the calibration failed, check the video source and redo the ADC calibration.
VGA YUV Calibration
Environment
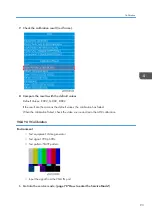
• Test equipment: Video generator
• Test signal: 720p 60Hz
• Test pattern: SMTE pattern
• Input the signal from the VGA IN port
1.
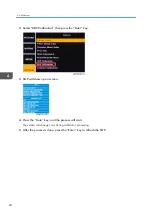
page 78 "How to enter the Service Mode"
Calibration
93
Summary of Contents for LU6000
Page 2: ......
Page 10: ...Projection Light 145 Light 145 8 ...
Page 28: ...Block Diagram 1 Product Information 26 ...
Page 29: ...Block Diagram 27 ...
Page 30: ...1 Product Information 28 ...
Page 44: ...4 Front Cover A x6 5 Front IR Sensor A 2 hooks 3 Replacement 42 ...
Page 46: ...4 Left Cover A x6 Right Cover 1 Top Cover page 38 Top Cover 3 Replacement 44 ...
Page 51: ...3 LAN Board A x3 x2 There are 2 connectors A at the back side Part Replacement 49 ...
Page 69: ...4 Fan Bracket A x3 5 Fan 4 A x2 Fan 5 1 Right Cover page 44 Right Cover Part Replacement 67 ...
Page 78: ...3 Replacement 76 ...
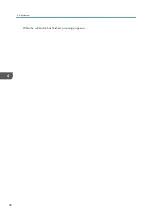
Page 100: ...When the calibration has finished a message appears 4 Adjustment 98 ...
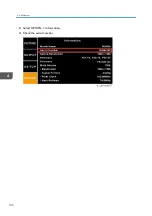
Page 104: ...2 Select OPTION Information 3 Check the serial number 4 Adjustment 102 ...
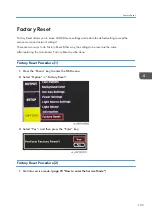
Page 106: ...2 Select Factory Reset 3 Select Yes and then press the Enter key 4 Adjustment 104 ...
Page 116: ...5 Troubleshooting 114 ...
Page 127: ...3 Cancel selection of the proxy server as shown below and then click OK Network Test 125 ...
Page 128: ...6 Test Inspection 126 ...
Page 146: ...Cooling System Location of fans 8 Detailed Description 144 ...
Page 149: ...MEMO 147 ...
Page 150: ...MEMO 148 EN ...

