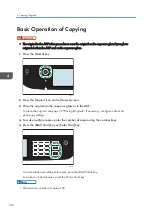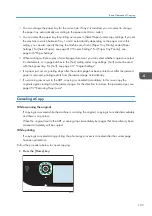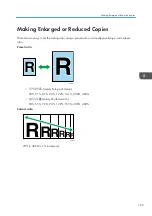
12.
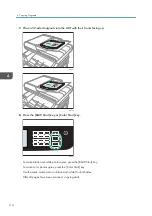
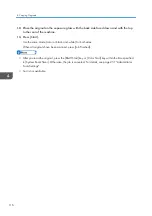
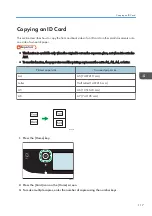
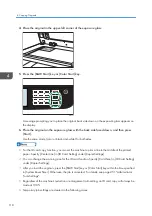
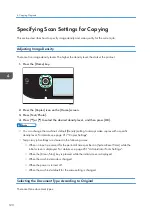
Place the original on the exposure glass with the back side faced down and with the top
to the rear of the machine.
13.
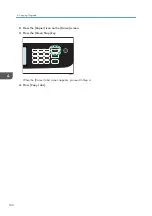
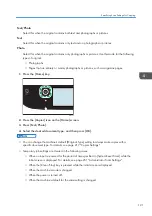
Press [Start].
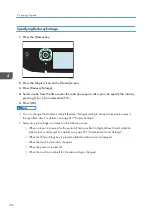
Use the same mode (color or black-and-white) for both sides.
When all originals have been scanned, press [Job Finished].
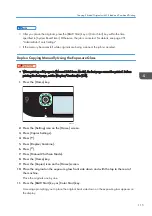
• After you load the original, press the [B&W Start] key or [Color Start] key within the time specified
• Sort is not available.
4. Copying Originals
116
Summary of Contents for M C251FW
Page 2: ......
Page 23: ...3 2 1 ECC105 Interior ECC106 4 3 2 1 Guide to Components 21 ...
Page 45: ...Deleting characters 1 Press to delete characters Entering Characters 43 ...
Page 48: ...1 Guide to the Machine 46 ...
Page 82: ...2 Paper Specifications and Adding Paper 80 ...
Page 100: ...3 Printing Documents 98 ...
Page 124: ...4 Copying Originals 122 ...
Page 170: ...5 Scanning Originals 168 ...
Page 216: ...6 Sending and Receiving a Fax 214 ...
Page 270: ...7 Configuring the Machine Using the Control Panel 268 ...
Page 346: ...6 Close the ADF cover 9 Maintaining the Machine 344 ...
Page 360: ...Main unit DUE292 1 3 2 1 DUE288 2 DUE289 10 Troubleshooting 358 ...
Page 361: ...3 DUE290 Waste toner bottle ECC168 Paper feed unit DUE320 1 Removing Paper Jams 359 ...
Page 440: ...12 Appendix 438 ...
Page 445: ...MEMO 443 ...
Page 446: ...MEMO 444 EN GB EN US EN AU M0EQ 8504A ...
Page 447: ......
Page 448: ...EN GB EN US EN AU M0EQ 8504A 2021 2022 Ricoh Co Ltd ...

