2.
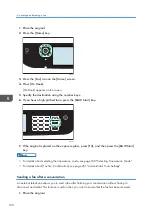
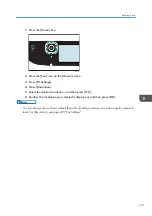
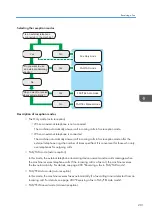
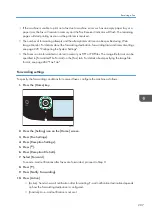
When you hear a fax calling tone or no sound, press the [Home] key, press the [Fax]
icon, and then press the [B&W Start] key.
3.
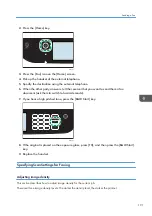
Press [RX].
4.
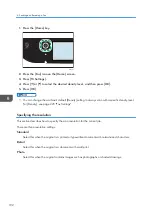
Press the [B&W Start] key.
5.
Replace the handset.
Receiving a fax in Fax Only mode
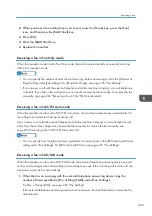
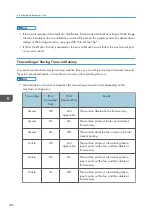
When the reception mode is set to Fax Only mode, the machine automatically answers all incoming
calls in fax reception mode.
• You can specify the number of times the machine rings before answering a call in the [Number of
Rings] setting under [Fax Settings]. For [Number of Rings], see page 225 "Fax Settings".
• If you answer a call with the external telephone while the machine is ringing, a normal telephone
call starts. If you hear a fax calling tone or no sound, receive the fax manually. To receive the fax
manually, see page 202 "Receiving a fax in FAX/TEL Manual mode".
Receiving a fax in FAX/TEL Auto mode
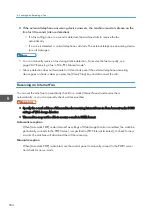
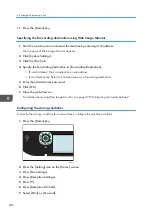
When the reception mode is set to FAX/TEL Auto mode, the machine receives faxes automatically if a
fax calling tone is detected from an incoming call.
If you answer a call with the external telephone while the machine is ringing, a normal telephone call
starts. If you hear a fax calling tone, receive the fax manually. To receive the fax manually, see
page 202 "Receiving a fax in FAX/TEL Manual mode".
• You can specify how long the machine rings before it receives faxes in the [RX Mode Switch Time]
setting under [Fax Settings]. For [RX Mode Switch Time], see page 225 "Fax Settings".
Receiving a fax in FAX/TAD mode
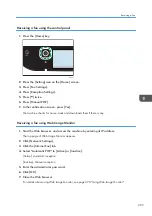
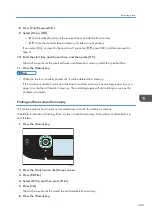
When the reception mode is set to FAX/TAD mode, the external telephone answering device answers
and records messages when the machine receives telephone calls. If the incoming call is a fax call, the
machine receives the fax automatically.
1.
When there is an incoming call, the external telephone answering device rings the
number of times specified in [No. of Rings (TAD)] under [Fax Settings].
For [No. of Rings (TAD)], see page 225 "Fax Settings".
If the external telephone answering device does not answer, the machine starts to receive the fax
automatically.
Receiving a Fax
203
Summary of Contents for M C251FW
Page 2: ......
Page 23: ...3 2 1 ECC105 Interior ECC106 4 3 2 1 Guide to Components 21 ...
Page 45: ...Deleting characters 1 Press to delete characters Entering Characters 43 ...
Page 48: ...1 Guide to the Machine 46 ...
Page 82: ...2 Paper Specifications and Adding Paper 80 ...
Page 100: ...3 Printing Documents 98 ...
Page 124: ...4 Copying Originals 122 ...
Page 170: ...5 Scanning Originals 168 ...
Page 216: ...6 Sending and Receiving a Fax 214 ...
Page 270: ...7 Configuring the Machine Using the Control Panel 268 ...
Page 346: ...6 Close the ADF cover 9 Maintaining the Machine 344 ...
Page 360: ...Main unit DUE292 1 3 2 1 DUE288 2 DUE289 10 Troubleshooting 358 ...
Page 361: ...3 DUE290 Waste toner bottle ECC168 Paper feed unit DUE320 1 Removing Paper Jams 359 ...
Page 440: ...12 Appendix 438 ...
Page 445: ...MEMO 443 ...
Page 446: ...MEMO 444 EN GB EN US EN AU M0EQ 8504A ...
Page 447: ......
Page 448: ...EN GB EN US EN AU M0EQ 8504A 2021 2022 Ricoh Co Ltd ...

