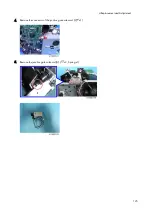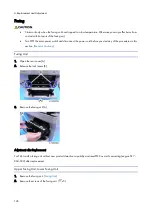
4.Replacement and Adjustment
128
Fusing Pressure Roller
1.
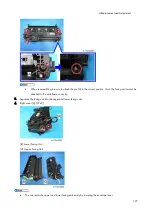
Separate the fusing unit into the upper and lower fusing units. (
Upper Fusing Unit, Lower Fusing Unit
2.
Remove the fusing pressure roller [A]
Fusing Lamp, Hot Roller
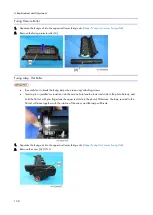
Be careful not to break the fusing lamp when removing/attaching screws.
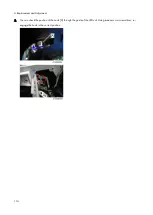
Insert a pin or jeweller’s screwdriver into the service hole (see the lower red circle in the photo below), and
hold the flat nut with your finger (see the upper red circle in the photo). Otherwise, the lamp secured to the
flat nut will move together with the rotation of the screw, and the lamp will break.
1.
Separate the fusing unit into the upper and lower fusing units. (
Upper Fusing Unit, Lower Fusing Unit
2.
Remove the cover [A]. ( x1)
Summary of Contents for M0A0
Page 2: ......
Page 10: ...8 ...
Page 12: ......
Page 34: ...2 Installation 22 9 Enter the password 10 Press OK 11 Enter the password again ...
Page 85: ...2 Installation 73 ...
Page 189: ...4 Replacement and Adjustment 177 ...
Page 203: ...5 System Maintenance 191 SP Mode Tables See Appendices ...
Page 229: ...5 System Maintenance 217 LDAP authorization information ...
Page 344: ...7 Detailed Descriptions 332 side guides from side to side ...
Page 358: ...7 Detailed Descriptions 346 ...
Page 368: ......
Page 558: ......
Page 574: ...1 Replacement and Adjustment 16 7 LCD A 4 8 Microphone A cushioning 1 ...
Page 622: ......
Page 624: ... A Short Edge Feed SEF B Long Edge Feed LEF ...
Page 626: ......
Page 632: ...1 Installation 6 ...
Page 752: ...5 Detailed Section Descriptions 126 Report Sample ...
Page 758: ...6 Specifications 132 Fax Unit Configuration Component No Remarks FCU 1 Speaker 2 ...
Page 760: ......
Page 762: ......
Page 776: ...2 Replacement and Adjustment 14 4 Detach the paper size switch from the bracket A Hook x2 ...

