Waveform Download and Fan RPM
Calibration
After replacing main board, fan, or upgrading the firmware, please do the following steps:
1.
Hold down the "power" button, then plug in the power cord.
2.
Release the power button when the power LED is flashing red.
3.
After several minutes, the projector will auto- power on, and the fan RPM calibration and
auto waveform is finished.
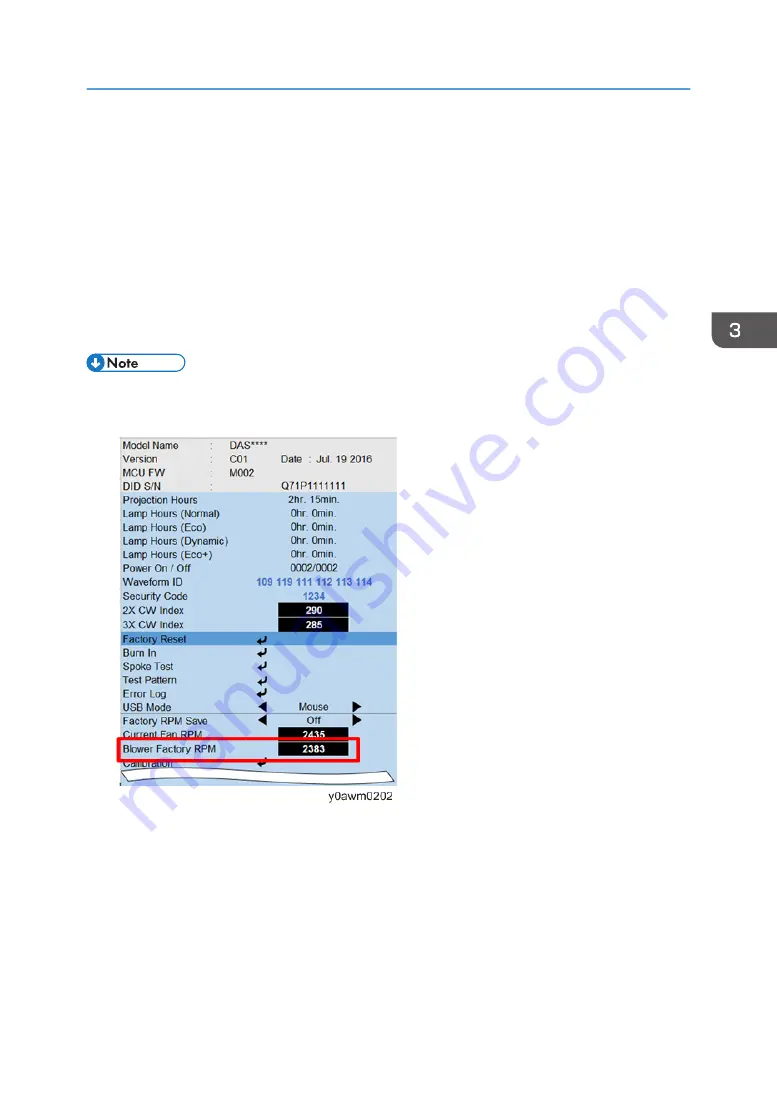
• If the factory fan value doesn’t show in service mode, please repeat steps 1 to 2 again.
• Make sure the "Blower Factory RPM" is in the range from 2100 to 2600.
Waveform Download and Fan RPM Calibration
39
Summary of Contents for Mira-PJ1
Page 2: ......
Page 18: ...2 Disconnect the connector A from the main board 3 Remove the speaker A 2 Replacement 16 ...
Page 26: ...6 Remove the lamp housing A 2 Replacement 24 ...
Page 30: ...5 Remove screws M2 6 x8 x4 M2 6 x6 x2 6 Remove engine module A 2 Replacement 28 ...
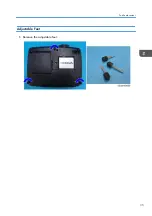
Page 37: ...Adjustable Feet 1 Remove the adjustable feet Part Replacement 35 ...
Page 38: ...2 Replacement 36 ...
Page 46: ...7 Choose Exit and then press Enter to exit 3 Adjustment 44 ...
Page 48: ...3 Adjustment 46 ...
Page 57: ...4 Click Next 5 Click Next System Firmware Update 55 ...
Page 58: ...6 Click Next 7 The program is in installing status 8 Click Finish 5 Firmware Update 56 ...
Page 60: ...2 Select Jungo WinDriver WinXP then click install 3 Click Next 5 Firmware Update 58 ...
Page 67: ...System Firmware Update 65 ...
Page 68: ...MEMO 66 ...
Page 69: ...MEMO 67 ...
Page 70: ...MEMO 68 EN ...

