Chapter 5 -
3
5.2.1
Introduction and Preparation
The Peer-to-Peer implementation uses the TCP/IP stacks that are provided with
Windows 95/98 or Windows NT 4.0. The redirector software provided will establish a
connection with the printers supporting Peer-to-Peer, using a direct IP connection over
the network.
When configuring the network capabilities for the Windows computer, you must include
the "TCP/IP Protocol". You do not need to activate any TCI/IP Client application.
This inclusion of TCP/IP can also be done after initial Windows installation by going to
the Network setup function under Control Panel. To do this, you will need the Windows
installation disk(s).
Note:
Because Peer-to-Peer uses the TCP/IP Protocol, TCP/IP operation must remain
enabled on the Network Interface Board, and the Network Interface Board must be
assigned a valid IP address. The name of the Peer-to-Peer printer, as it appears in the
Windows Port List, is the same as the IP Address assigned to the Network Interface Board.
The IP Address may be changed by changing the TCP/IP section using the Web-based
management or MAP utilities.
If a NIC is being moved from a site that had active TCP/IP to a site that does not, the unit
should be reset to factory default to clear the IP Address and other network information.
5.2.2
Installation and Operation
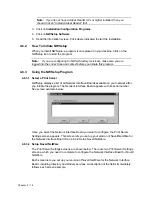
Install the Windows IP Peer-to-Peer redirector as follows:
1.
Put the CD-ROM which contains the redirector in your CD-ROM drive.
2.
From the Windows main window, click on [Start].
3.
Click on [Run].
4.
From the Run screen, select the Setup file from the IP-P2P directory in the CD-ROM
that you placed in your CD-ROM drive.
5.
Click on [OK].
6.
At the IP Peer-to-Peer Setup screen, click on [Next].
Note:
If setup detected a previous installation of the IP Peer-to-Peer Redirector, it
will prompt you to have Setup delete the old driver and continue the installation
procedure. Click on [Yes] or [No].
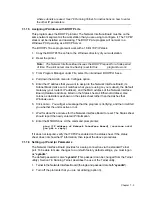
Once the redirector is installed, each printer on the network that supports this peer-to-
peer capability will appear as a Port under Printer Properties.
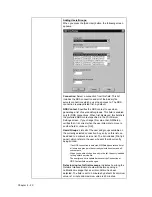
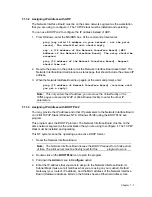
To use the Peer-to-Peer connection, create a logical printer using the Add Printer
Wizard according to the instructions for your printer. Set up the printer as a LOCAL
printer. Use the driver that came with your printer.
When the Add Printer Wizard asks you to choose the Port, select the name of the
Peer-to-Peer printer (Example: xxx.xxx.xxx.xxx) you wish to print to. When you complete
the installation, select the Print Test Page option.
Summary of Contents for NIB 450-E
Page 3: ......
Page 8: ......
Page 14: ......
Page 18: ......
Page 40: ......
Page 44: ......
Page 46: ......
Page 86: ...2 ...
Page 106: ...Dynamic Host Configuration Protocol DHCP 22 4 ...
Page 112: ...Windows NT Configuration 28 5 ...
Page 118: ...34 UE USA A855 ...
Page 119: ...Copyright 1998 ...

